
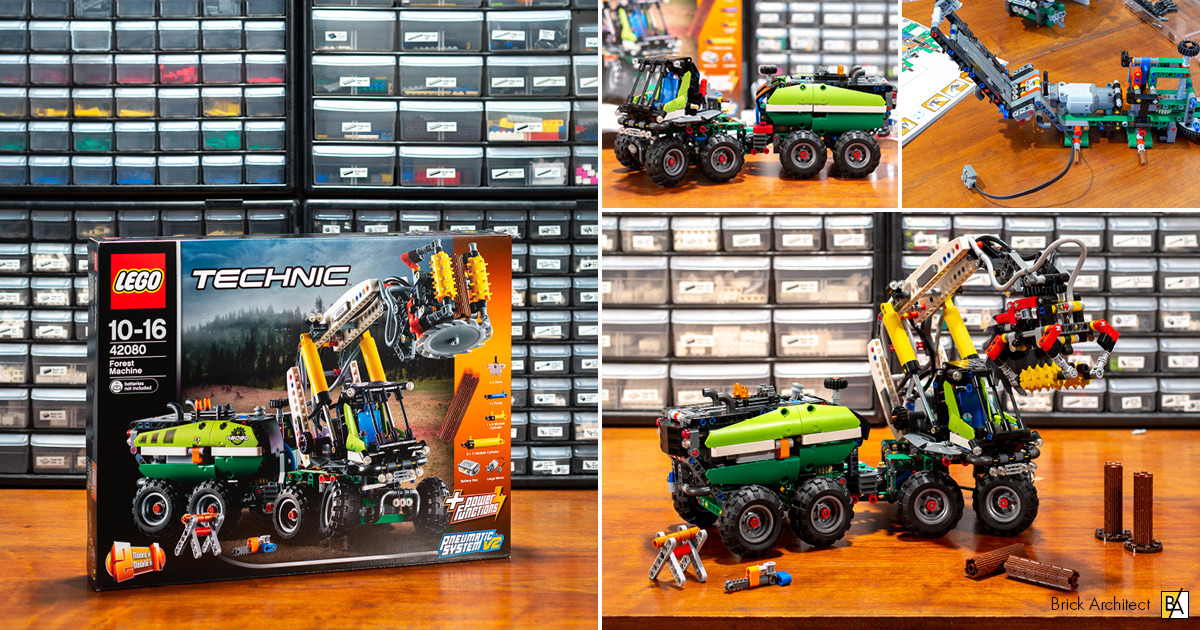
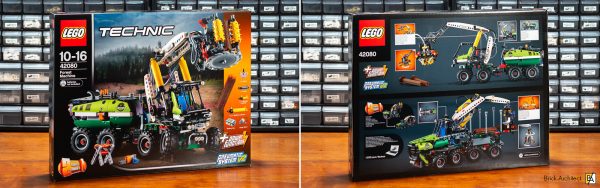
Review: #42080 Forest Harvester
Want a medium-sized LEGO Technic set which is packed with power functions and pneumatics? Let’s find out if #42080 Forest Harvester offers a good introduction to Technic for a first-time Technic builder.
#42080 Forest Harvester
My name is Amy, (aka wife of The Brick Architect), and I don’t know anything about Technic. However, having lived in the Pacific Northwest for several years, where the forestry industry is an integral part of the economy and way of life, I was intrigued by this set, and excited to try building it.
I had many initial trepidations and questions:
- Would it be too complicated and overwhelming for someone with no experience with Technic?
- Would it be fun?
- Would I be able to follow the instructions?
While I was not feeling extremely confident, I was excited enough about the theme to give it a try.
About the set
#42080 Forest Harvester is one of four new Technic sets released on August 1, 2018. At $149.99 (129.99€, £119.99) for 1003 pieces, it is almost exactly $0.15 per piece. While anything over $0.10 per piece is typically considered expensive, this set includes power functions and pneumatics, which are historically expensive parts.
#42080 Forest Harvester
Build Process
For the most part, the instructions for this model were straightforward, and relatively easy to follow, even for someone with limited building experience. There are three major steps to the model, which consist of the three subsections of the Forest Machine.
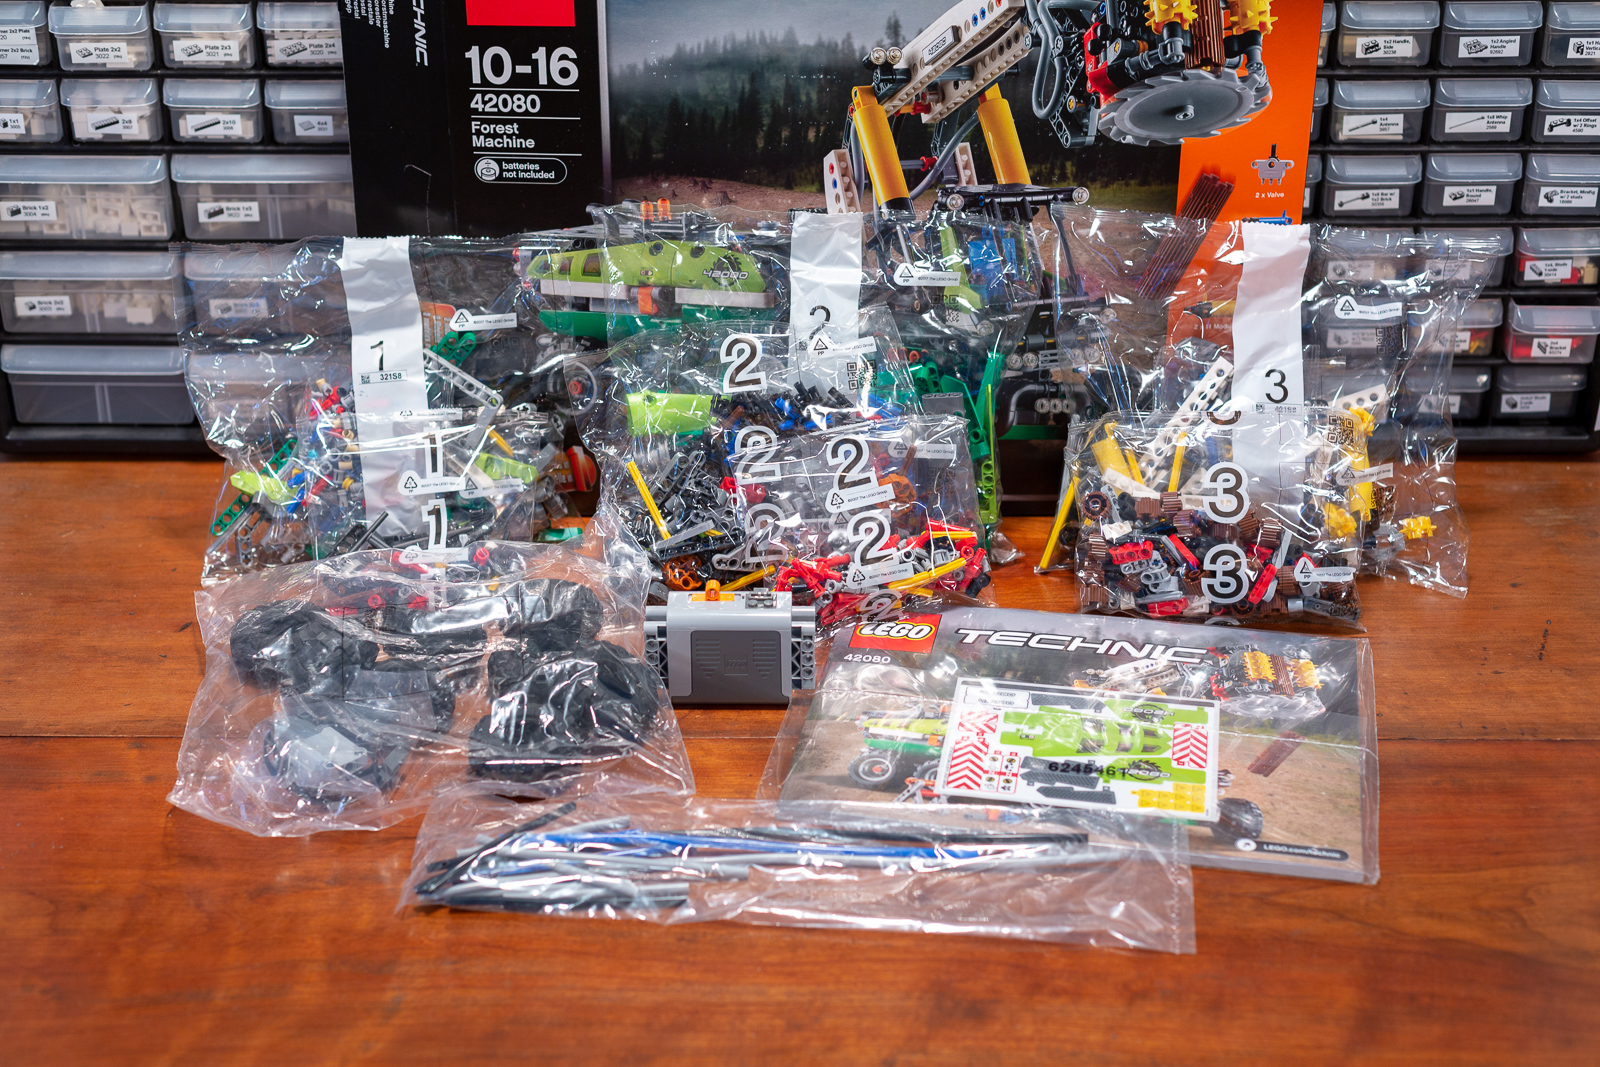
The parts are organized into three numbered sections.
Section One
Section one encompasses the cab and front section of the Forest Machine. I found this section easiest to build, as it was the least complex, which meant I made fewer mistakes! The undercarriage structure is built first, which includes some clever building techniques which will allow the cab structure to rotate almost 360 degrees, and allow for each axle of the Forest Machine to rock back and forth, simulating shocks.

Starting to build the front cab.
I also enjoyed addition of the component causing all the front of the Forest Machine to move right or left, independent of the back of the truck. I also enjoyed the whimsical additions of a coffee mug, canteen, shovel and axe.
Section Two
Section two involved building the back end of the Forest Machine, including the battery pack, and adding more of the hose components that later connect to the pneumatics. I also found the directions for this section fairly easy to follow, with the exception of the placement of the outer green panels in relation to the switch that controls the battery box. I had to play with the panel placement a few times, (and call in Tom for assistance), before finally getting it seated correctly so that the switch could move forward correctly.
Two 60-tooth turntables are used in this model, one for the rotating cab, and the second connecting the front and back half of the truck.
Even though the battery box is now installed, the tubes are not connected to anything yet, so no pneumatic action happens quite yet. Finally, in this step, the steering mechanism is added, along with the wheels, so I had fun figuring out how to “drive” the Forest Machine before moving onto step three.
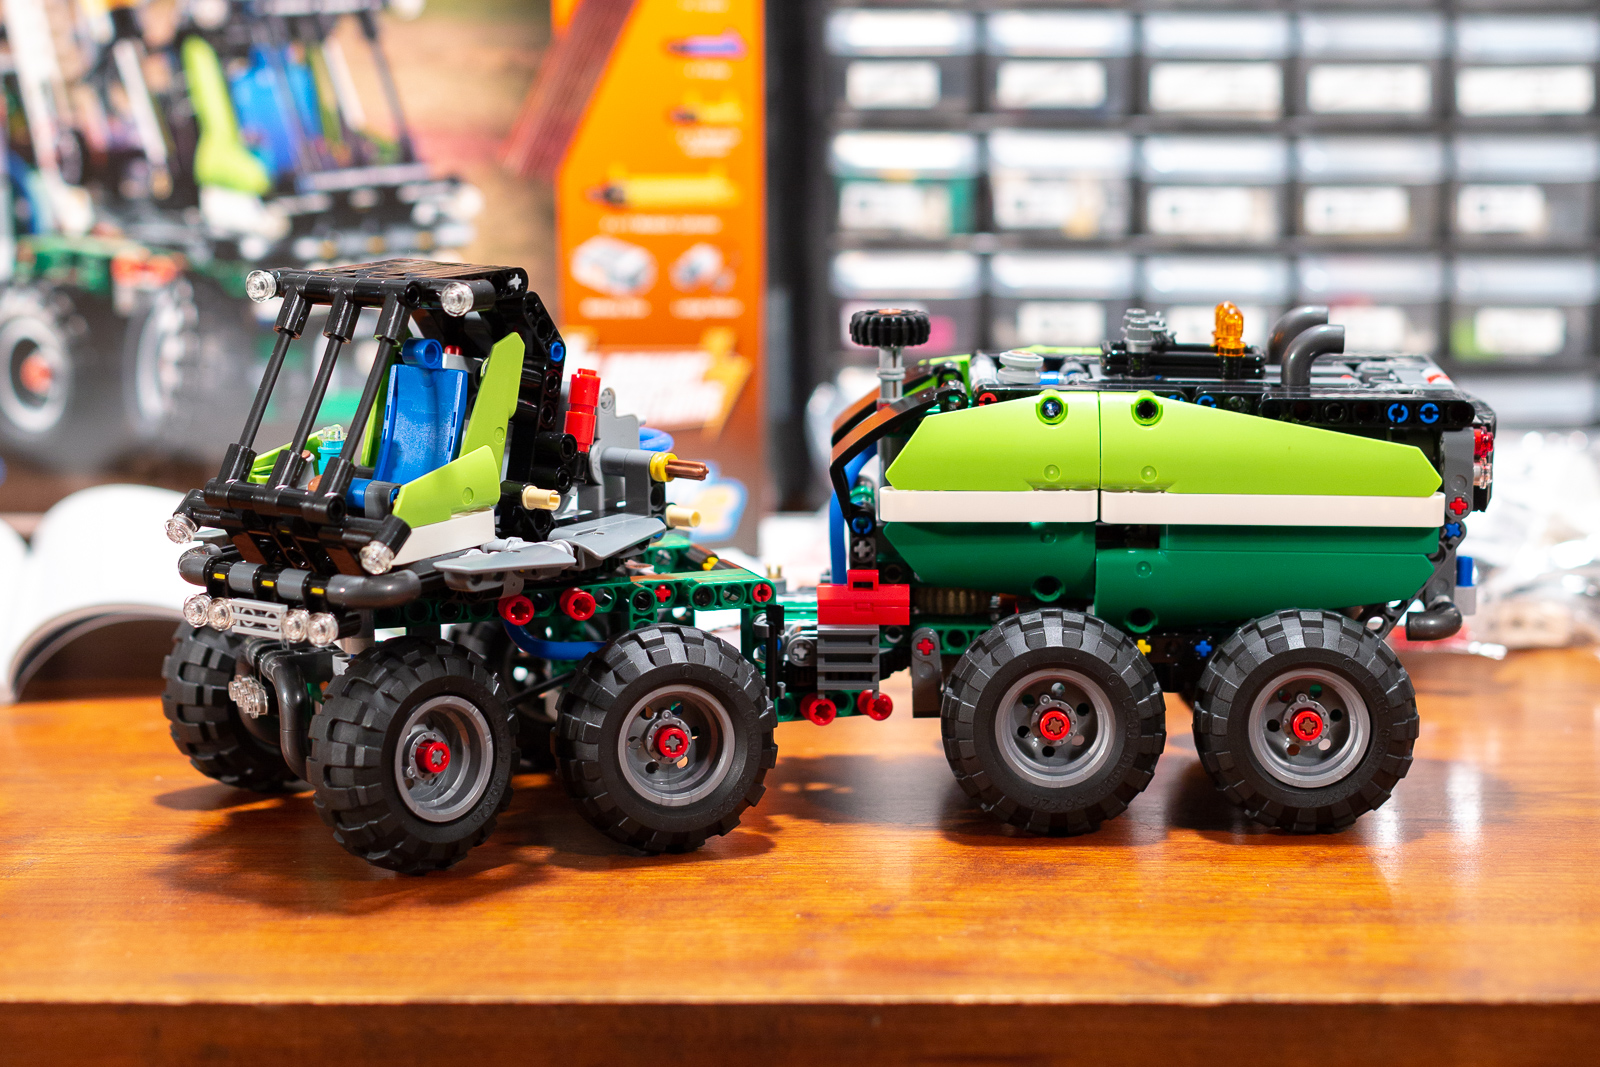
By the end of stage two, we have a nice looking truck, but we still need the crane!
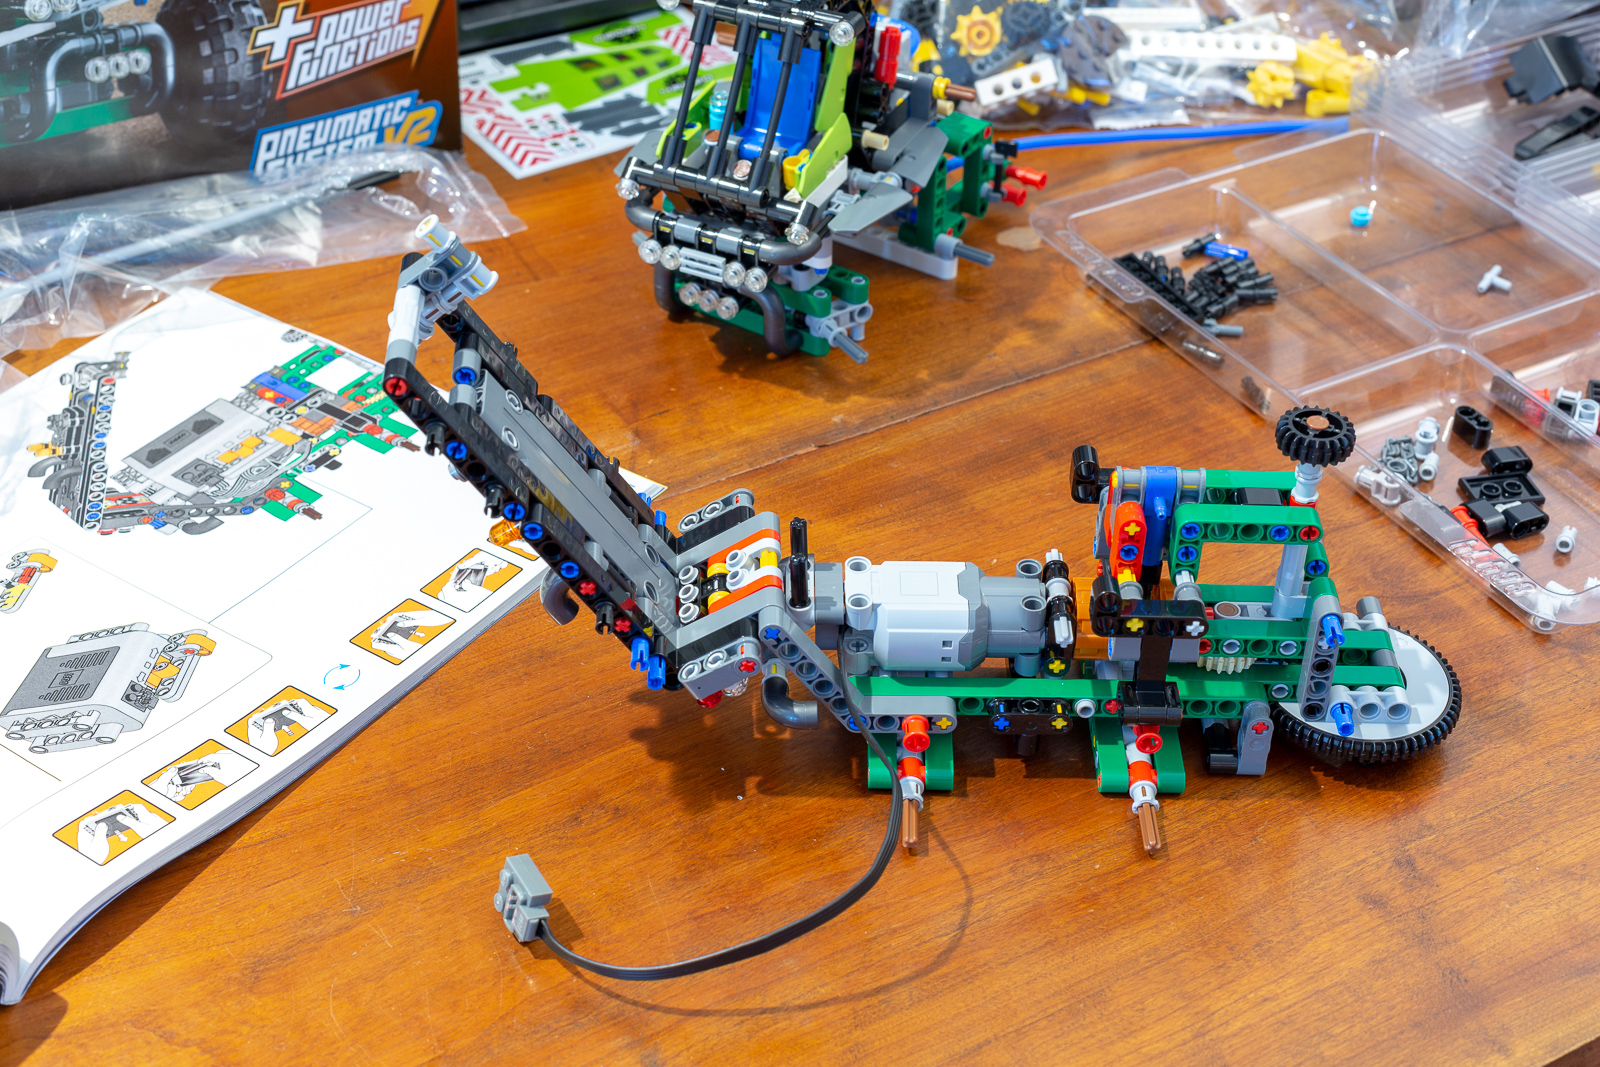
Section Three
I found section three the most challenging to build. I did not find the directions as easy to follow and the debarking structure at the end of the pneumatic crane was quite complex. I was unable to see how several different sections attached, which resulted in many mistakes that were not clear until after the structure was assembled and it was clear it was not working correctly. This was somewhat frustrating, because I felt that I was “done”, and ready to see how all the pneumatics worked, only to have to take multiple parts of the structure apart over and over until I found the mistakes.
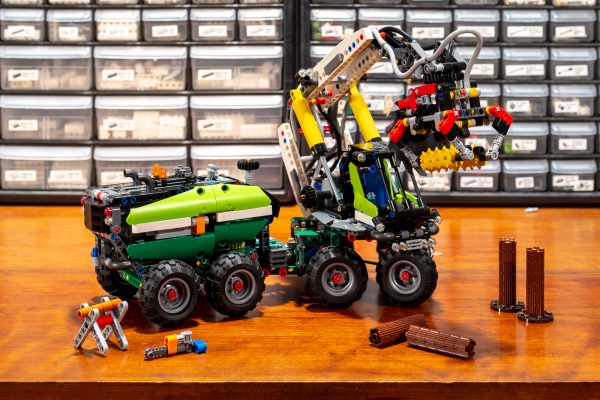
Completed model of #42080 Forest Harvester.
That being said, I found it fascinating to finally add the module cylinders and hook up the pneumatics, once everything was finally assembled correctly. The debarking mechanism opens and closes around a log, and the module cylinders raise and lower the crane, making the model quite realistic and fun maneuver around on the floor and table.
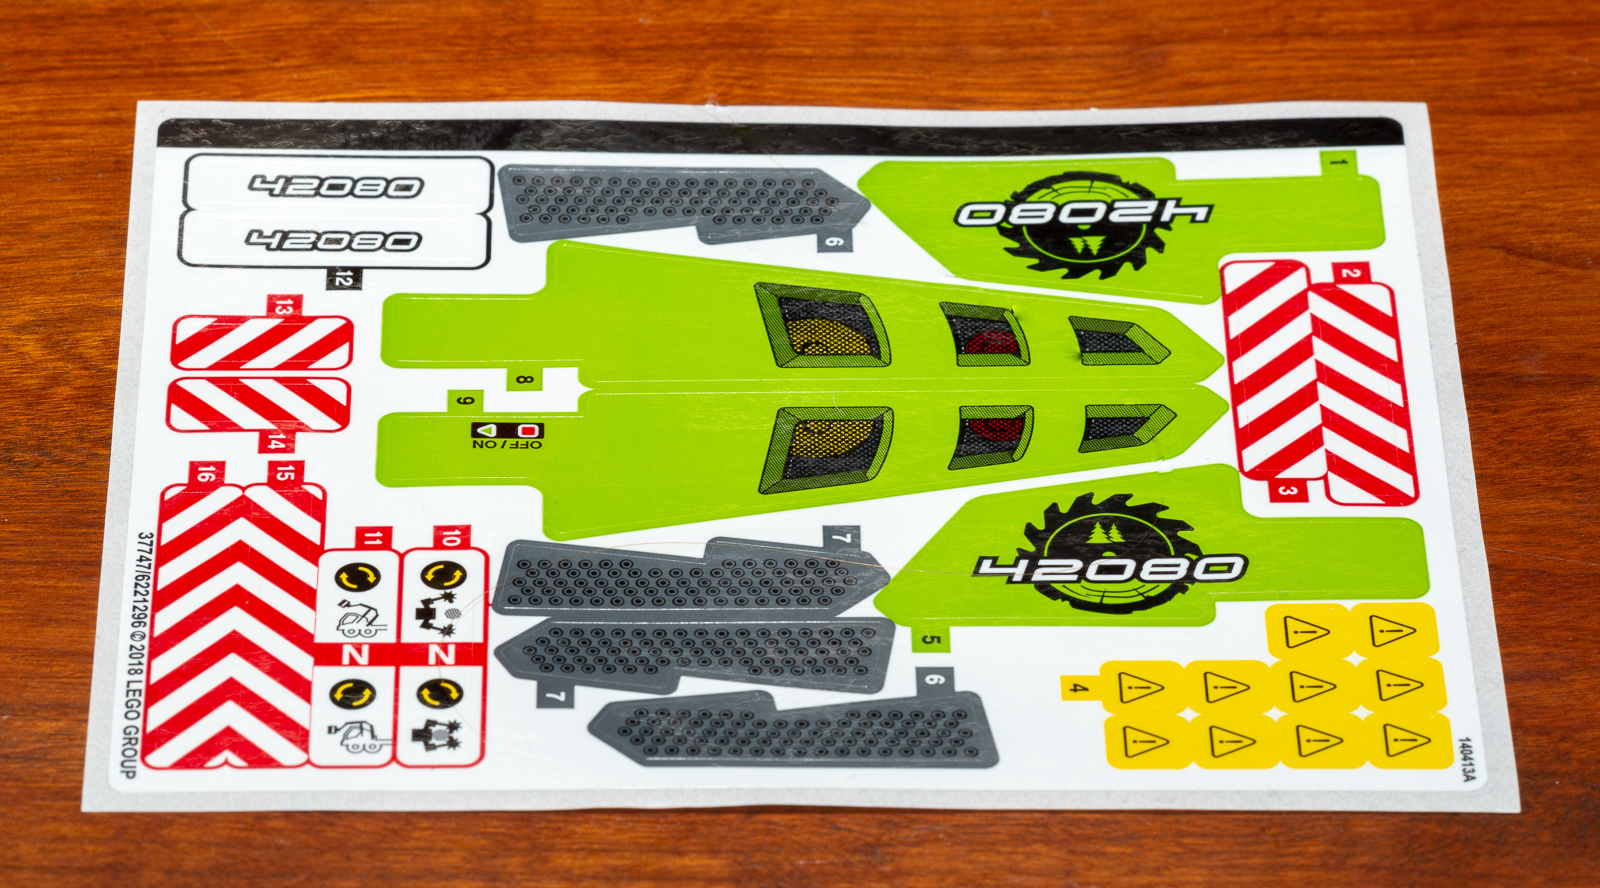
I did not apply the sticker sheet.
Conclusion
In conclusion, I quite enjoyed building the Forest Machine as my first foray into Technic, even with the challenges I experienced in sections three. It was fun to see each section of the vehicle come together, and how the sections connected and worked together as a complete unit.
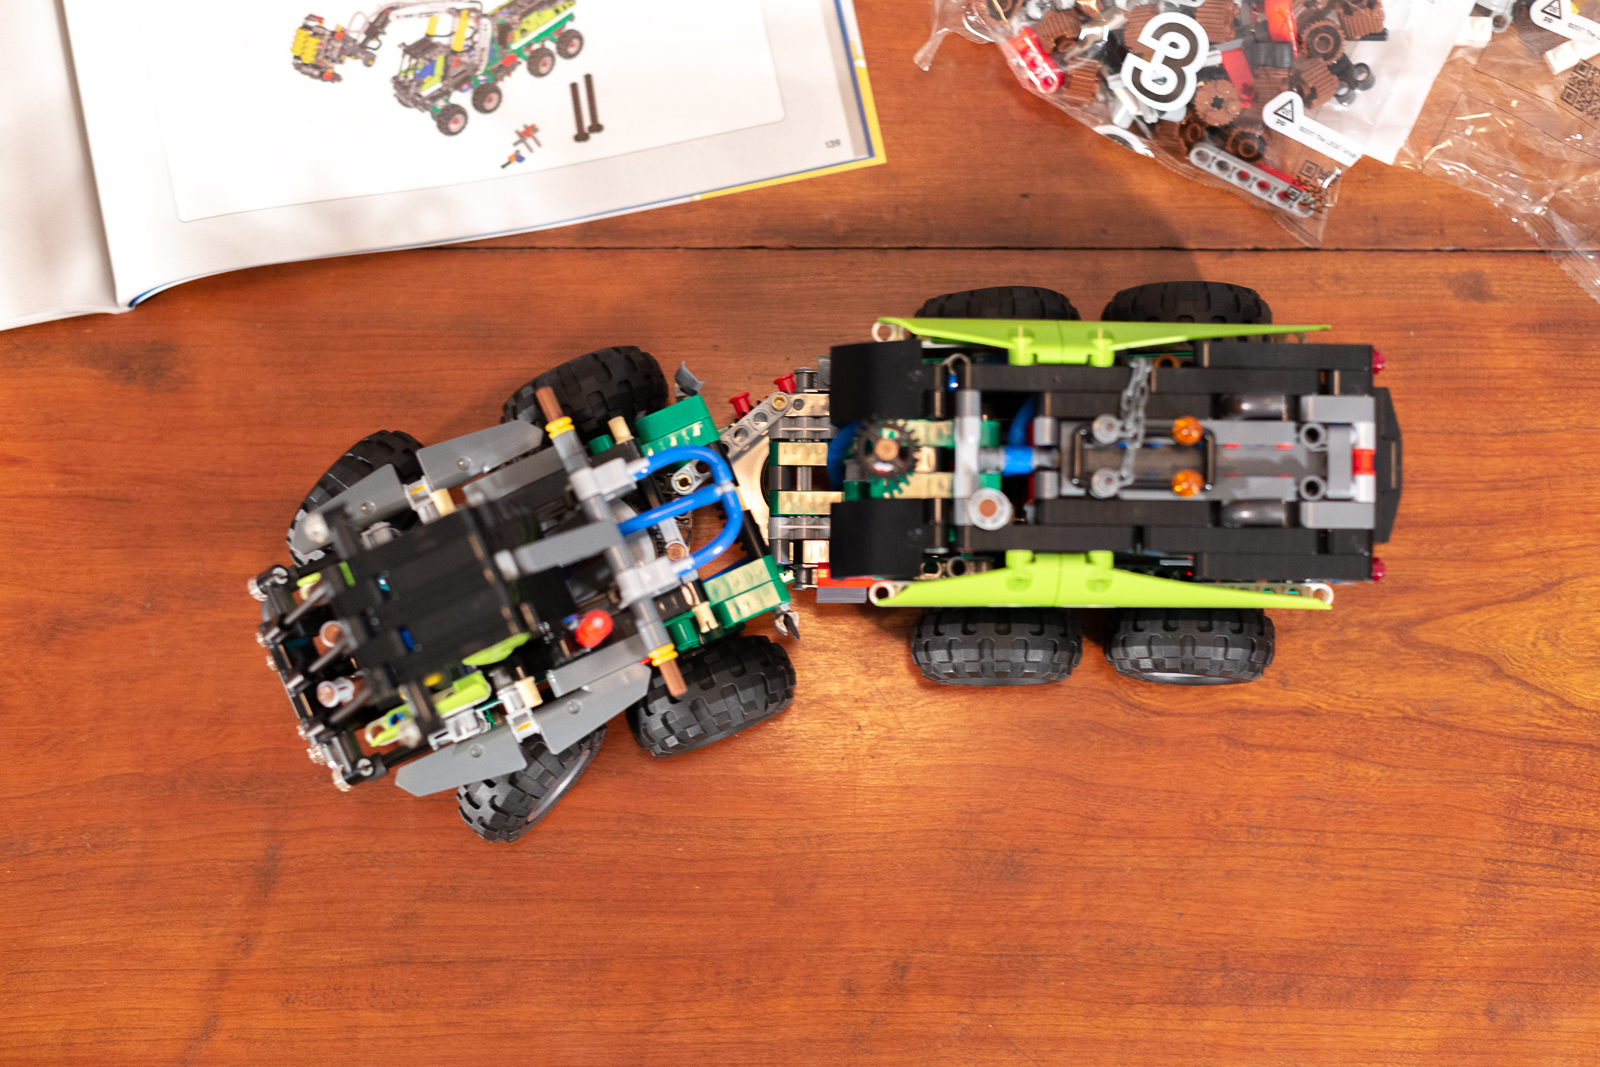
Aerial photo shows how the frontmost wheel turns much more than the second wheel.
In sharing my experiences with Tom and playing with the finished model together, I would rate this set Highly Recommended (4/5 stars). I think less experienced builders will enjoy the technical challenges of the set, and more experienced builders will enjoy the more complex building techniques in sections two and three.
The LEGO Group provided this set for the purposes of this review. The opinions in this article are strictly my own—providing sets for review does not guarantee a positive review. Photos in this article by Tom Alphin unless otherwise noted. Visit the About page for more info about our journalistic standards and affiliate programs.