
Review: #10325 Alpine Lodge (Winter Village)
After 15 years of the LEGO Winter Village series, those sneaky elves keep finding creative new ways to celebrate. Let’s find out if the latest installment lives up to the holiday spirit!
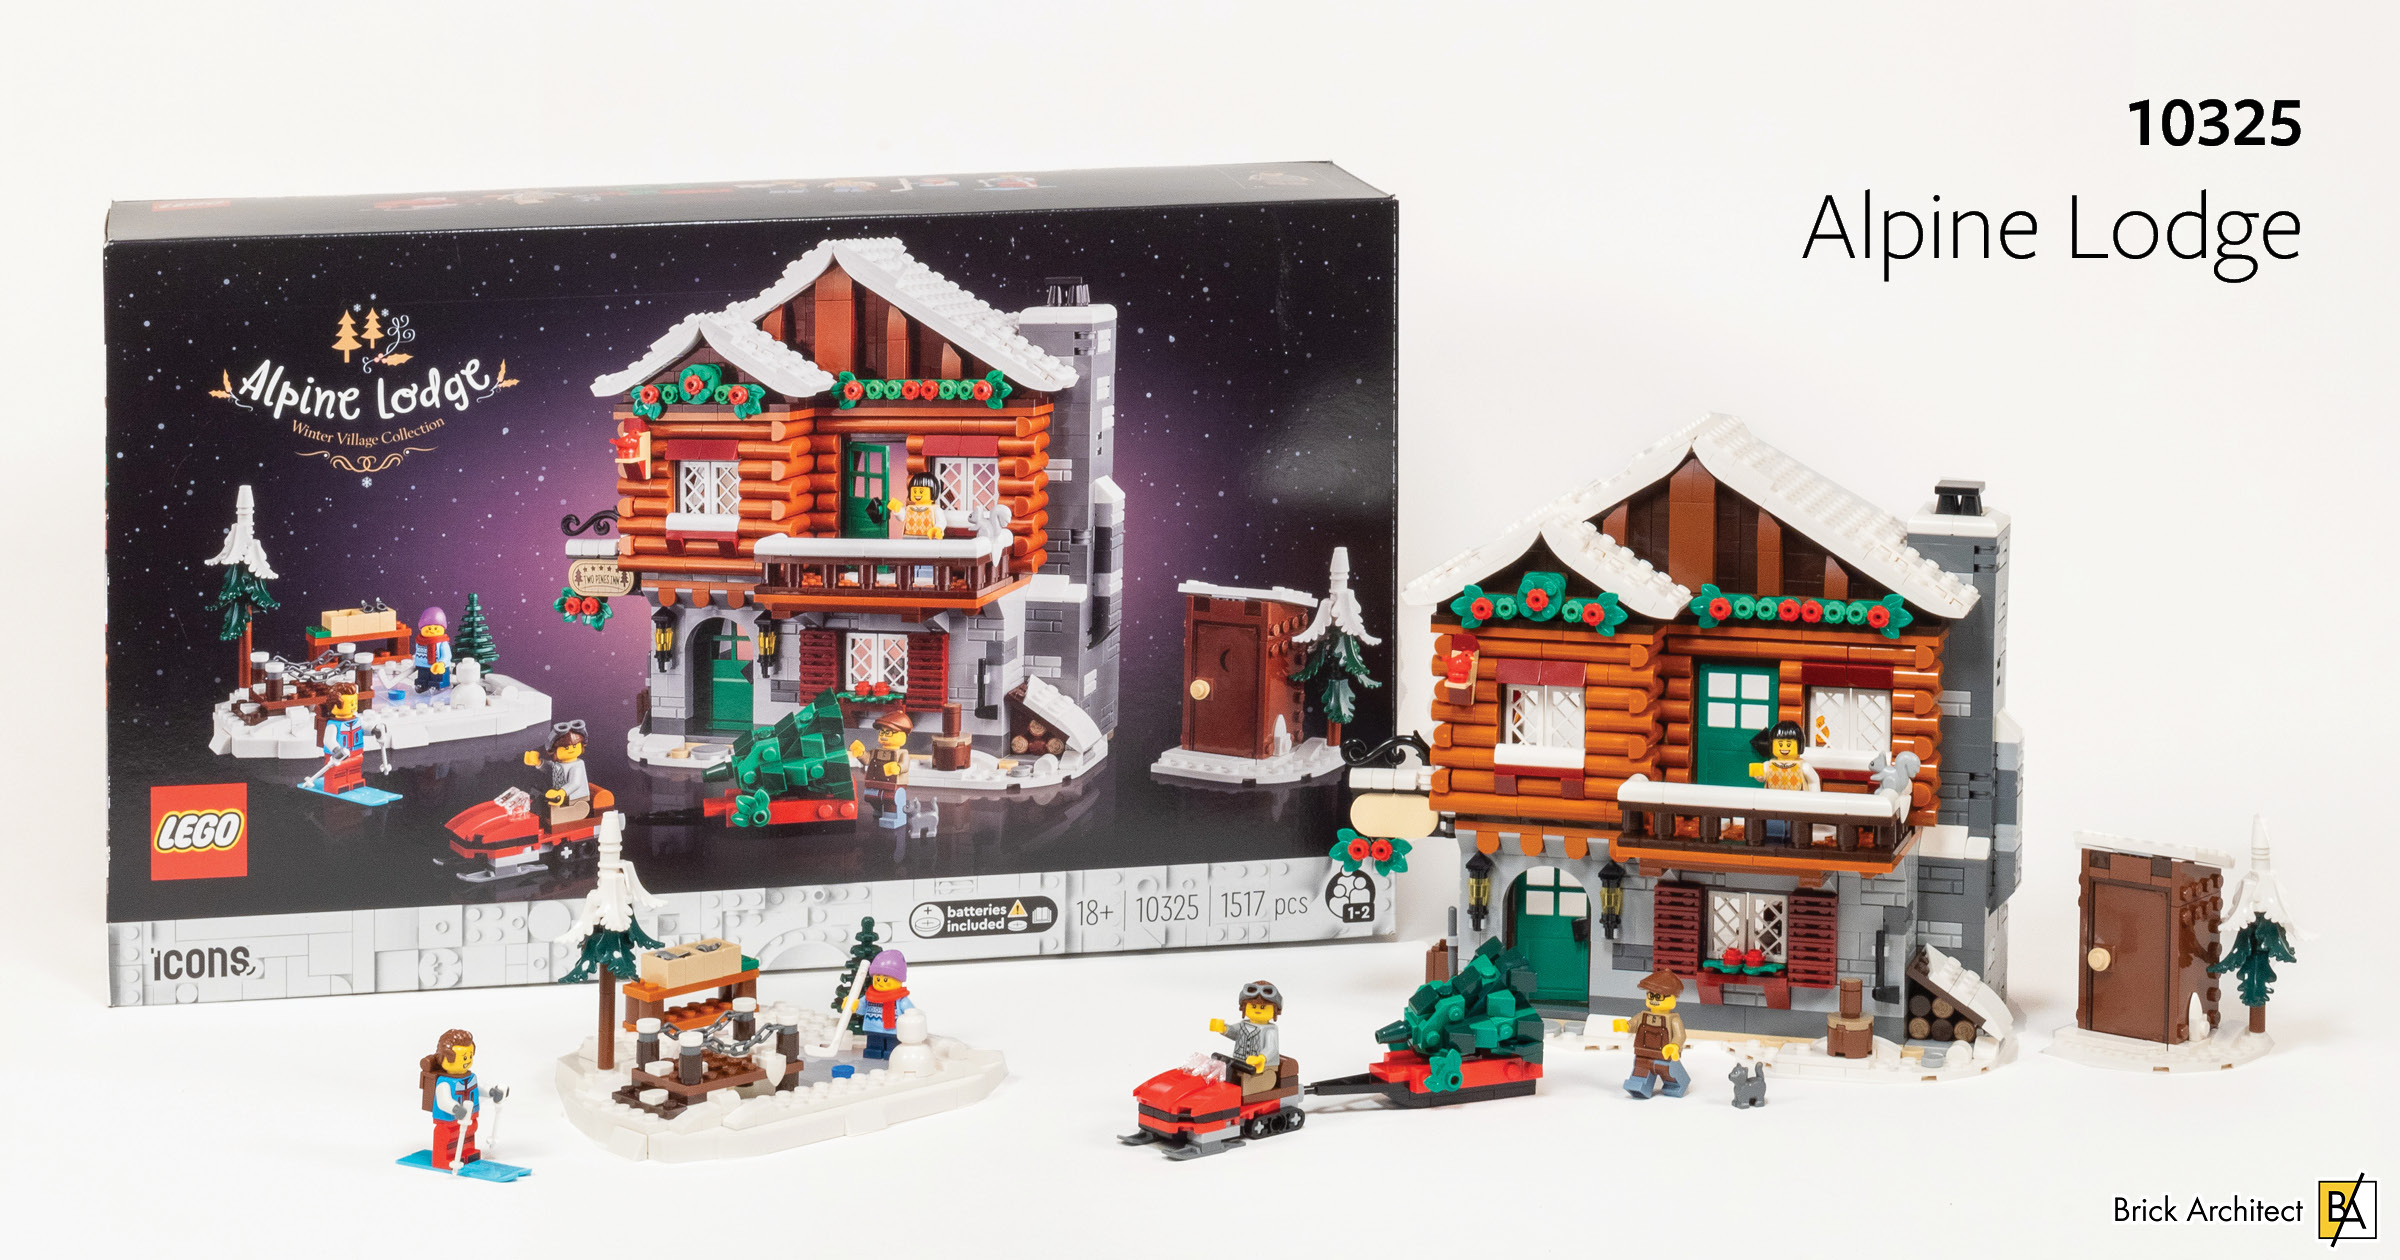
#10325 Alpine Lodge will be released on October 1, 2023. The latest addition to the LEGO Icons Winter Village series costs of $99.99 (99.99€ / £89.99 / 129.99 CAD / 169.99 AUD) and contains 5 minifigures and 1517 pieces. For some reason, this relatively straightforward set with broad appeal is recommended for ages 18+. (I think that The LEGO Group needs to rethink their 18+ / Adults Welcome strategy for sets like this which appeal to kids and are not especially complex.)

#10325 Alpine Lodge – Box Front.
15 years of Winter Village
This year marks the 15th year of the Winter Village theme. Even with the decision to re-release #10249 Winter Toy Shop in 2015 with very few changes, that’s 14 different models based on Winter Holiday traditions associated with Christmas in colder parts of the Northern Hemisphere.
The majority of the sets represent a realistic selection of buildings that you might find in a modest alpine village, including a Bakery, Post Office, and a Fire Station. For two years, we got a Winter Train and Train Station. 2019-2021 offered ahad a more playful era with a Gingerbread House (populated with Gingerbread people), Elf Club House, and Santa’s Vist.
Last year’s #10308 Holiday Village ushered in a new era of increased urban density and shallower one-sided models. This year’s #10325 Alpine Lodge continues this trend with a contemporary Alpine Lodge that is designed to give off rustic vibes even though it is probably closer to town.
First Impressions
Based on a single blurry box photo I saw before the set arrived, I was expecting another cutaway-style holiday set. They have used this approach a lot in recent years to help them deliver a large-looking set with a modest price point. As for the architectural choices, this looks like a modern ski lodge with elements inspired from both North American log cabins and a chalet in the Alps, with an overhanging upstairs room and a stone or brick ground floor. In real life, a modern take on this style would have a tall concrete foundation with a garage on the bottom floor. I do hope we get a playful interior with holiday themed decor and plenty of places for minifigs to sit and play.
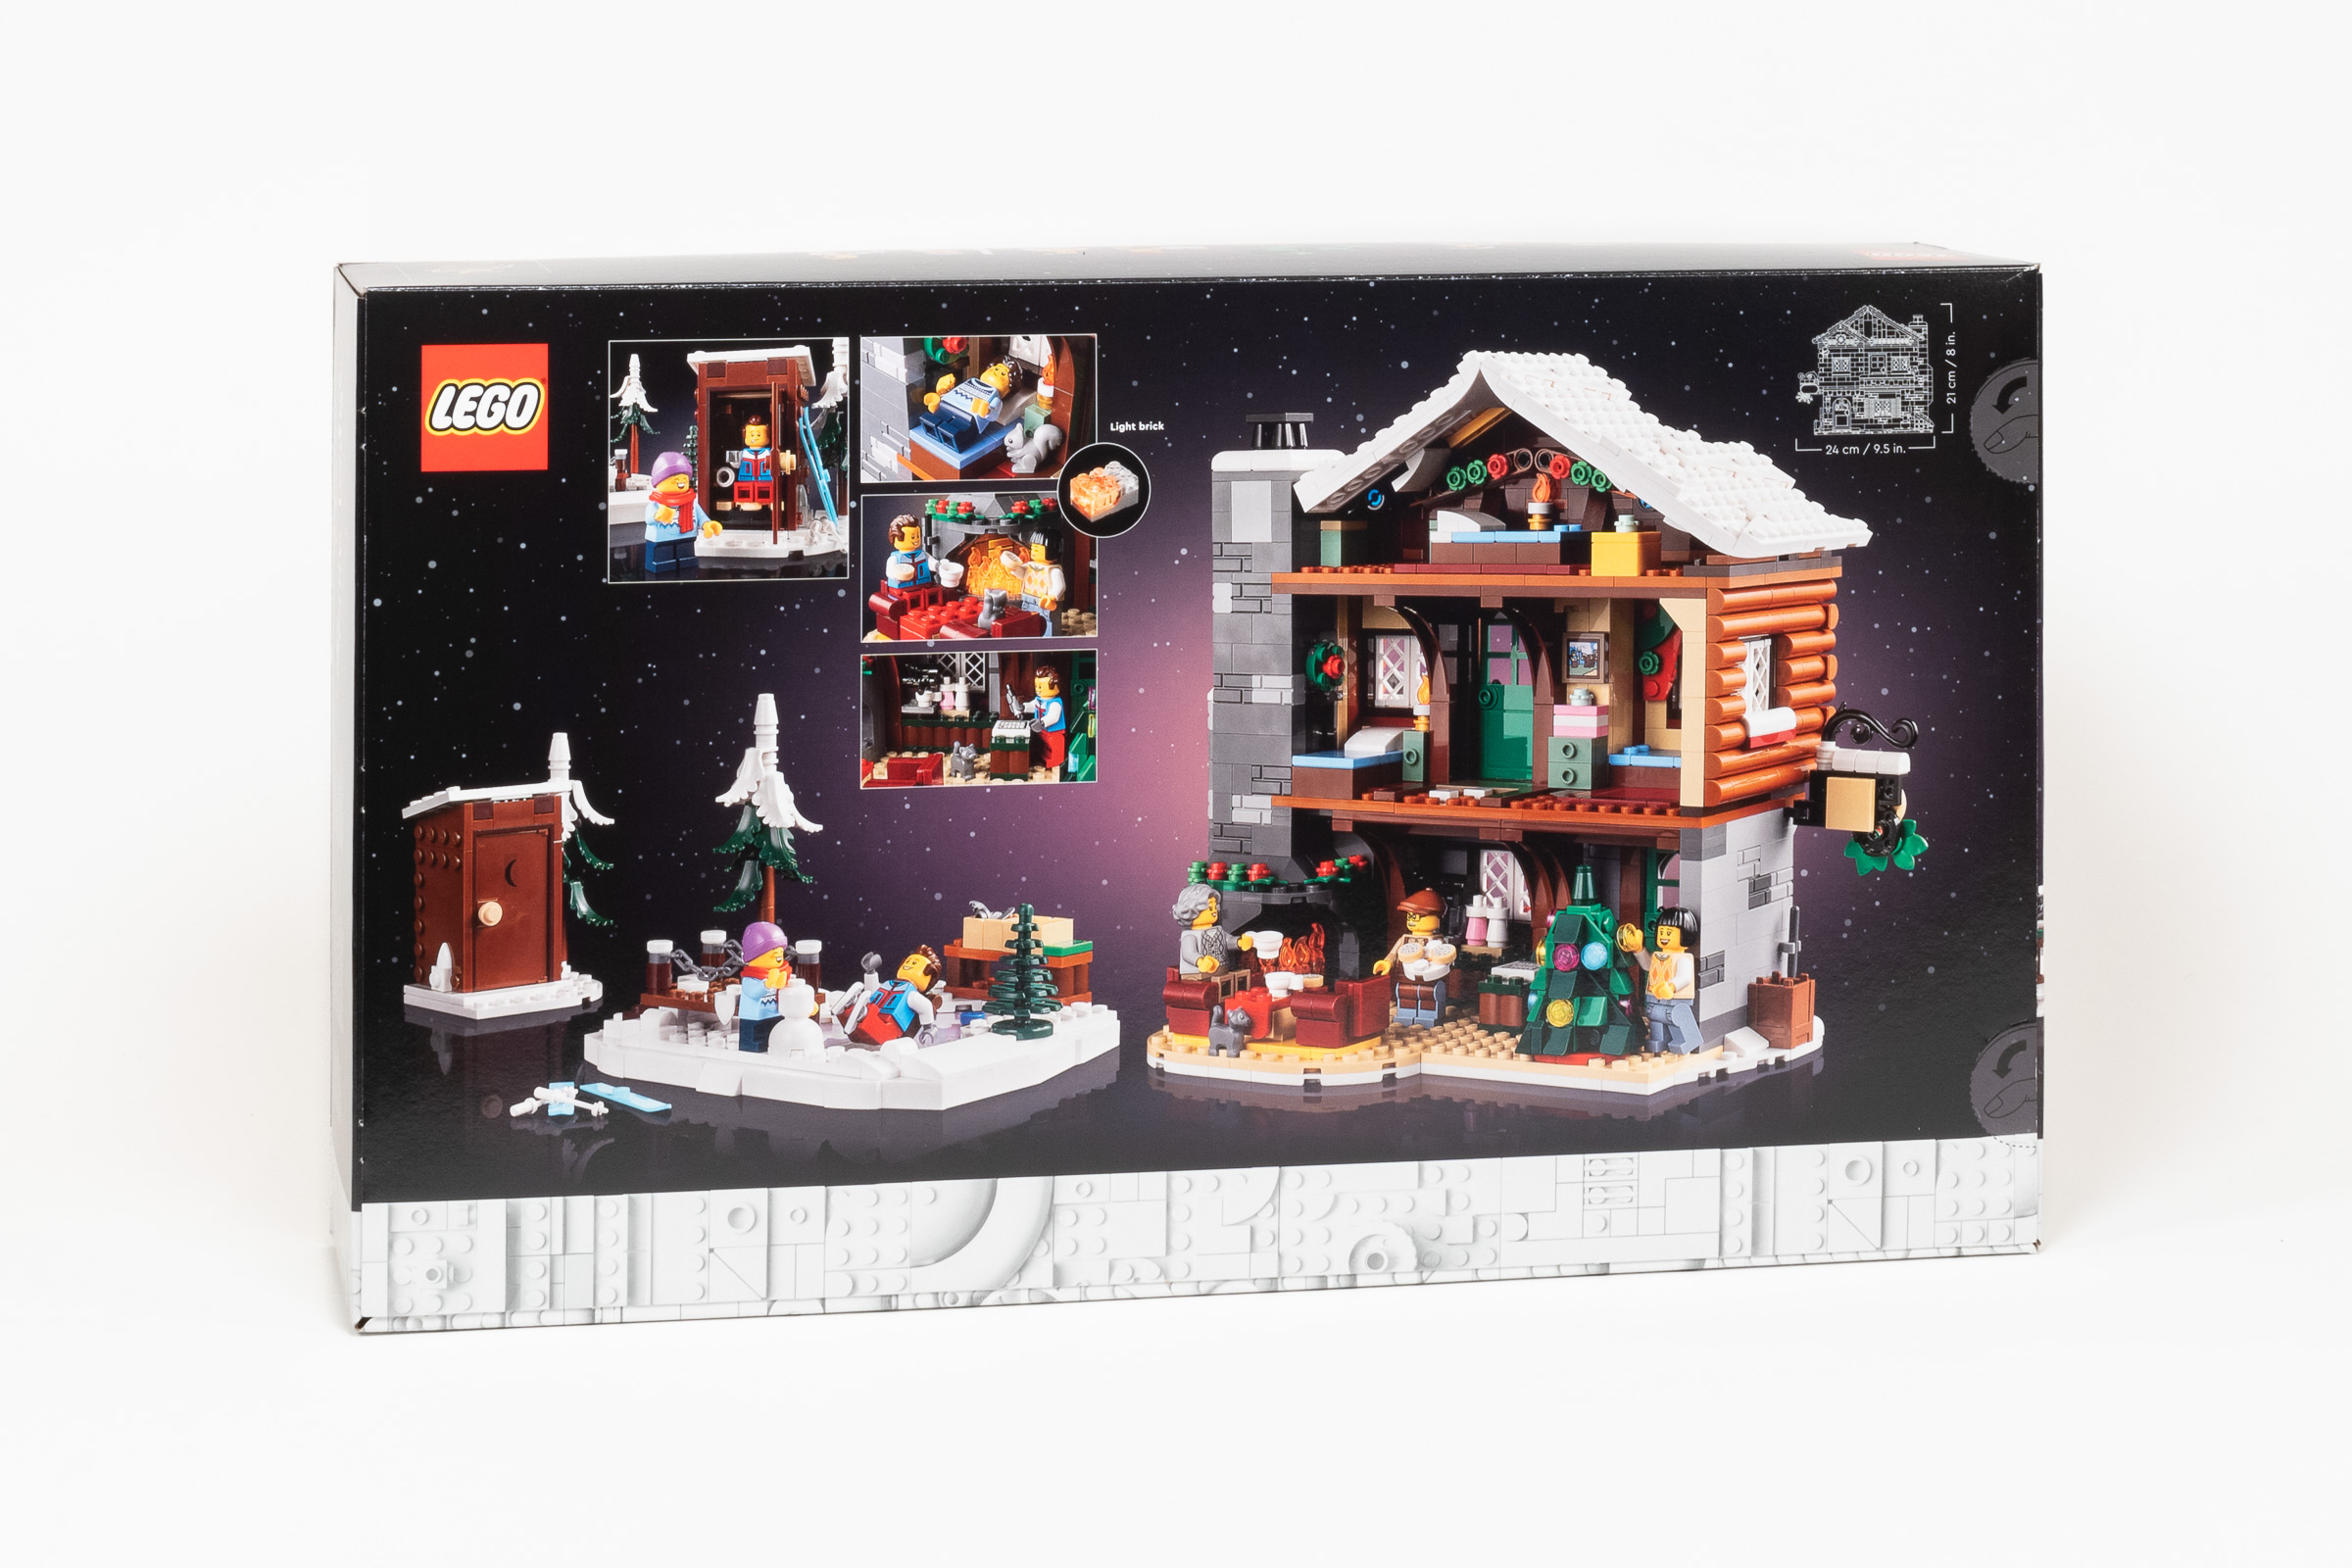
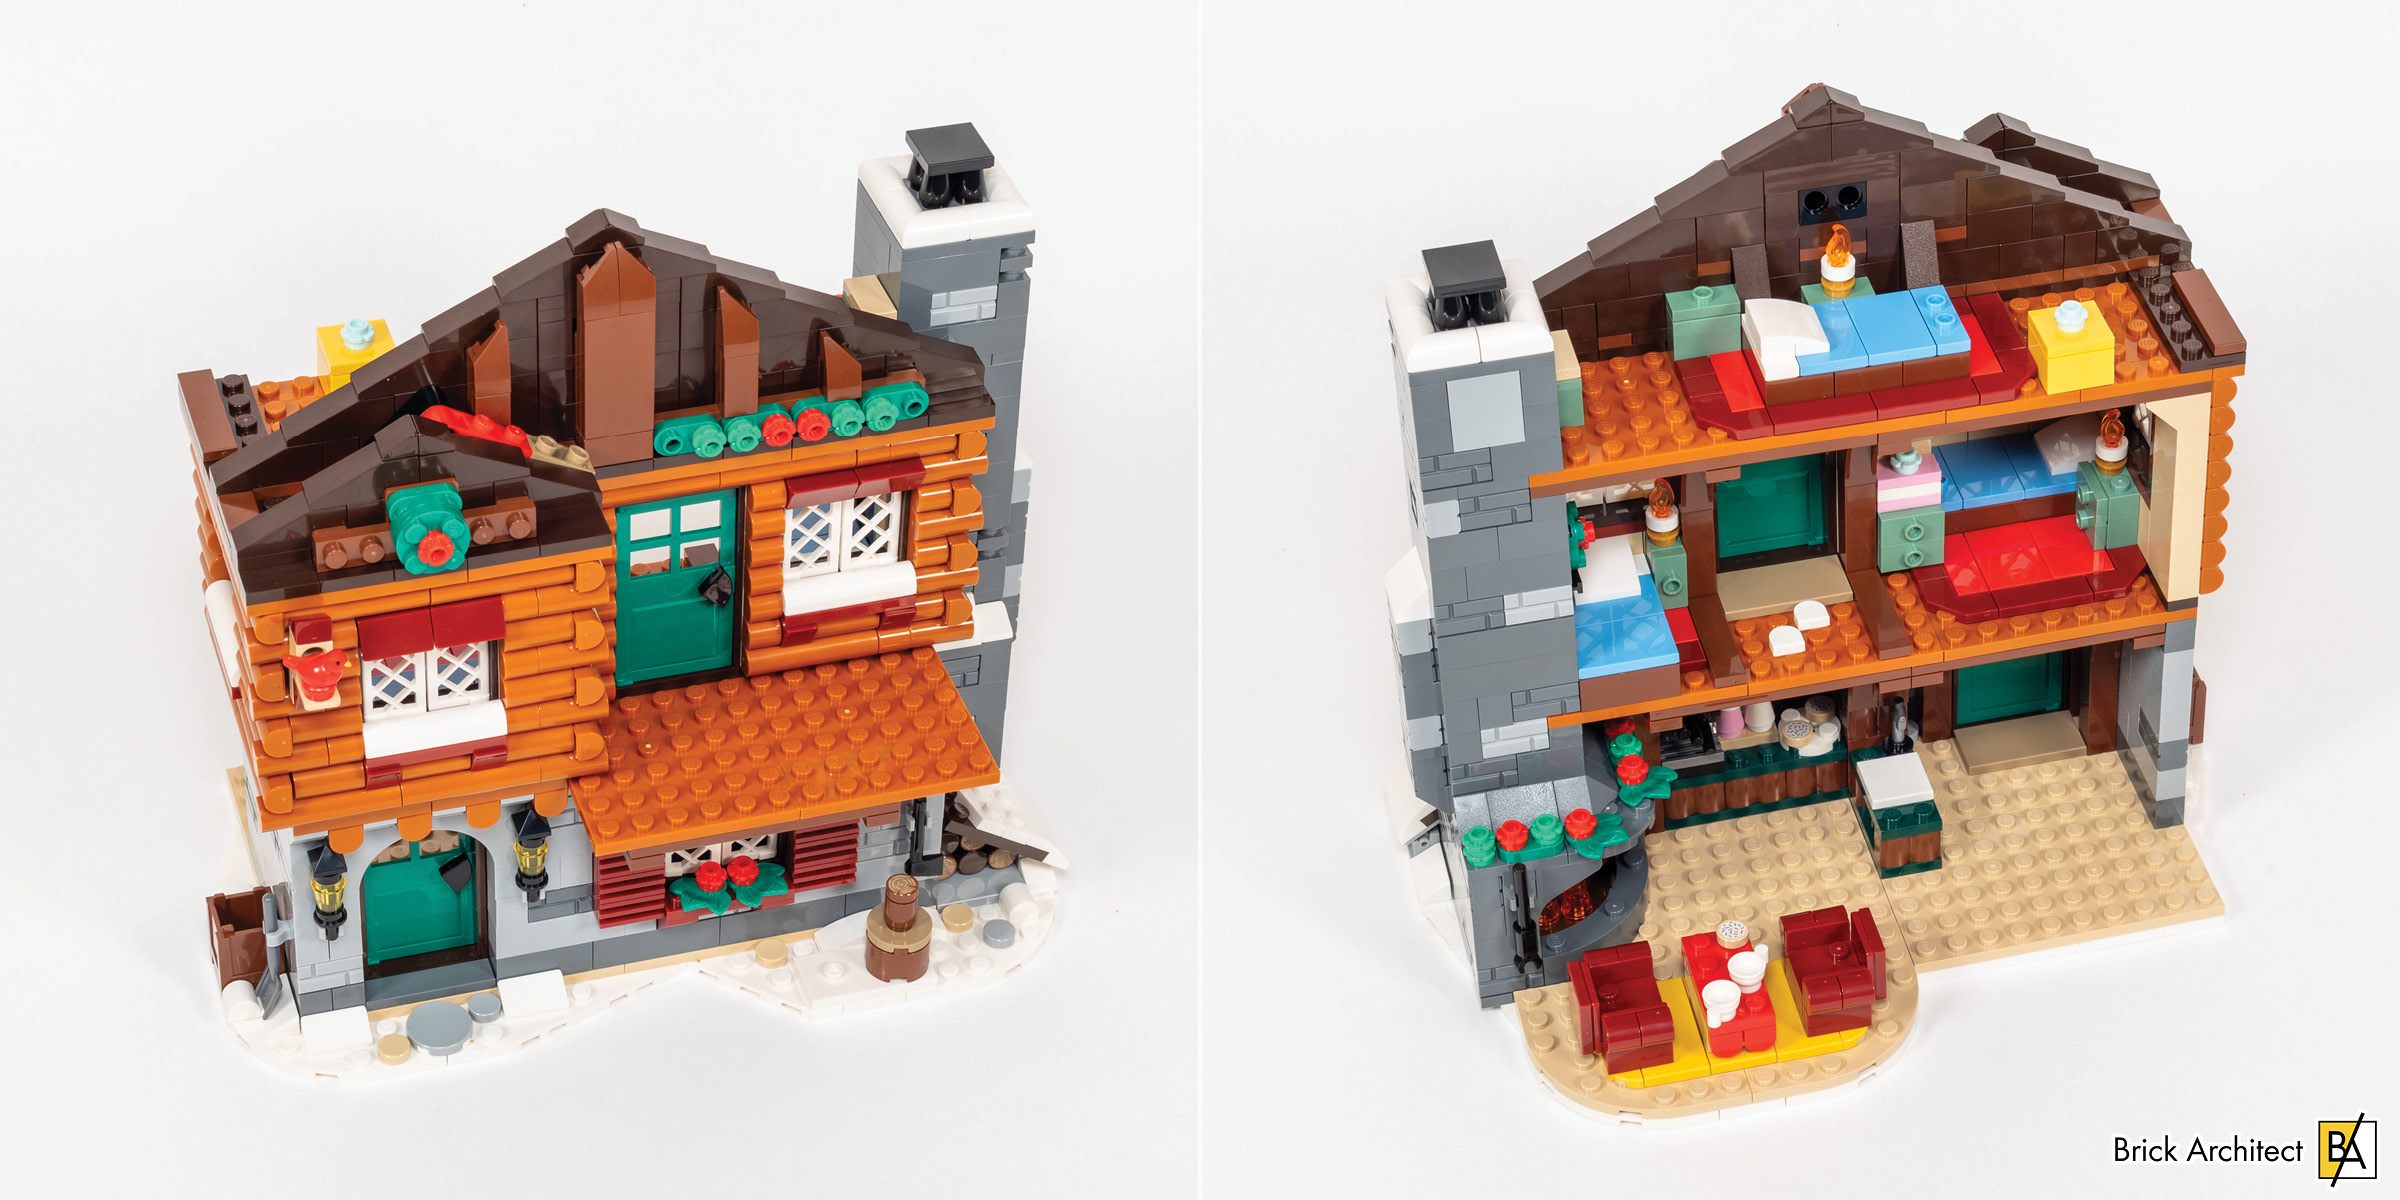
#10325 Alpine Lodge – Back of box shows the building interior.
With the box in hand, I discovered that most of my assumptions were true. I also noticed that the interior is better decorated than I had expected, and the buidling technique used to create the overlapping logs on the corners looks extremely convincing. While I do not like the architectural choice to have a log cabin resting on a tall stone foundation, I am eager to get started.
Contents
The box is typical of any current-generation LEGO set, with a taped or glued box maufactured using relatively thin glossy cardboard. It features a white stripe along the bottom edge which is consistent across all of the sets in the 18+ / Adults Welcome lineup. Even though my review copy was produced for global audience instead of just North America, it does include the part count on the corner. You will also see an icon marked ‘1-2’ which means that it is designed to be built by one or two different people.
- Box Size: 47.9 × 28.8 × 11.8 cm (18 7/8 × 11 × 4 5/8”)
- Part Count: 1517 pieces
- LEGO Parts Weight: 1055 g (2.3 lbs)
- Weight-per-piece: 0.70 g/piece
- Price per piece: $0.066 per piece
- Price per gram: $0.095 per gram.
- Numbered bags/stages: 10
- Pieces per stage (average): 152 pieces.
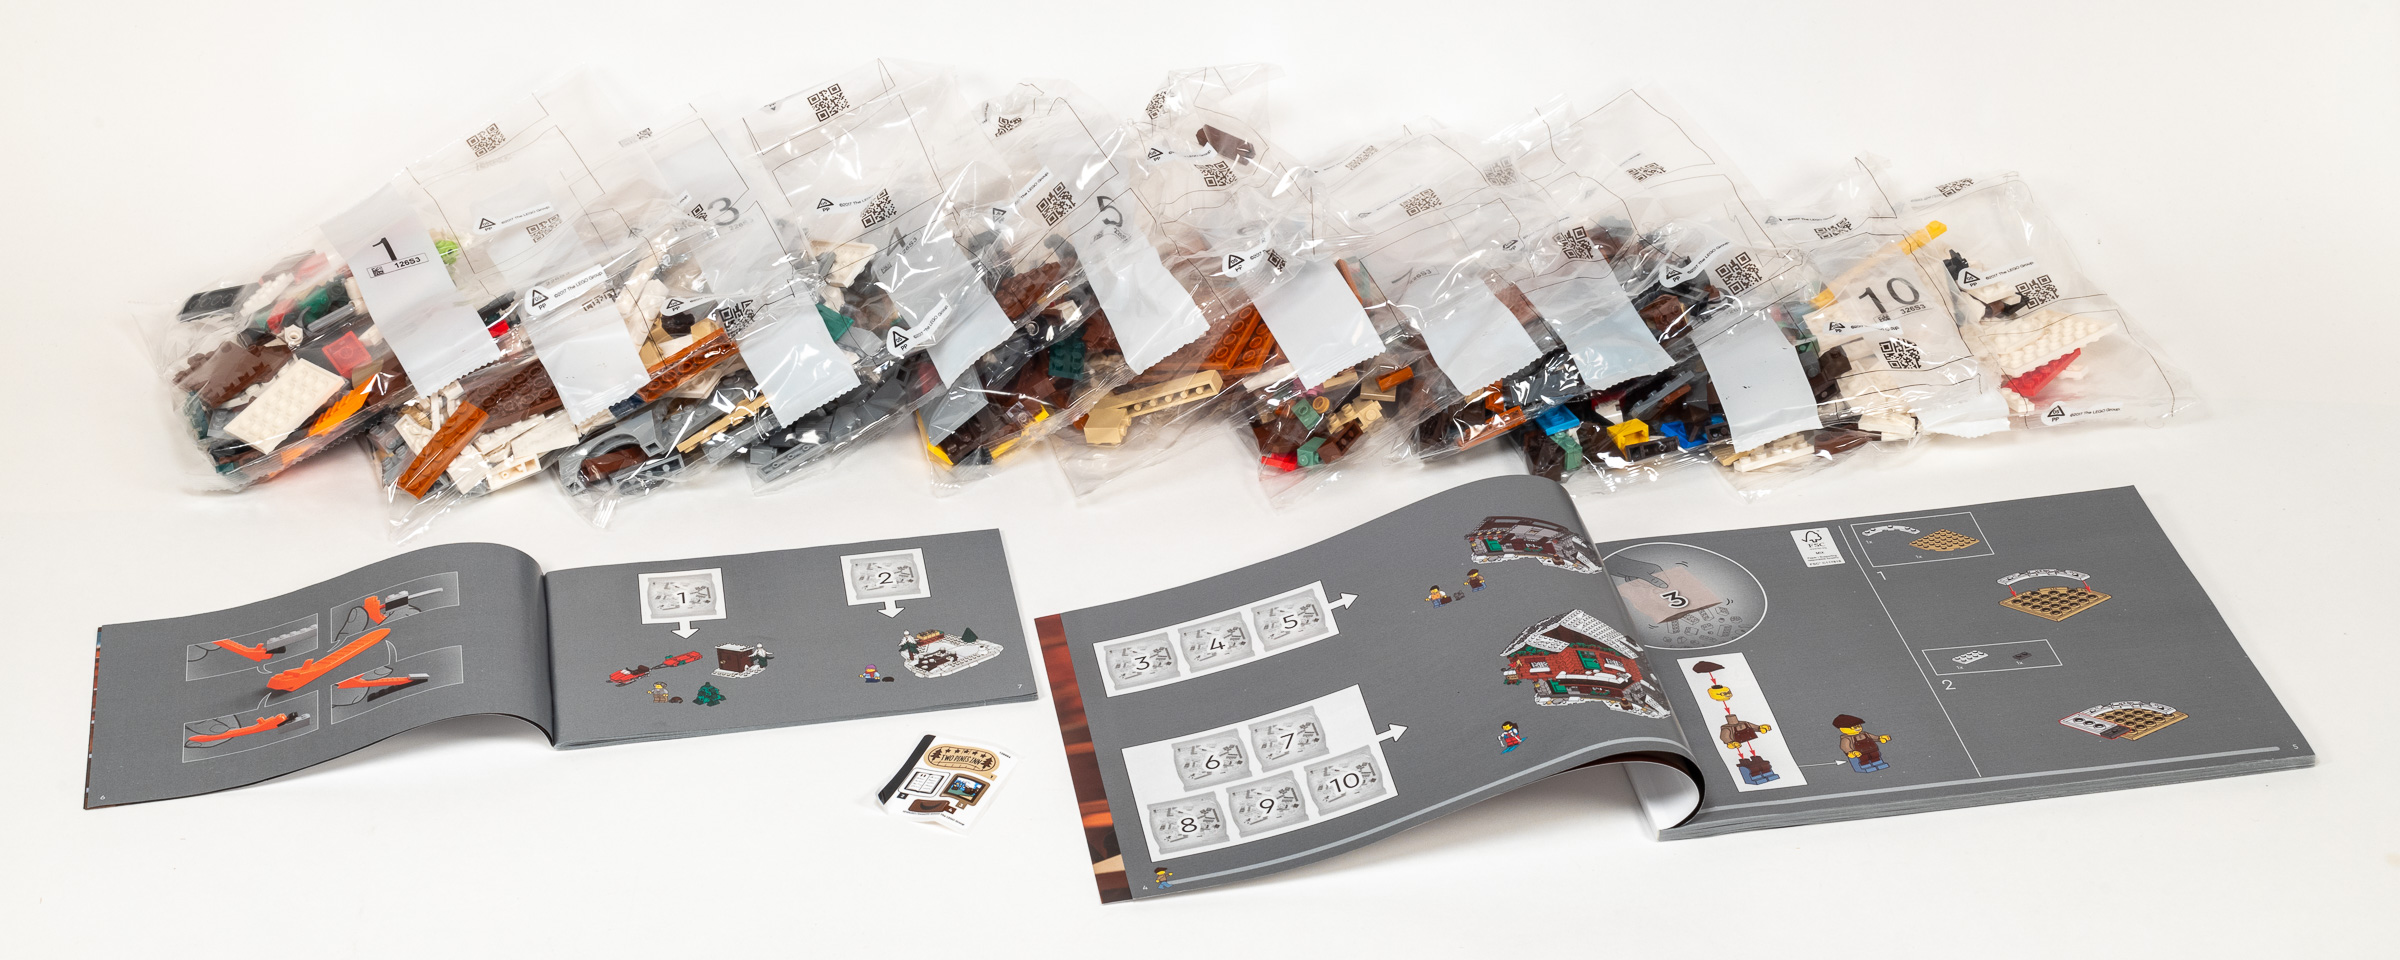
The build process involves two instruction books and 10 numbered stages.
While The LEGO Group almost always includes numbered stages in new LEGO sets, it is pretty common to get around 250 pieces per bag. This set includes 10 numbered bags in a set with just 1517 pieces for an average of just 152 pieces per stage. (Having fewer parts per stage makes the build process faster since you spend less time searching for small parts. It is also easier to pause the build process at any time.)
- Bag 1: 1x large bag (marked 126S3).
- Bag 2: 1x large bag (marked 226S3).
- Bag 3: 1x extra-large bag (marked 226S3).
- Bag 4: 1x large bag (marked 126S3).
- Bag 5: 1x large bag (marked 226S3).
- Bag 6: 1x extra-large bag (marked 226S3).
- Bag 7: 1x large bag (marked 226S3).
- Bag 8: 1x large bag (marked 226S3).
- Bag 9: 1x large bag (marked 326S3).
- Bag 10: 1x large bag (marked 326S3).
- Loose components:
- 1x small instruction booklet containing 84 pages. 19.5 x 12.4 cm (7 5/8 x 4 7/8”).
- 1x large instruction booklet containing 176 pages. 27.0 x 19.2 cm (10 5/8 x 7 5/8”).
- 1x small sticker sheet containing 4 stickers (marked “10104307/6444095 ©2023 The LEGO Group”).
Build Process
Outhouse & Snowmobile – Bag 1
Truth be told, I started building this set on Bag 3, because I wanted to set aside these smaller builds to build with my son’s help. When I came back to Bag 1 and started building, I found a simple brick-built Christmas tree and a cute little red snowmobile and trailer (which the freshly cut tree fits on). This is followed by a nice looking outhouse which is immediately recognizable based on the shape and size, even without attaching the included sticker showing the iconic crescent moon on the door or opening the door to see the toilet seat inside.
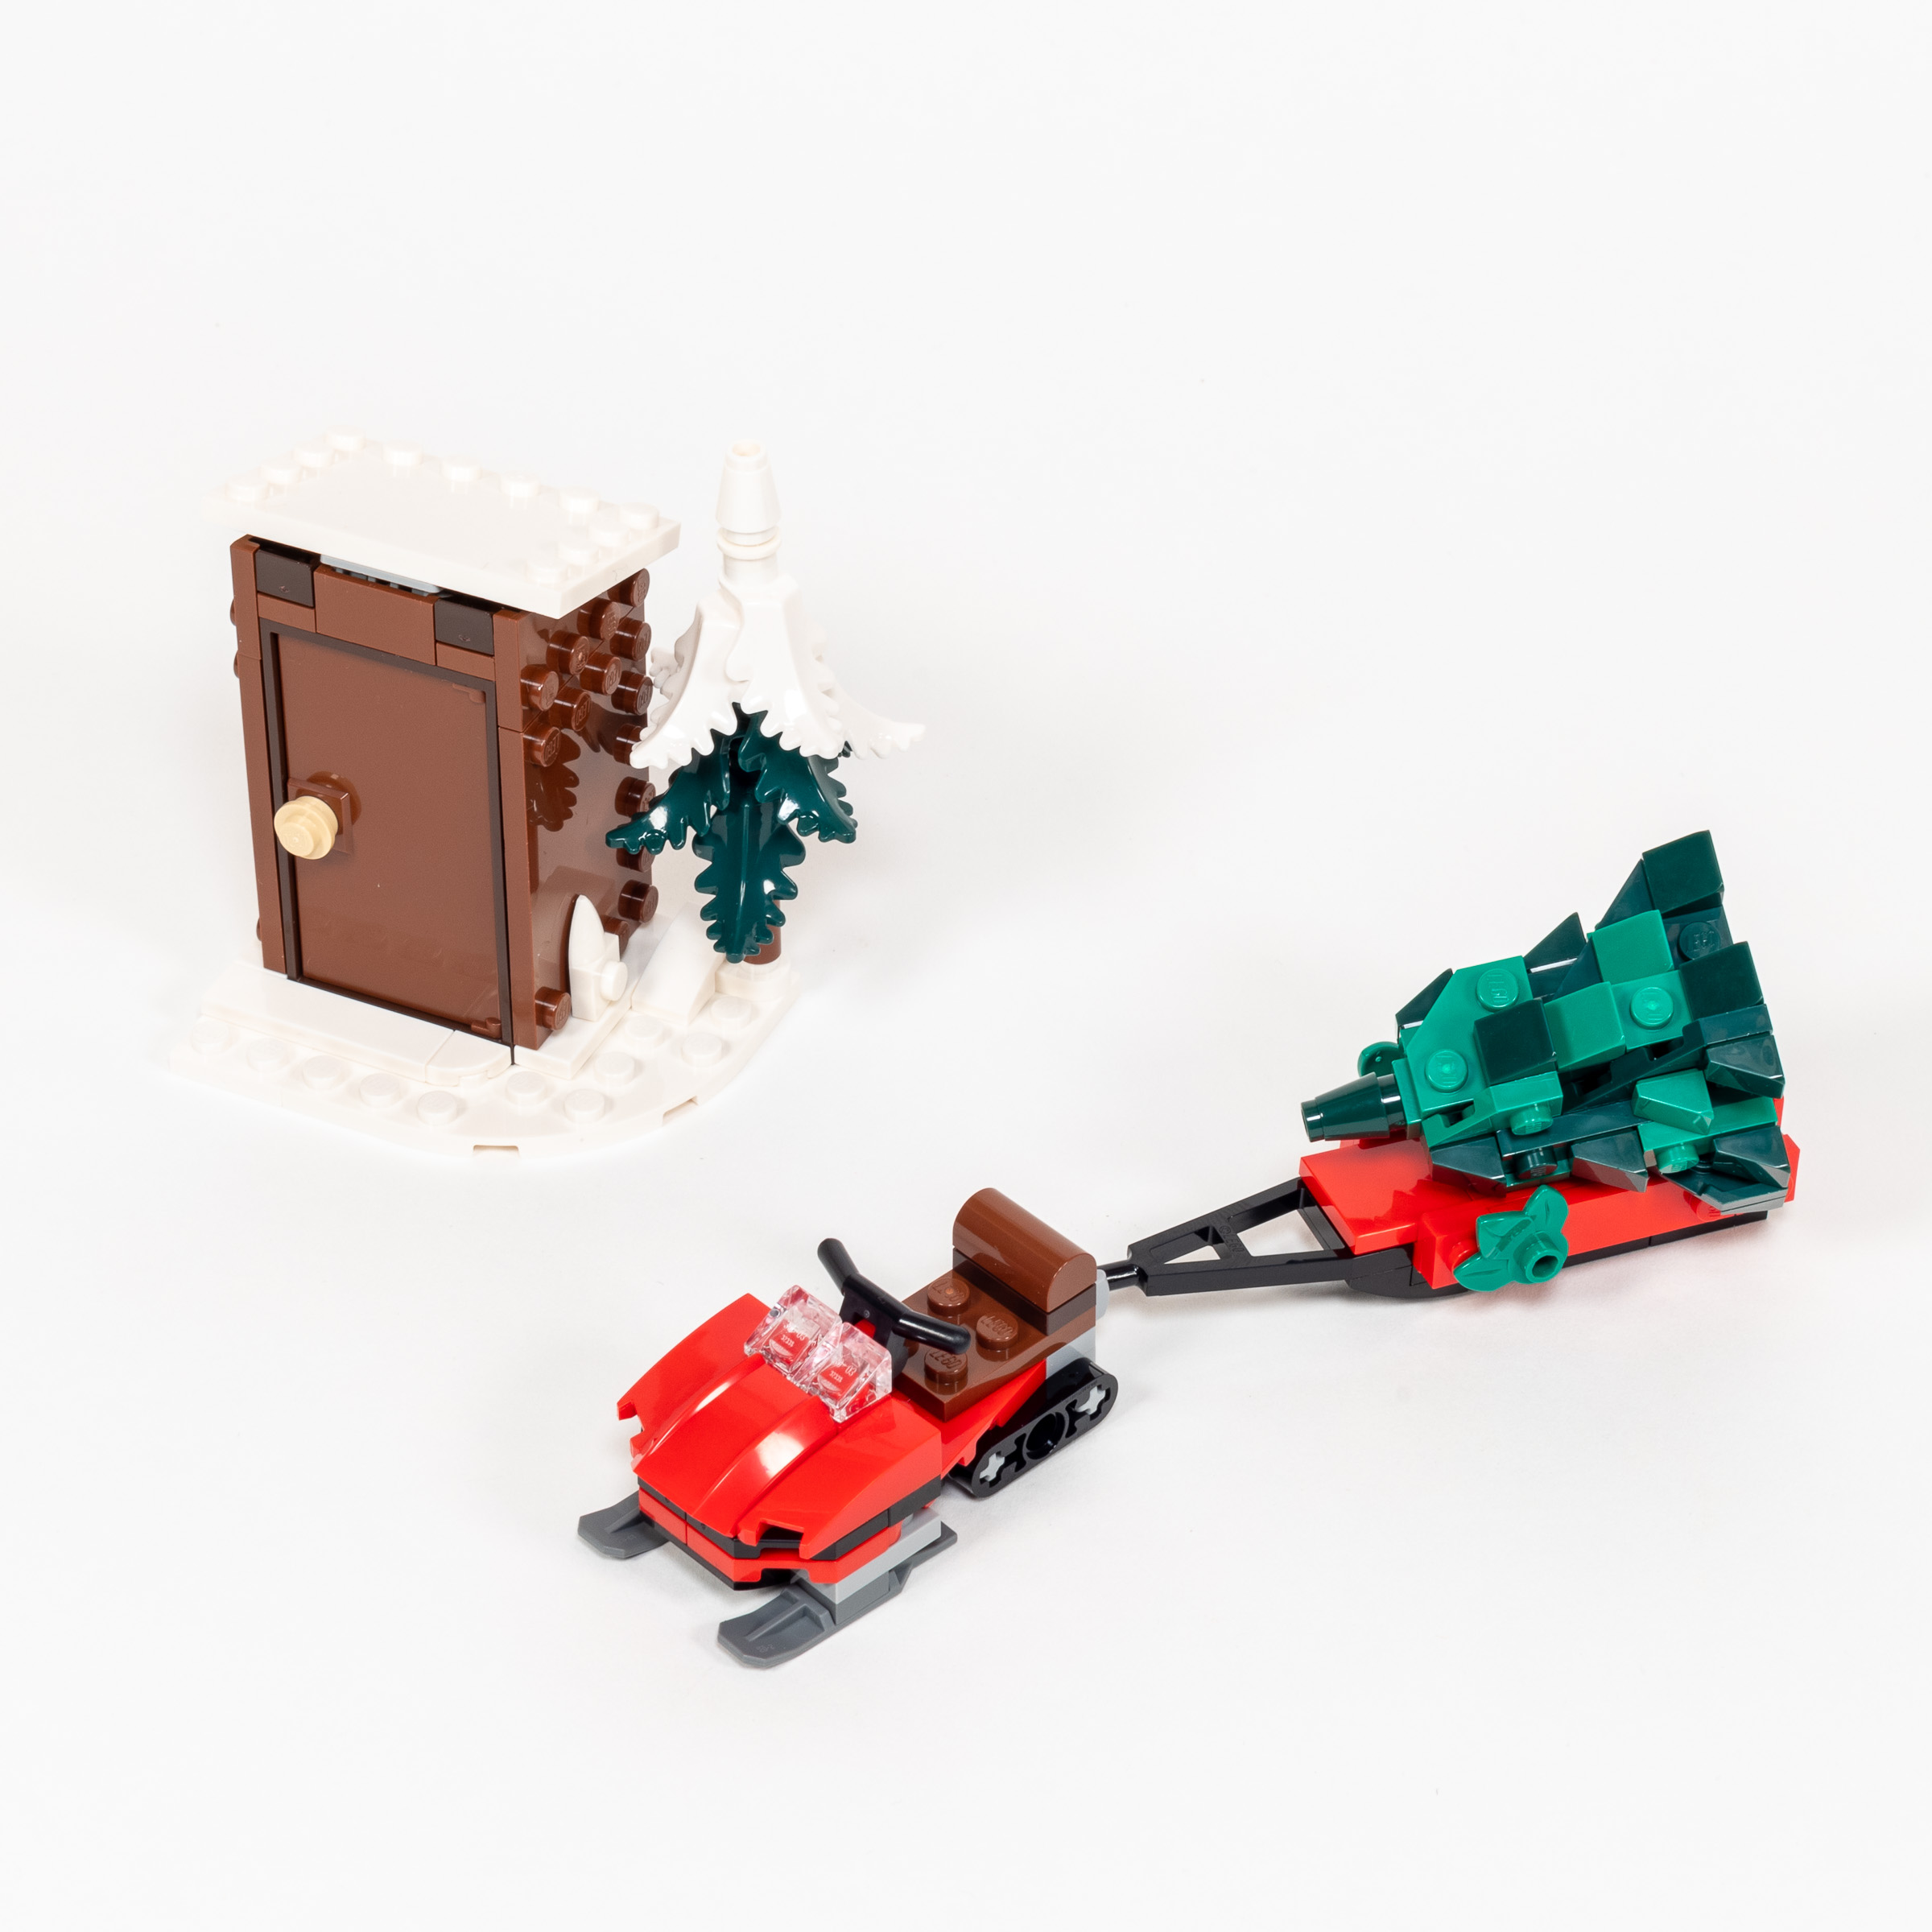
Tree, Snowmobile and Outhouse in Bag 1.
Build time: 19 minutes
Frozen Pond – Bag 2
While it looks simple at first glance, this assembly is almost entirely comprised of SNOT techniques which surround the frozen pond that use three 1×6×5 Panels (part 59349) in the new-for 2020 Transparent with Opalescence color. A nuber of upward-facing studs allow us to attach plates to the top, mimicing the bumpy aesthetic of drifting snow.
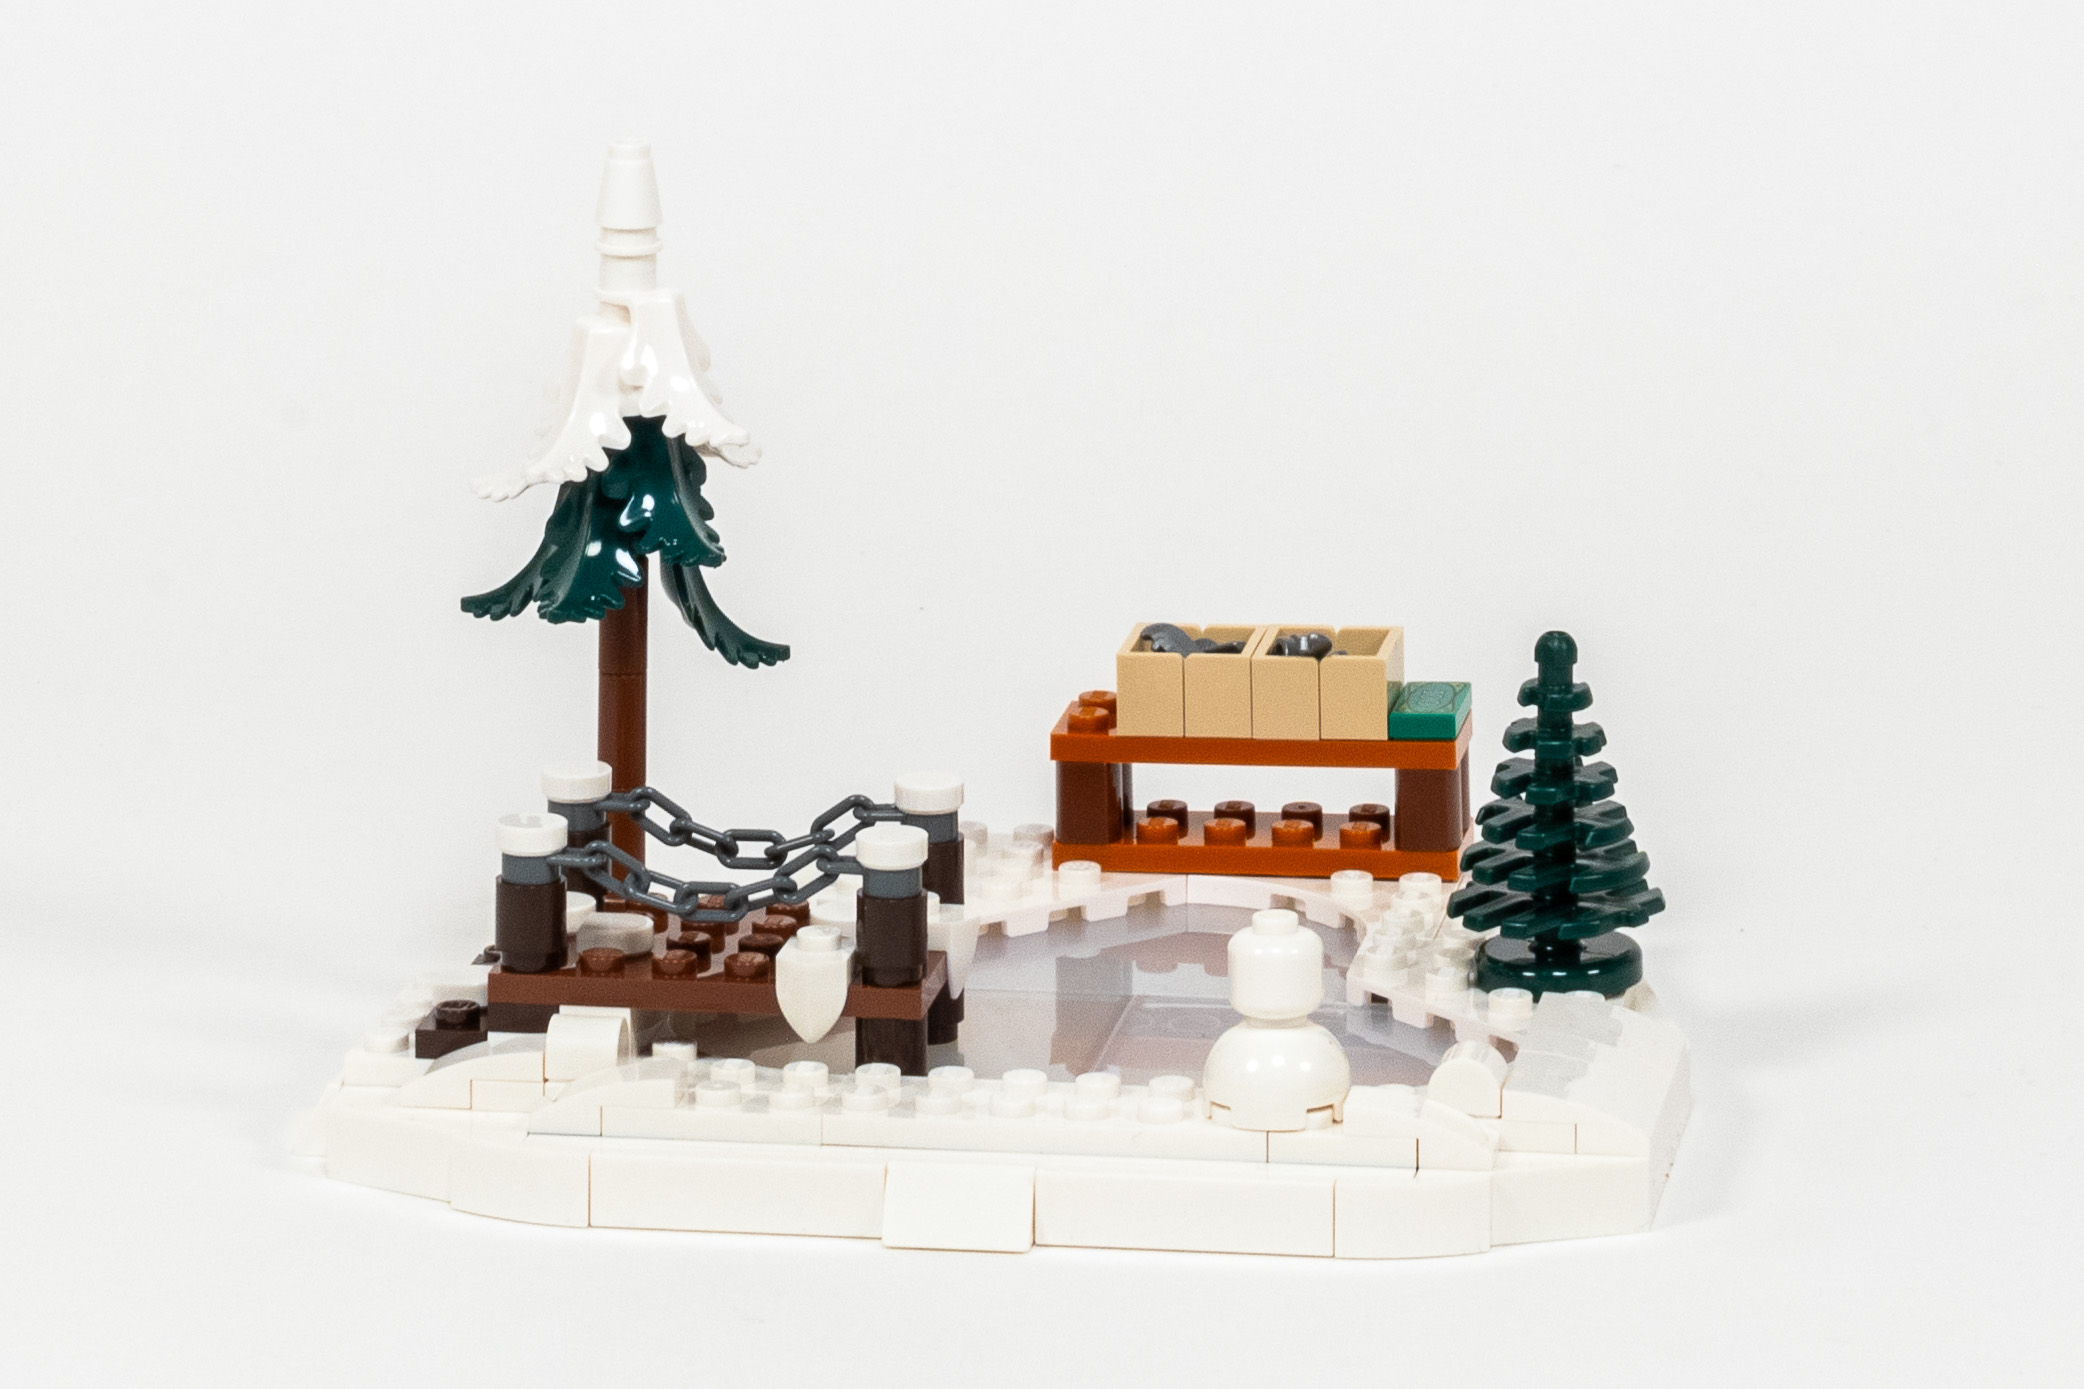
A tiny frozen pond for Ice Skating.
On the left side, we build a small dock, and in the rear we have a place to rent Ice Skates. We repeat the technique used in the previous bag for the snowy evergreen, but the angle used in the instructions was clearer this time. We also get a smaller classic LEGO tree, which I can only imagine was included as an homage to earlier Winter Village sets that included many of these one-piece tree elements.
Build time: 16 minutes
Ground Floor – Bags 3-5
It’s time to start building the central structure and star of the show. Bag 3 begins by assembing a sturdy base using two layers of standard plates. This is similar to how many LEGO Architecture sets begin, but without the black tile edge on all four sides.
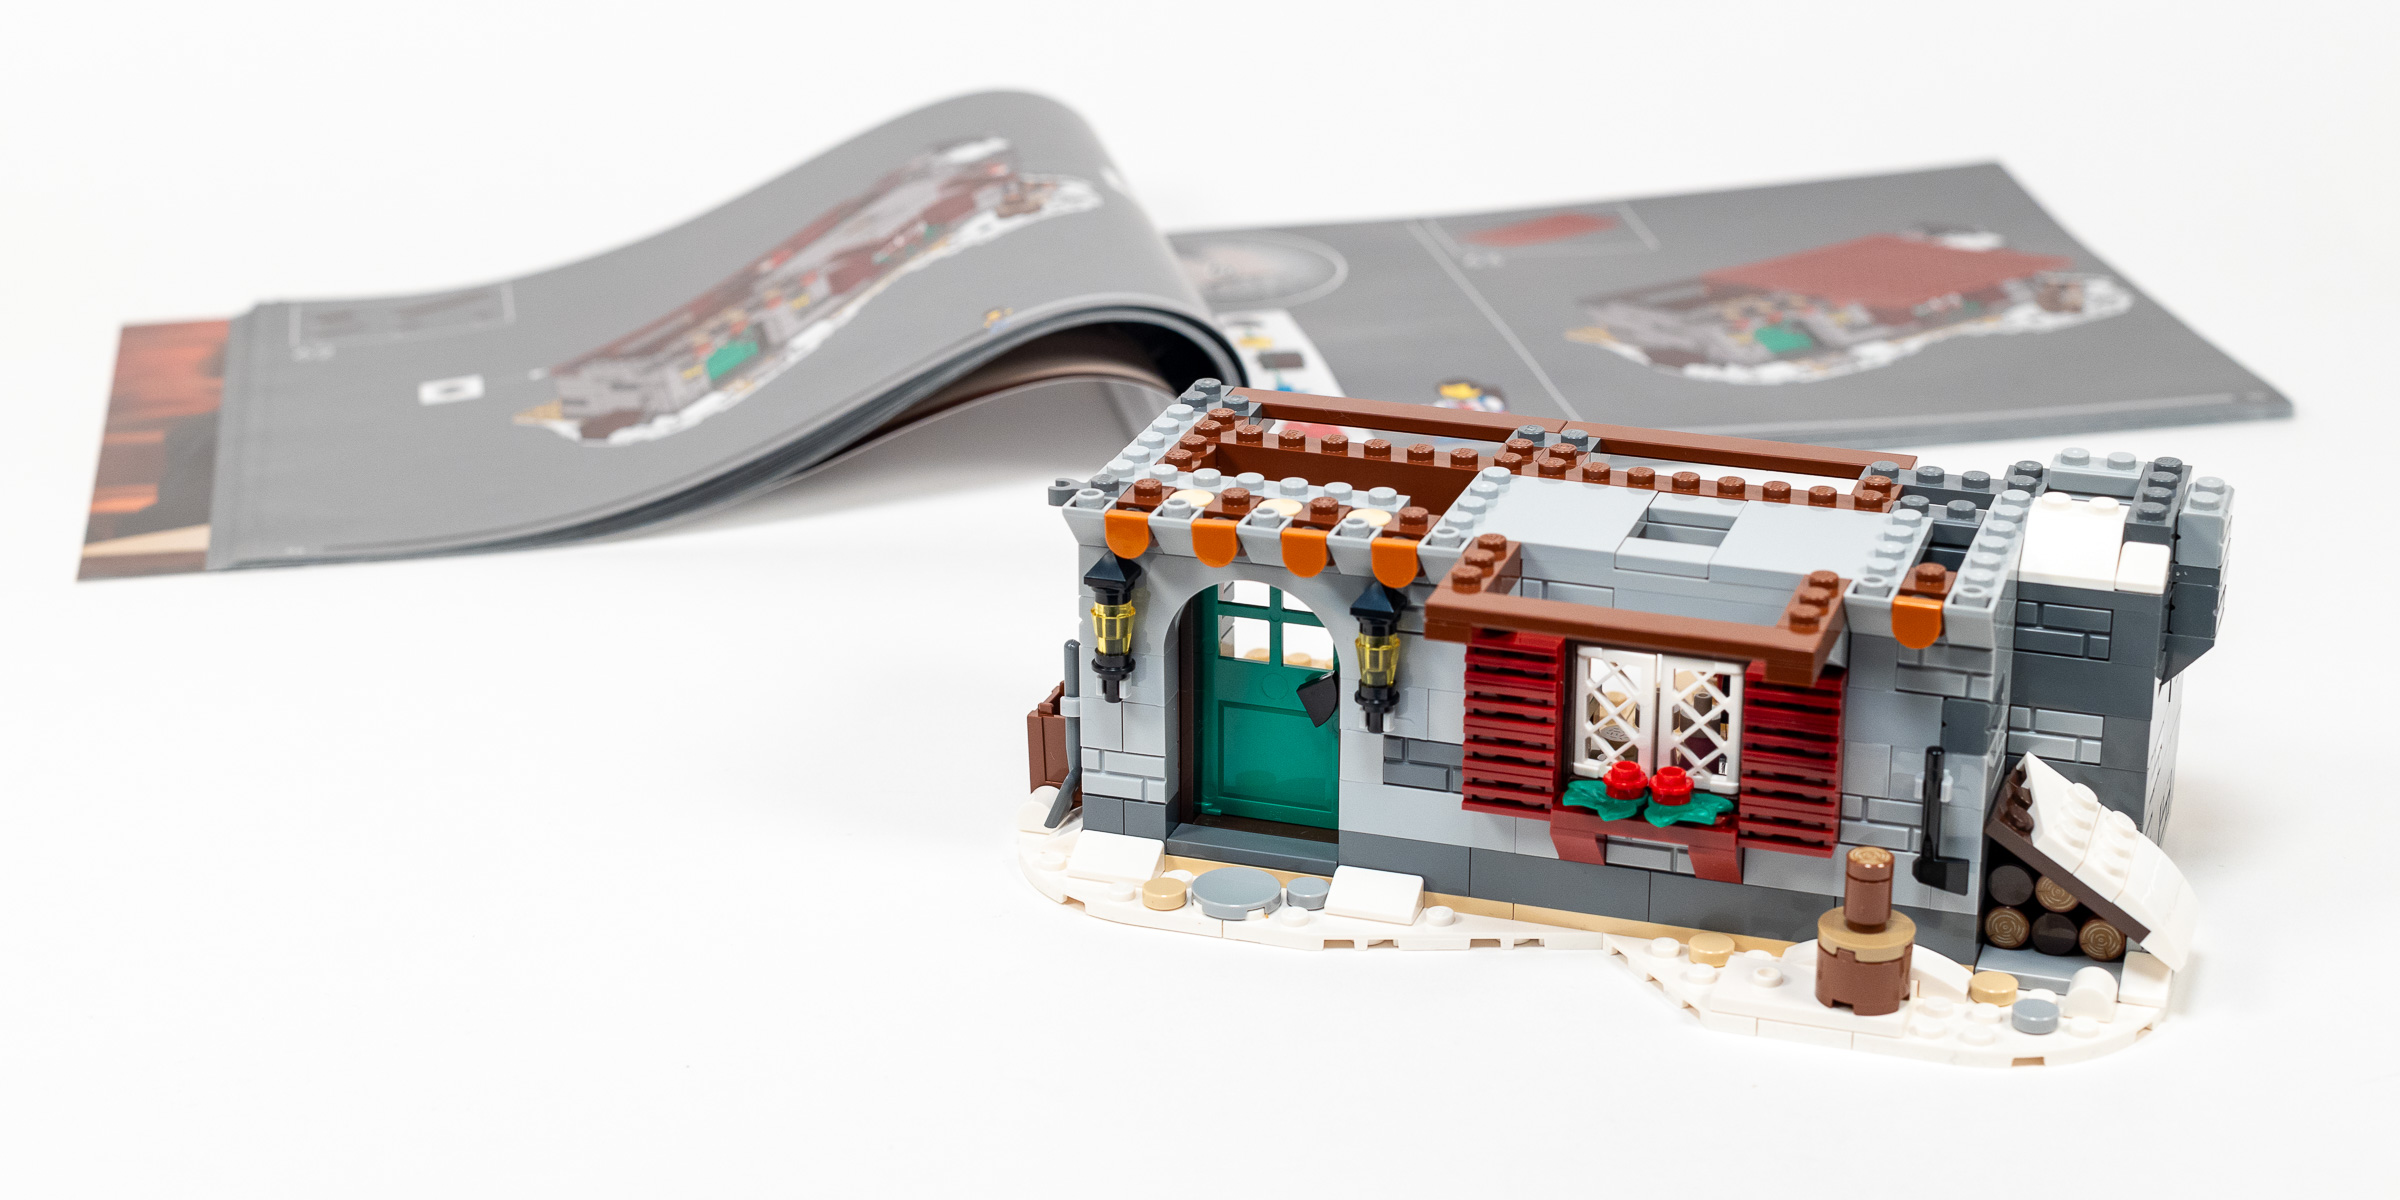
But this is not an Architecture set, it’s a minfigure-scale model that is (allegedly) aimed at adults ages 18+, putting me in the same mindset as with sets in the popular Modular Building Series. In most Modulars, the whole first bag is dedicated to decorating the floor with a pattern of smooth tiles, and establishing the outline for the building which will follow. This model breezes past the base and we end up completing the front facade of the ground floor in the first bag, complete with both the front door and a window, as well as some snow falling around the edges and some evergreen boughs and red berries on the window sill.
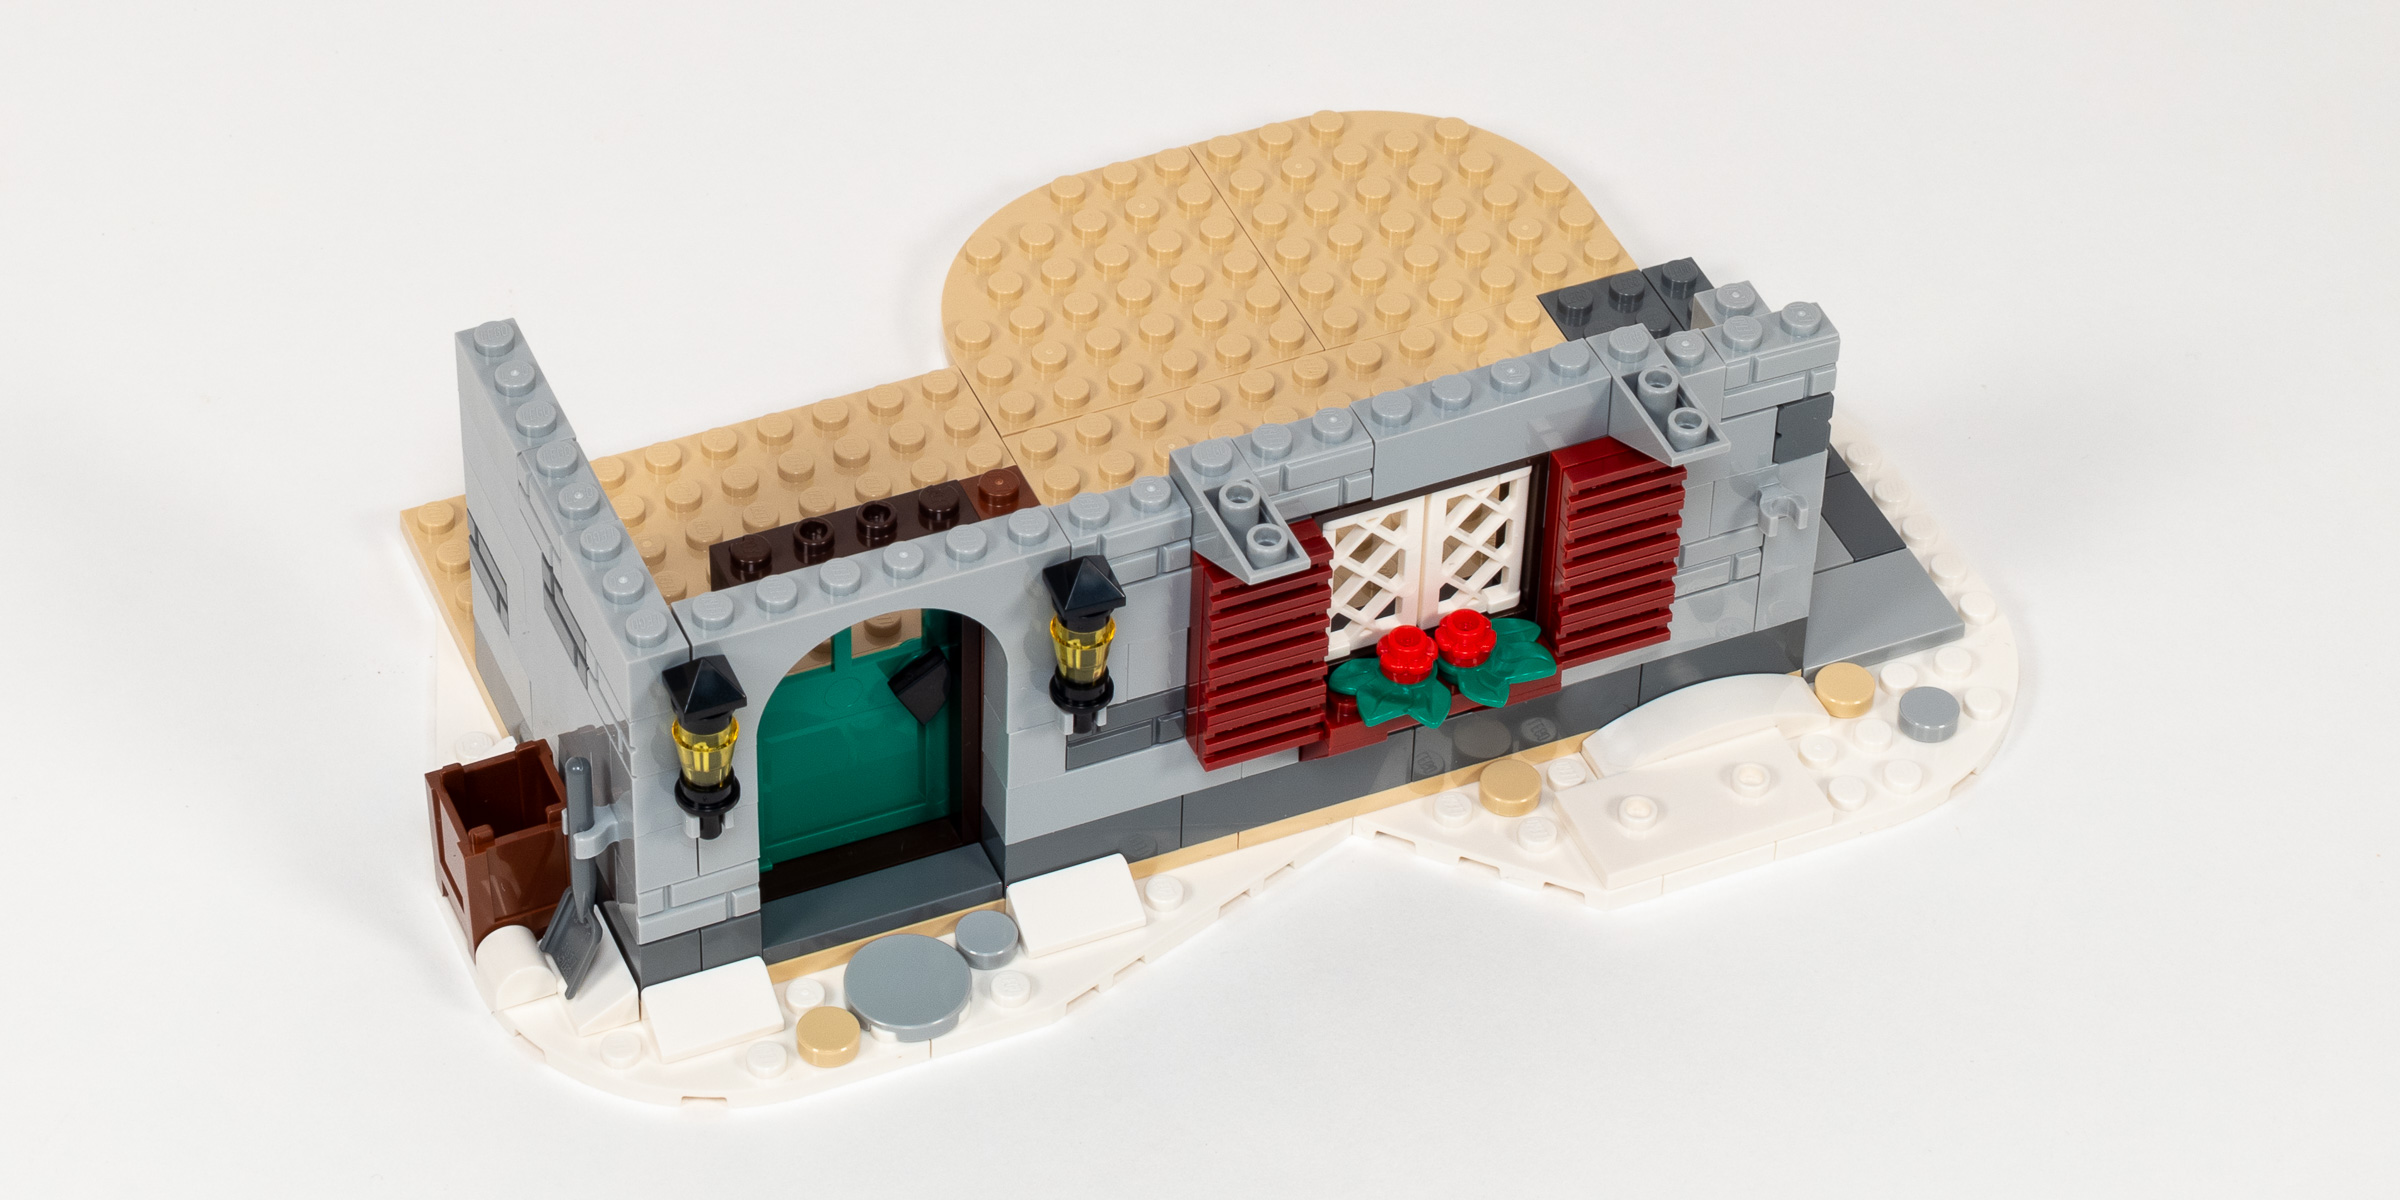
Progress at the end of Bag 3.
I continued the first few minutes of Bag 4 with help from my son. He did not have any difficulty keeping up with the simpler building instructions at the beginning of this stage, which largely involved standard upright stacking of bricks to continue the wall. As we get near the end of this bag, the difficulty goes up a bit, with some carefully interlocking assemblies used to create the upward-sloping cornice along the top edge of the ground floor.
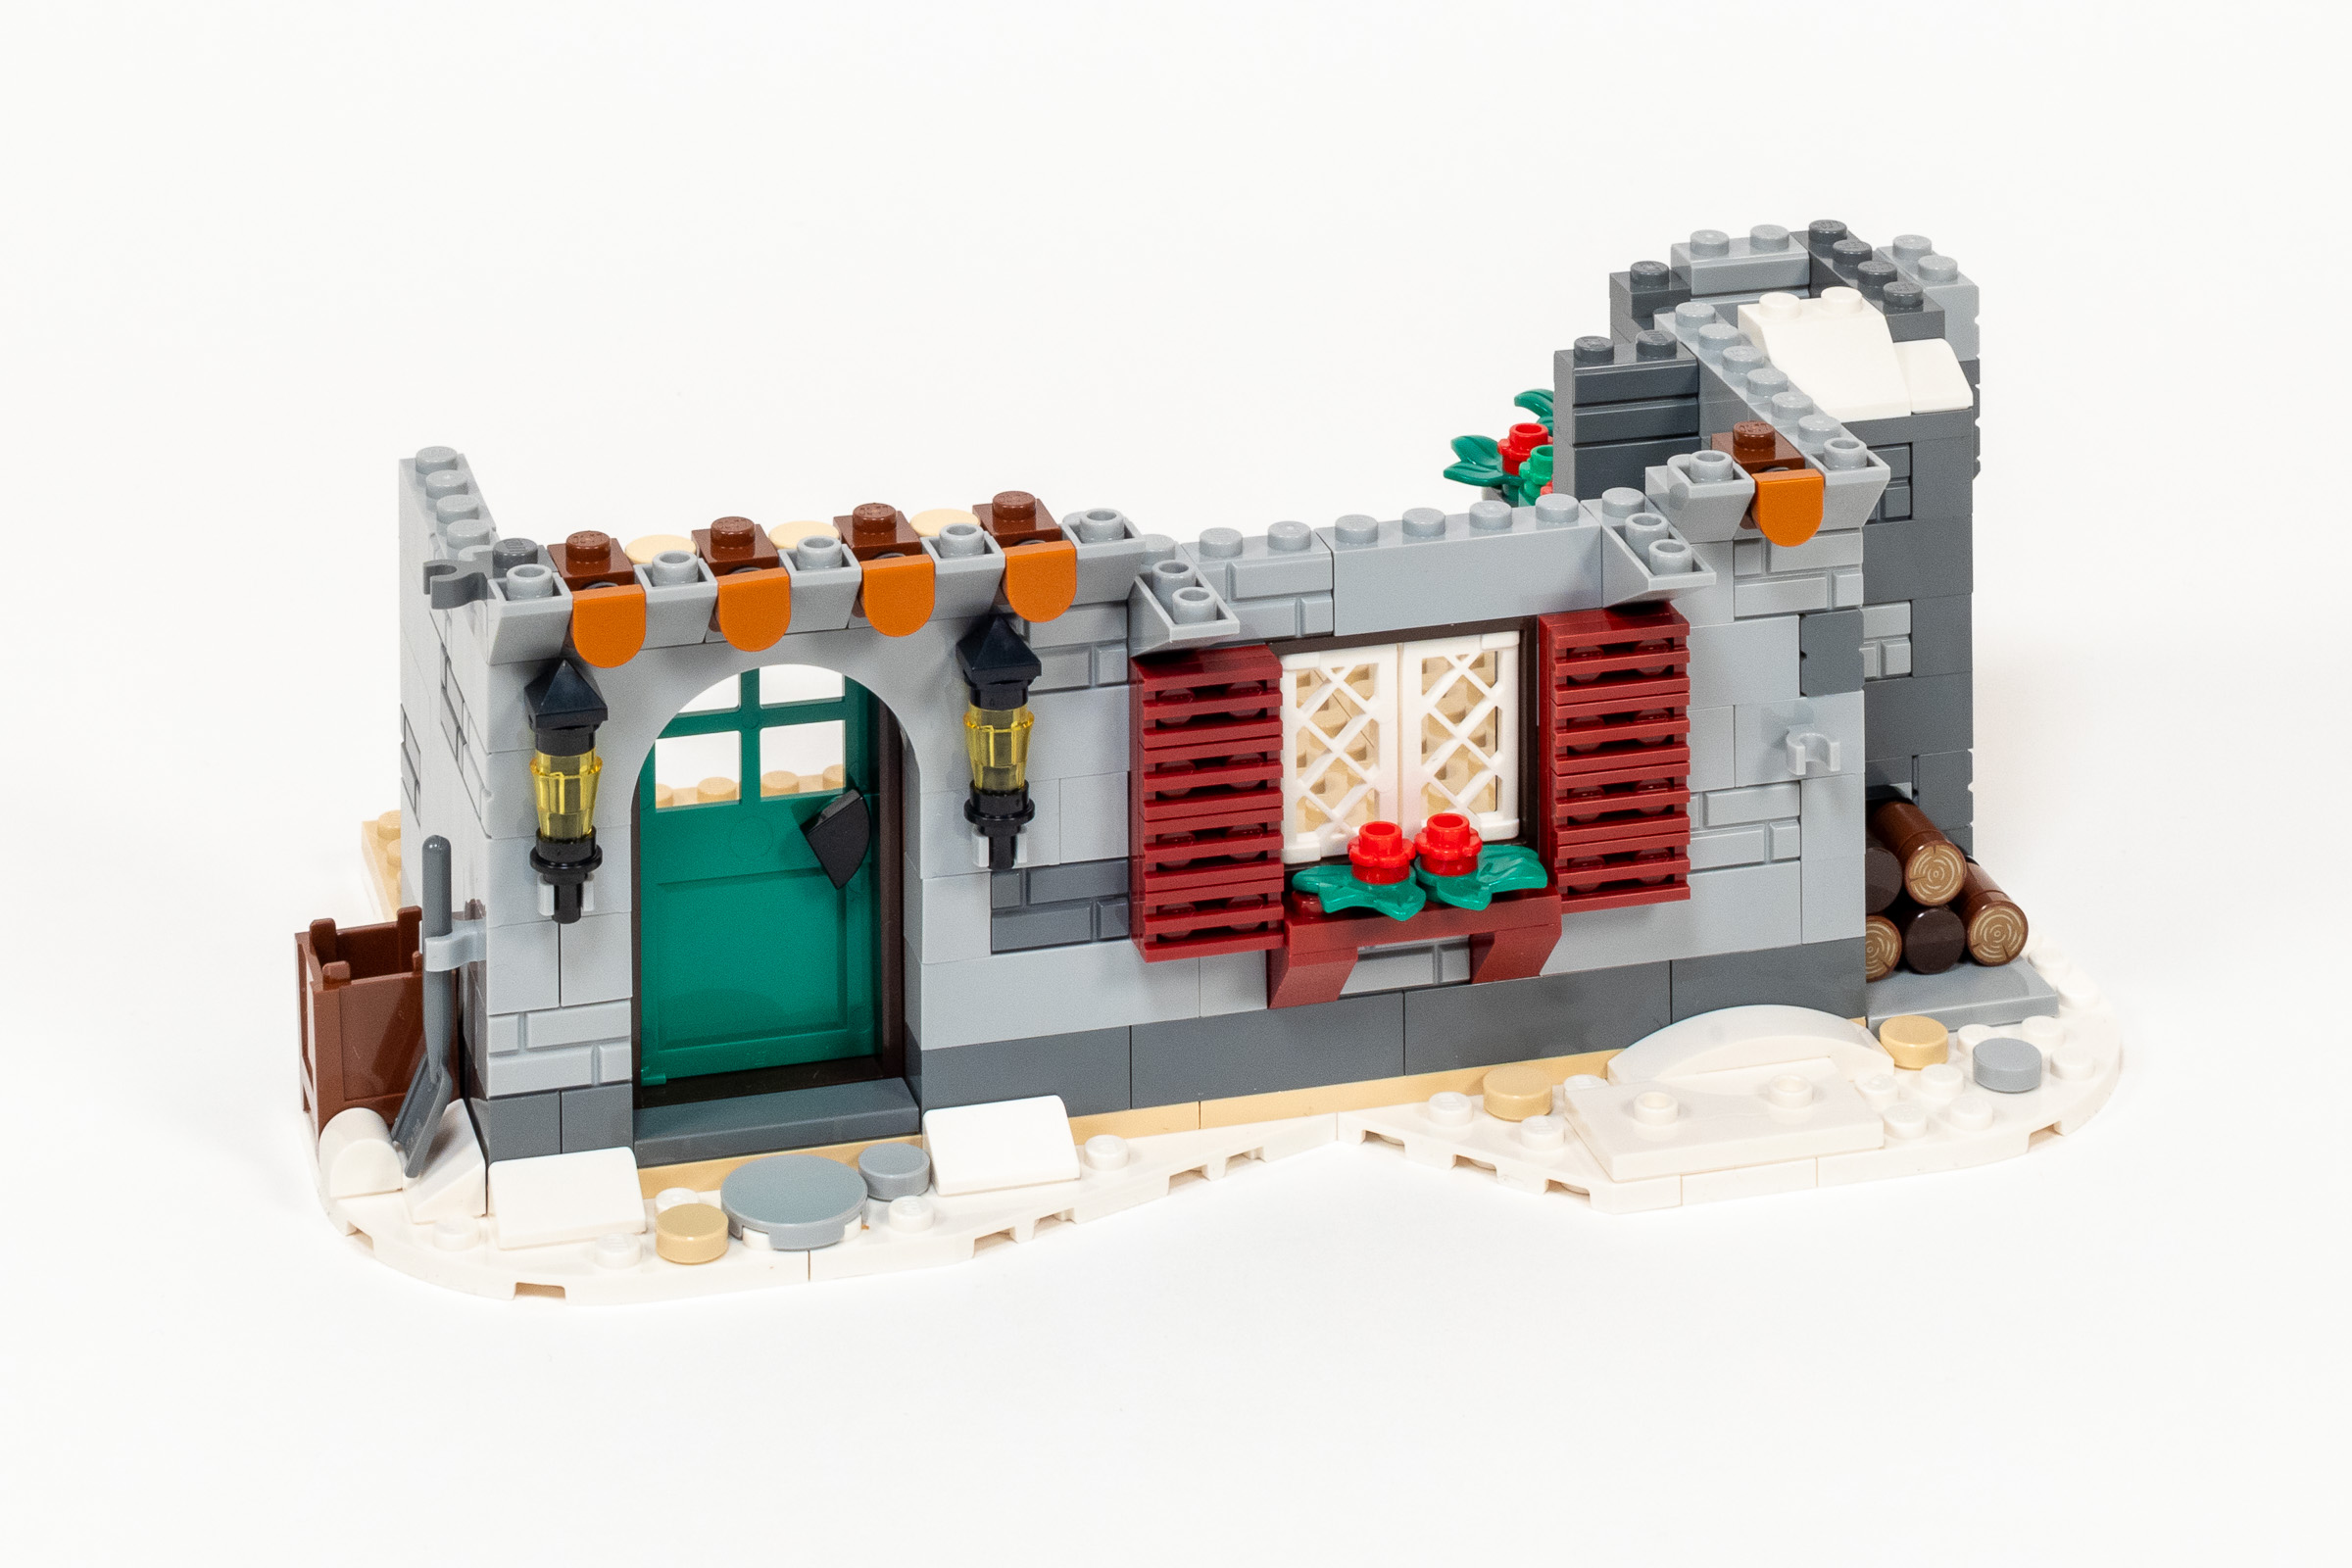
Lots of exterior detailing in Bag 4.
As we wrap up the ground floor in Bag 5, we add some additional details around the base, including a sloping roof over the stacked logs with snow sliding down on one side. These smaller details bring critical wintry vibes to sets in the Winter Vllage series. Moving upward, four 1x5x4 Bow (part 2339) ensure that the floor of the next story will be really strong, while still allowing you to reach and see into the lower rooms.
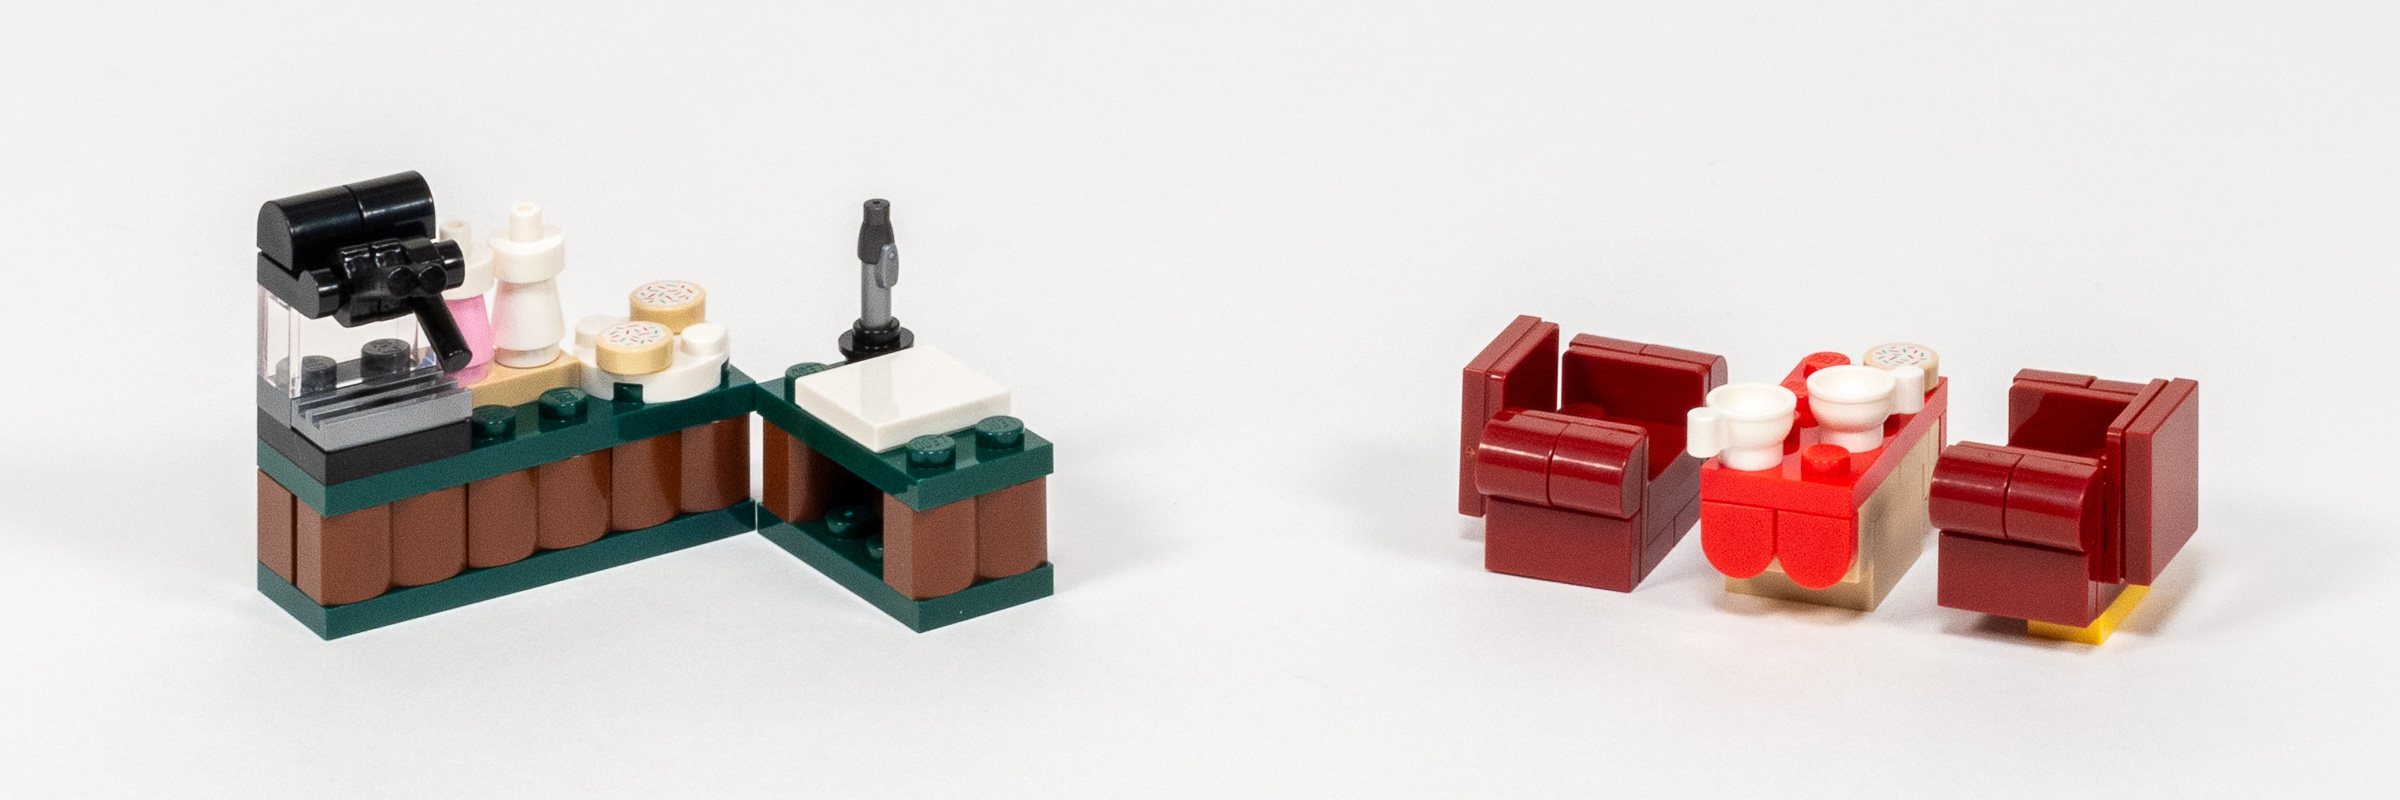
Interior Detailing – Countertop and Comfy Chairs.
I do need to take back some of my critique of the unfinished floor at this time as well, as we do end up adding a nice 24Bright YellowYellow rug on the floor, upon which a table containing coffee and a cookie are placed, with plush chairs on either side. I would have preferred a fully enclosed design, but I’m still getting cozy Christmas vibes – even though it is still September as I’m writing this review.
Completing the Ground Floor.
Build Time: 38 minutes. (Bag 3: 13 minutes, Bag 4: 14 minutes, Bag 5: 11 minutes)
Upper Floors – Bags 6-10
I was expecting removeable floors like in the Modular Building series, but the first thing we do in Bag 6 is to firmly attach the second floor on top of our progress so far. I suppose this is a viable approach since the backside of the model is completely open, so you can reach in with ease.
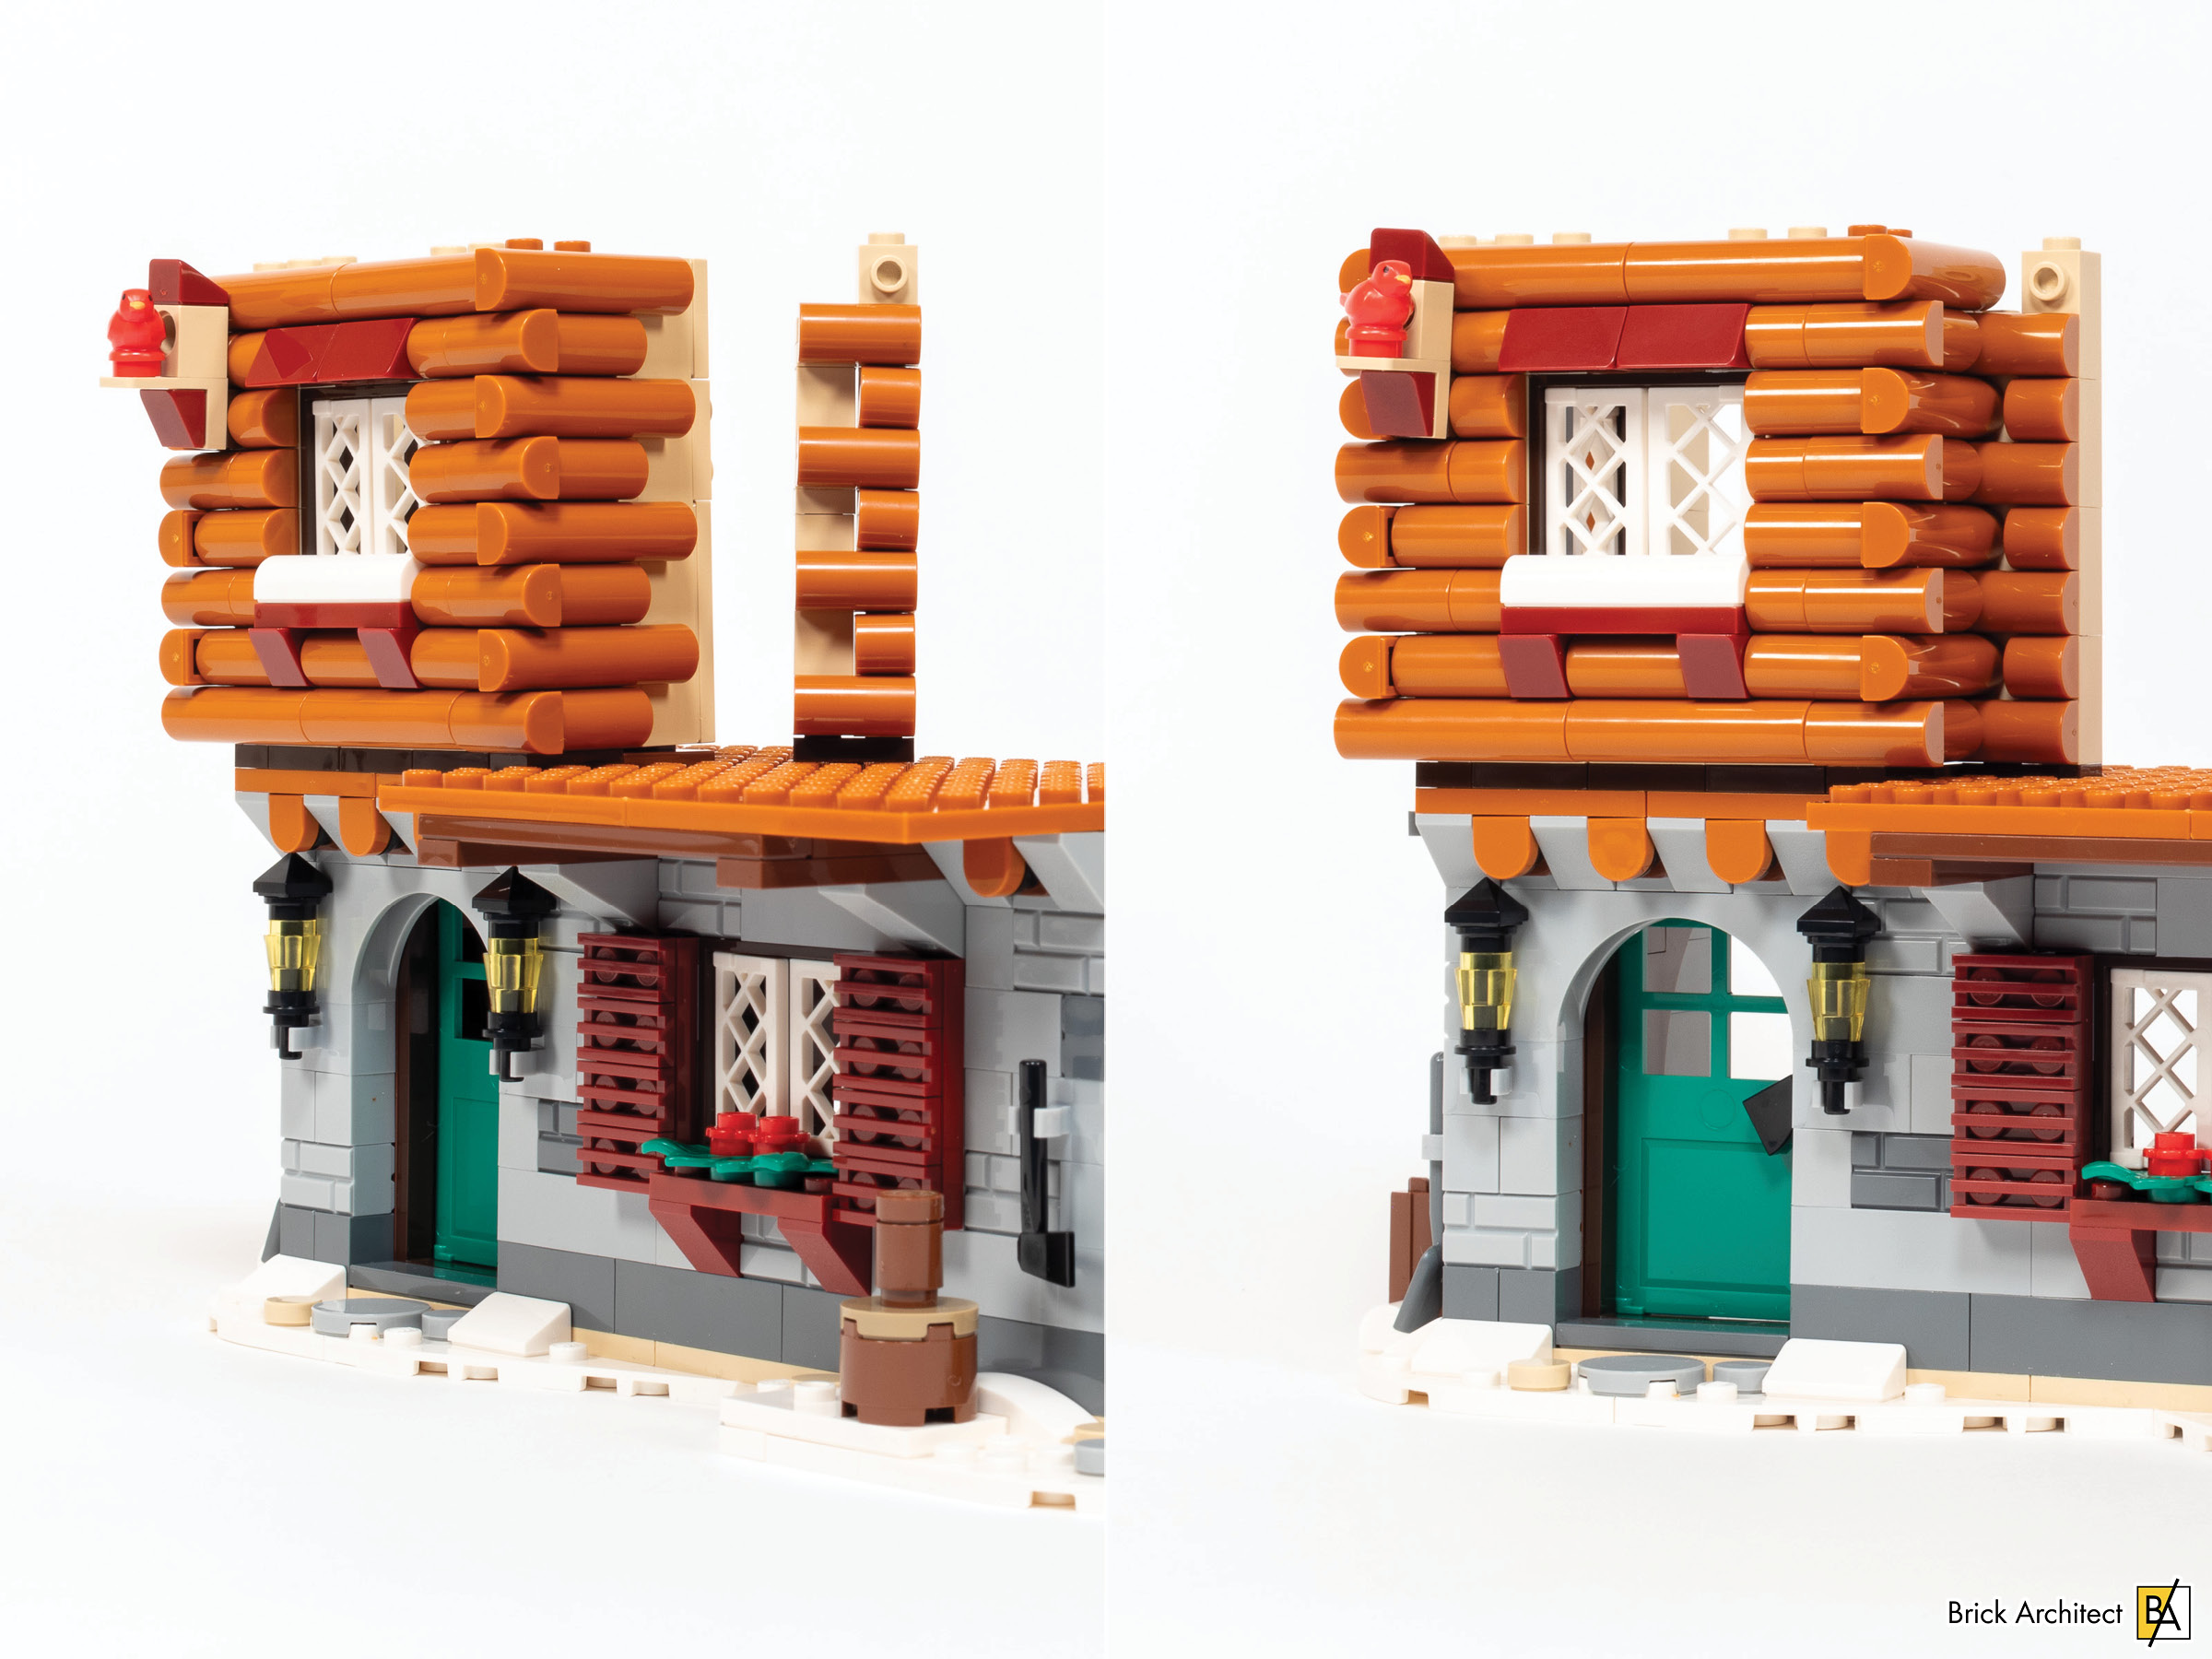
The SNOT assemblies allow the log Cabin walls to fit together perfectly.
We continue on the right side of the upstairs in Bag 7, which uses the same log cabin technique for the exterior. Moving inside, we build some additional furniture including a bed and three 151Sand Green end tables. I also appreciate that more of the floor has carpet, and the two snowy footprints by the door are a cute touch.
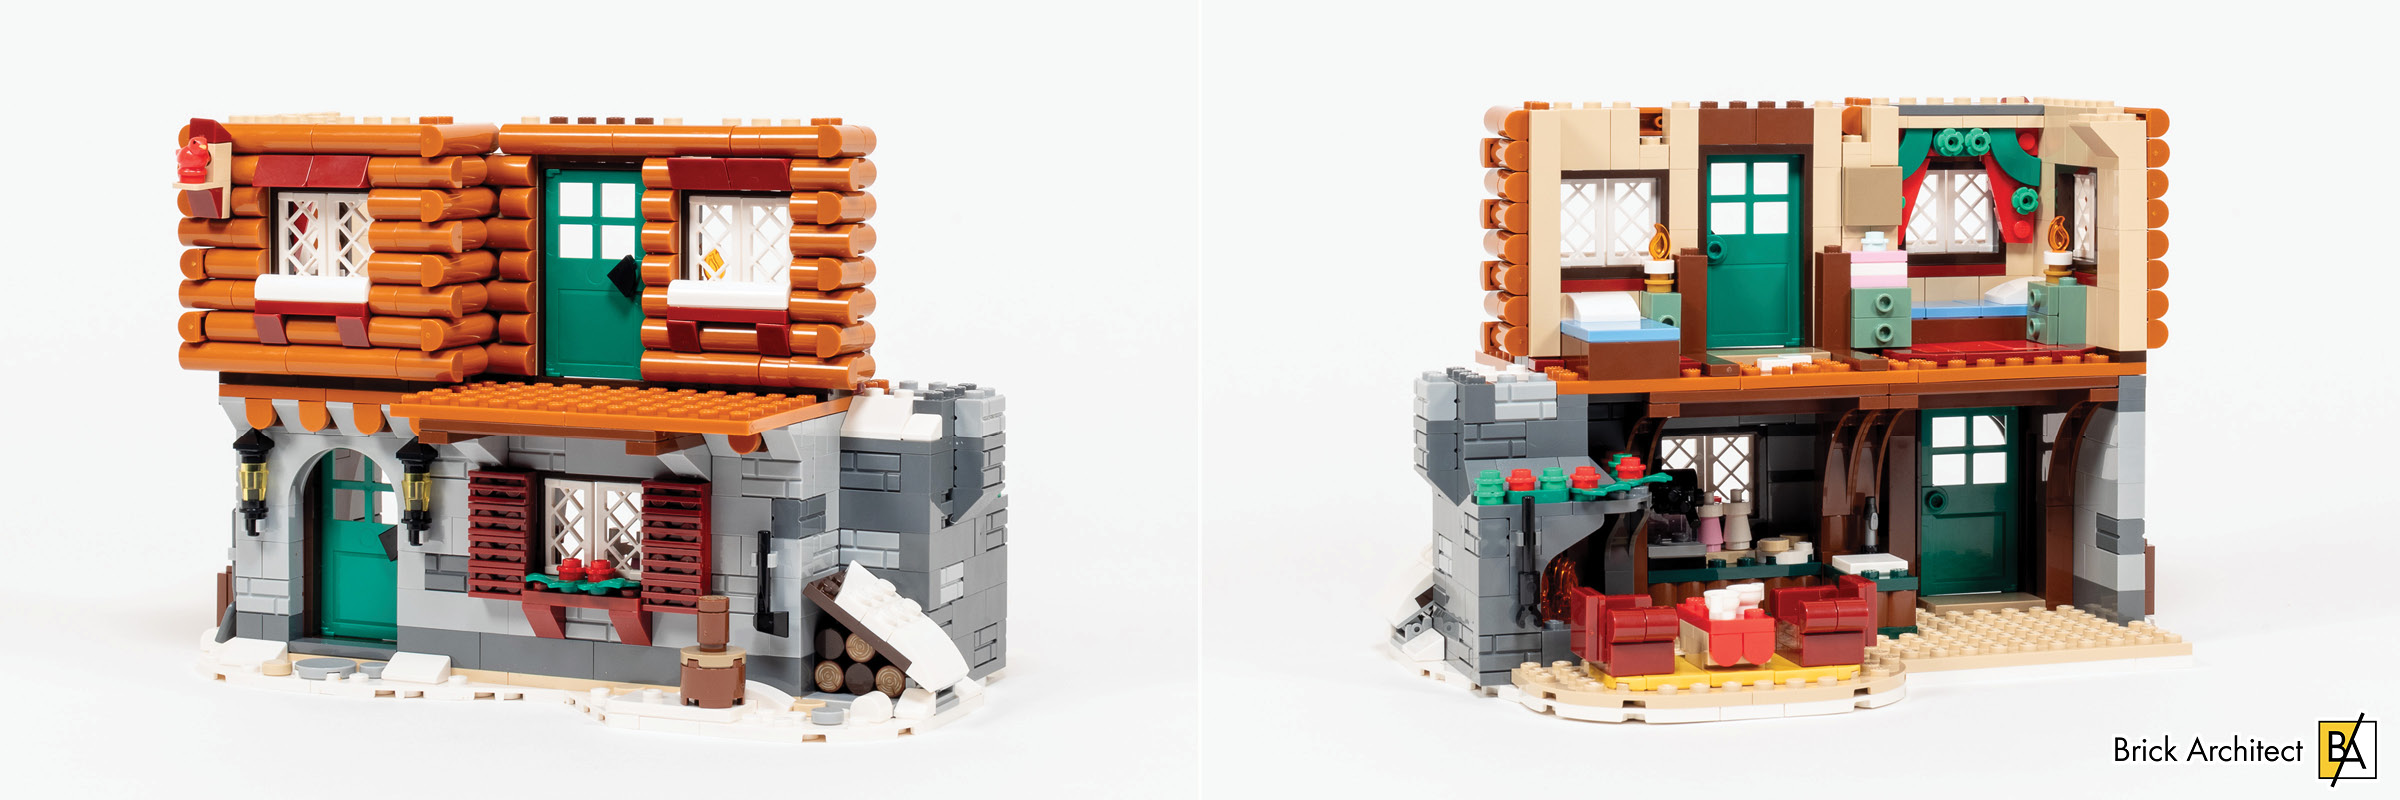
Bag 7 – Interior and Exterior.
Bag 8 adds a second-story fireplace and hides a light brick inside the chimney. It is very cleverly designed to light up both the second story fireplace and illuminate the larger fireplace below very well. In a dark room, it really does give off a realistic fiery glow. Afterwards, we add the floor of the third story and some SNOT elements on the front facade which we will use later.
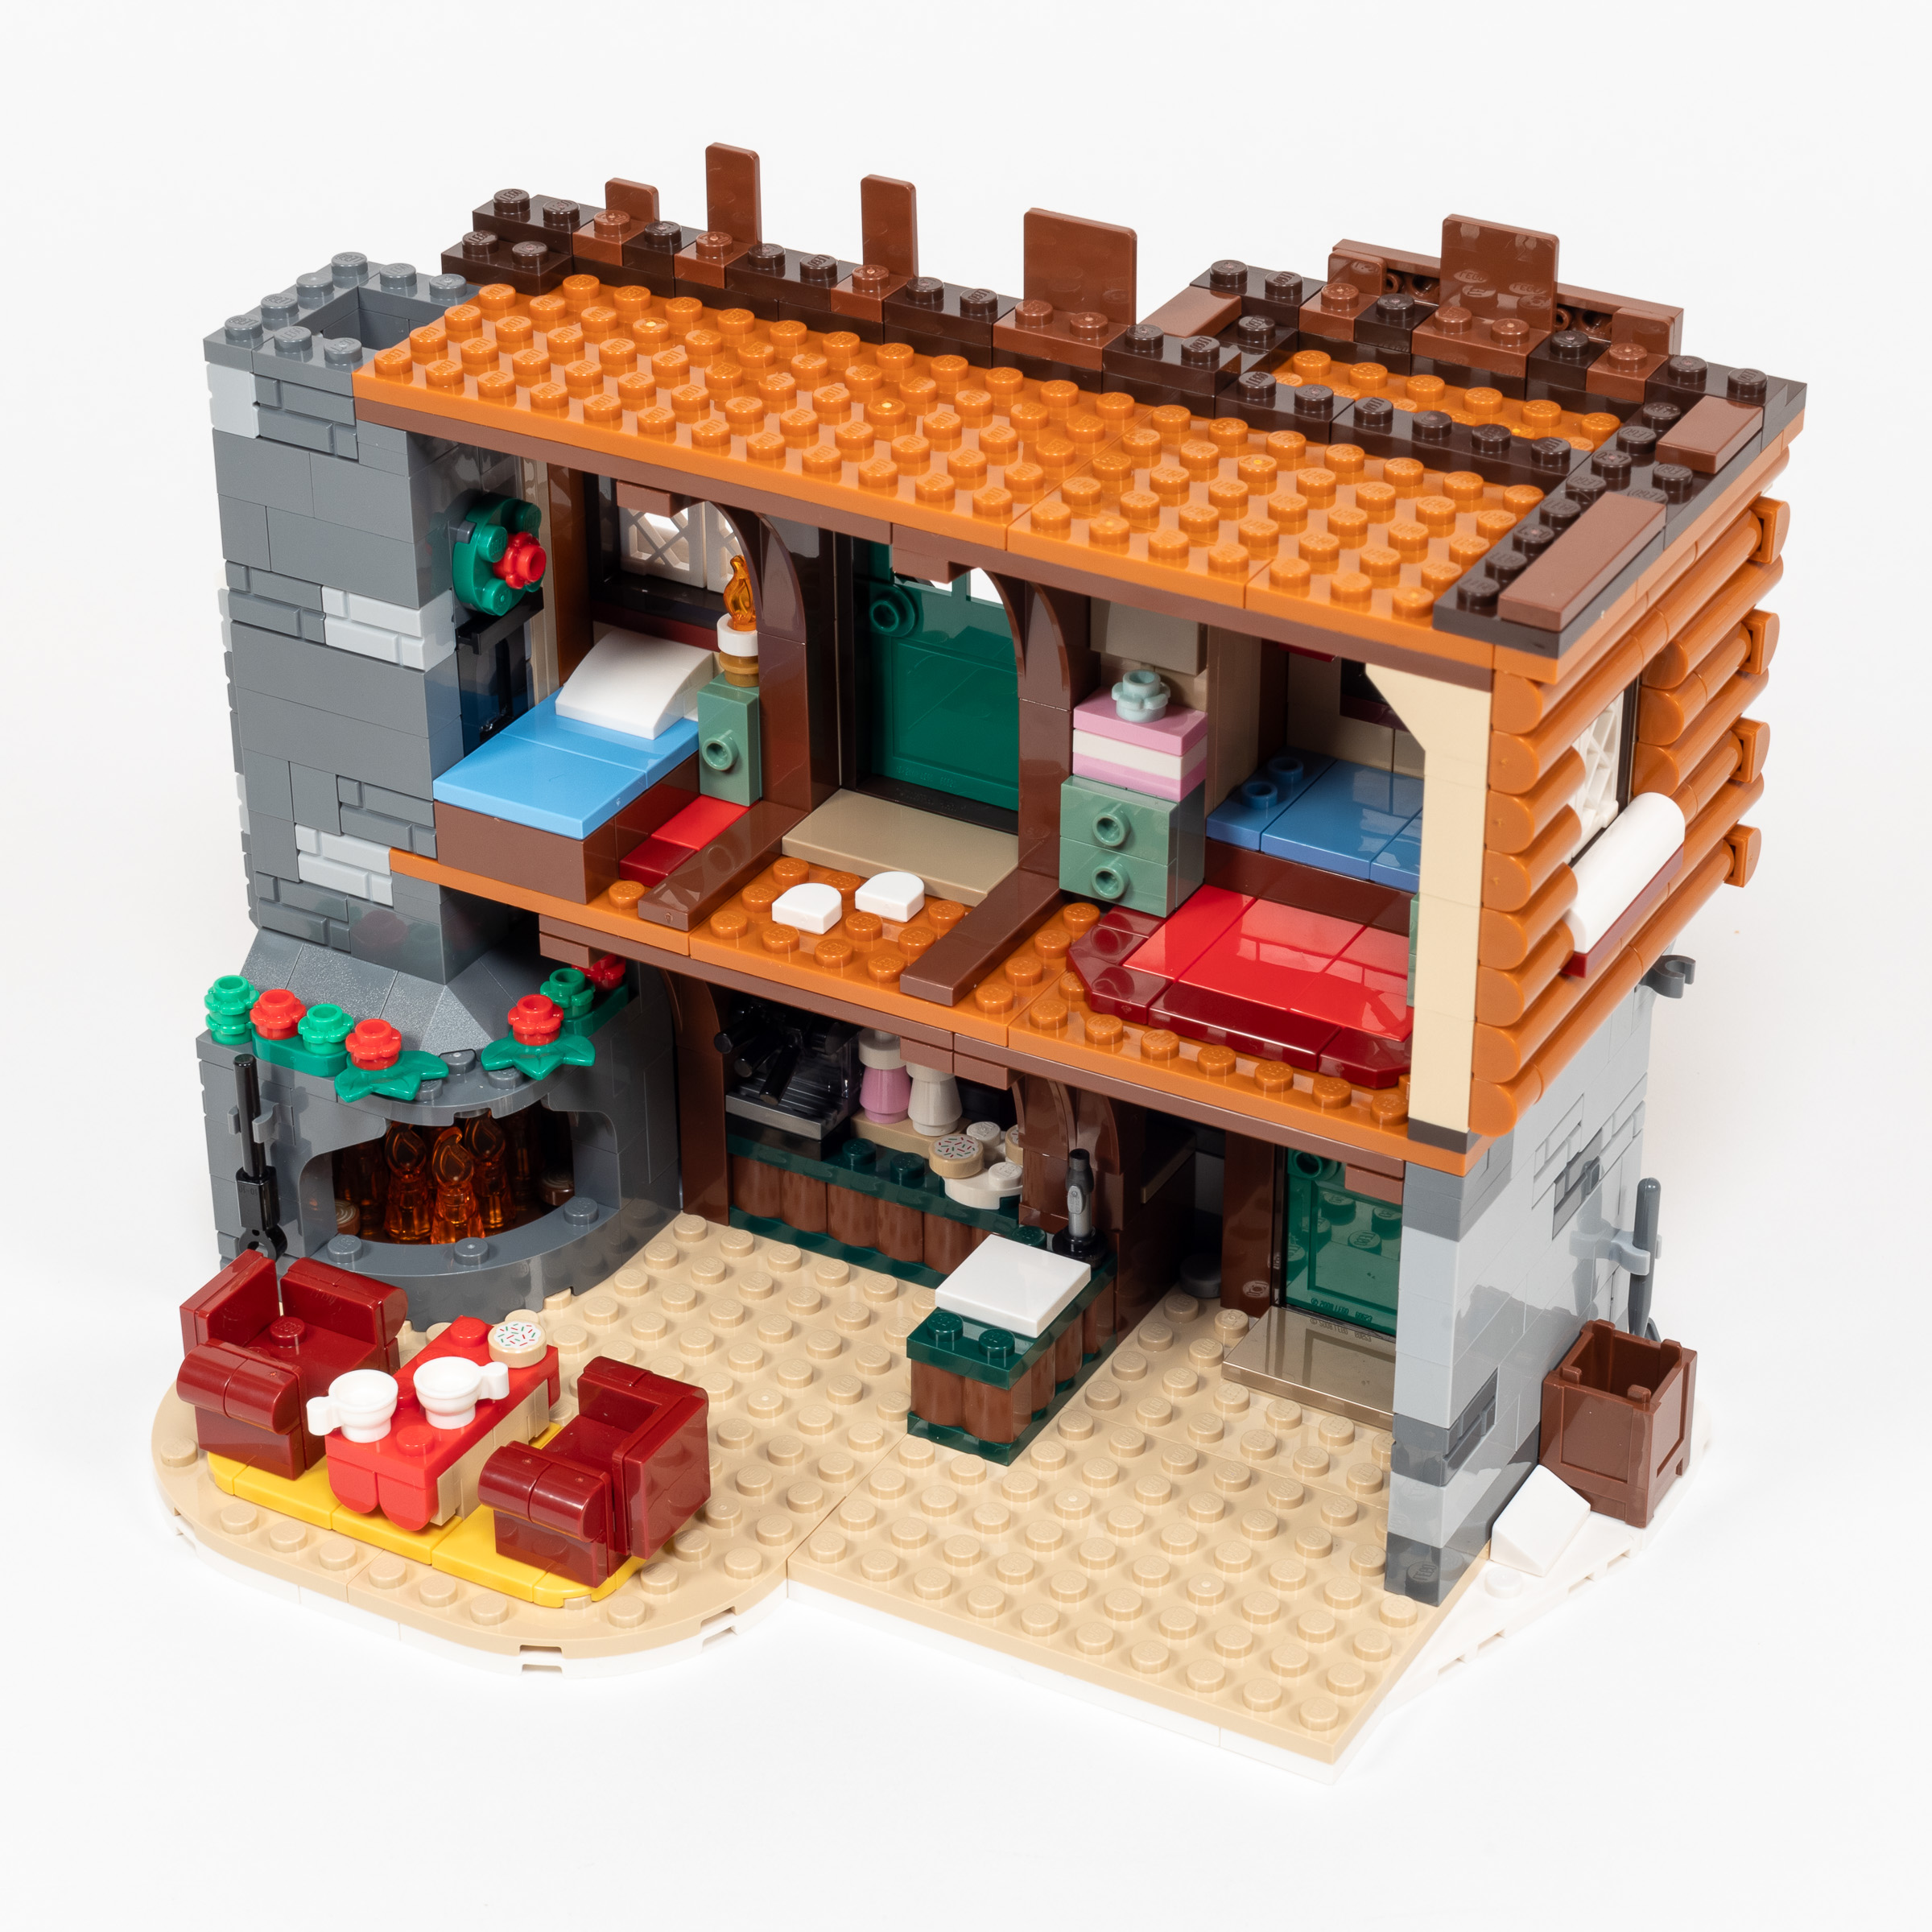
Progress at the end of Bag 8.
Bag 9 adds a third floor to our Ski Lodge. We begin by finishing the chimney which has snow along the top edge and a cleverly concealed mechanism that causes the Light Brick to illuminate when pressed. We also get one more bed right in the middle of the upper room.
Turning the model around, we finish the front facade with a large triagular section for the main roof peak, and a smaller triangle on the right side. The 308Dark Brown wall has 192Reddish Brown vertical stripes.
In Bag 9 we complete most of the front facade, and add an extra bed on the third floor.
The Tenth and final bag has two roof assemblies that attach in opposite directions. As we have seen in some other recent sets like #21341 Hocus Pocus: The Sanderson Sisters’ Cottage, the brick-built roof is attached to the rest of the model using Technic Liftarms. While you can reach inside the back of the model fairly easily, they can also be lifted up to give even easier access to the third floor.
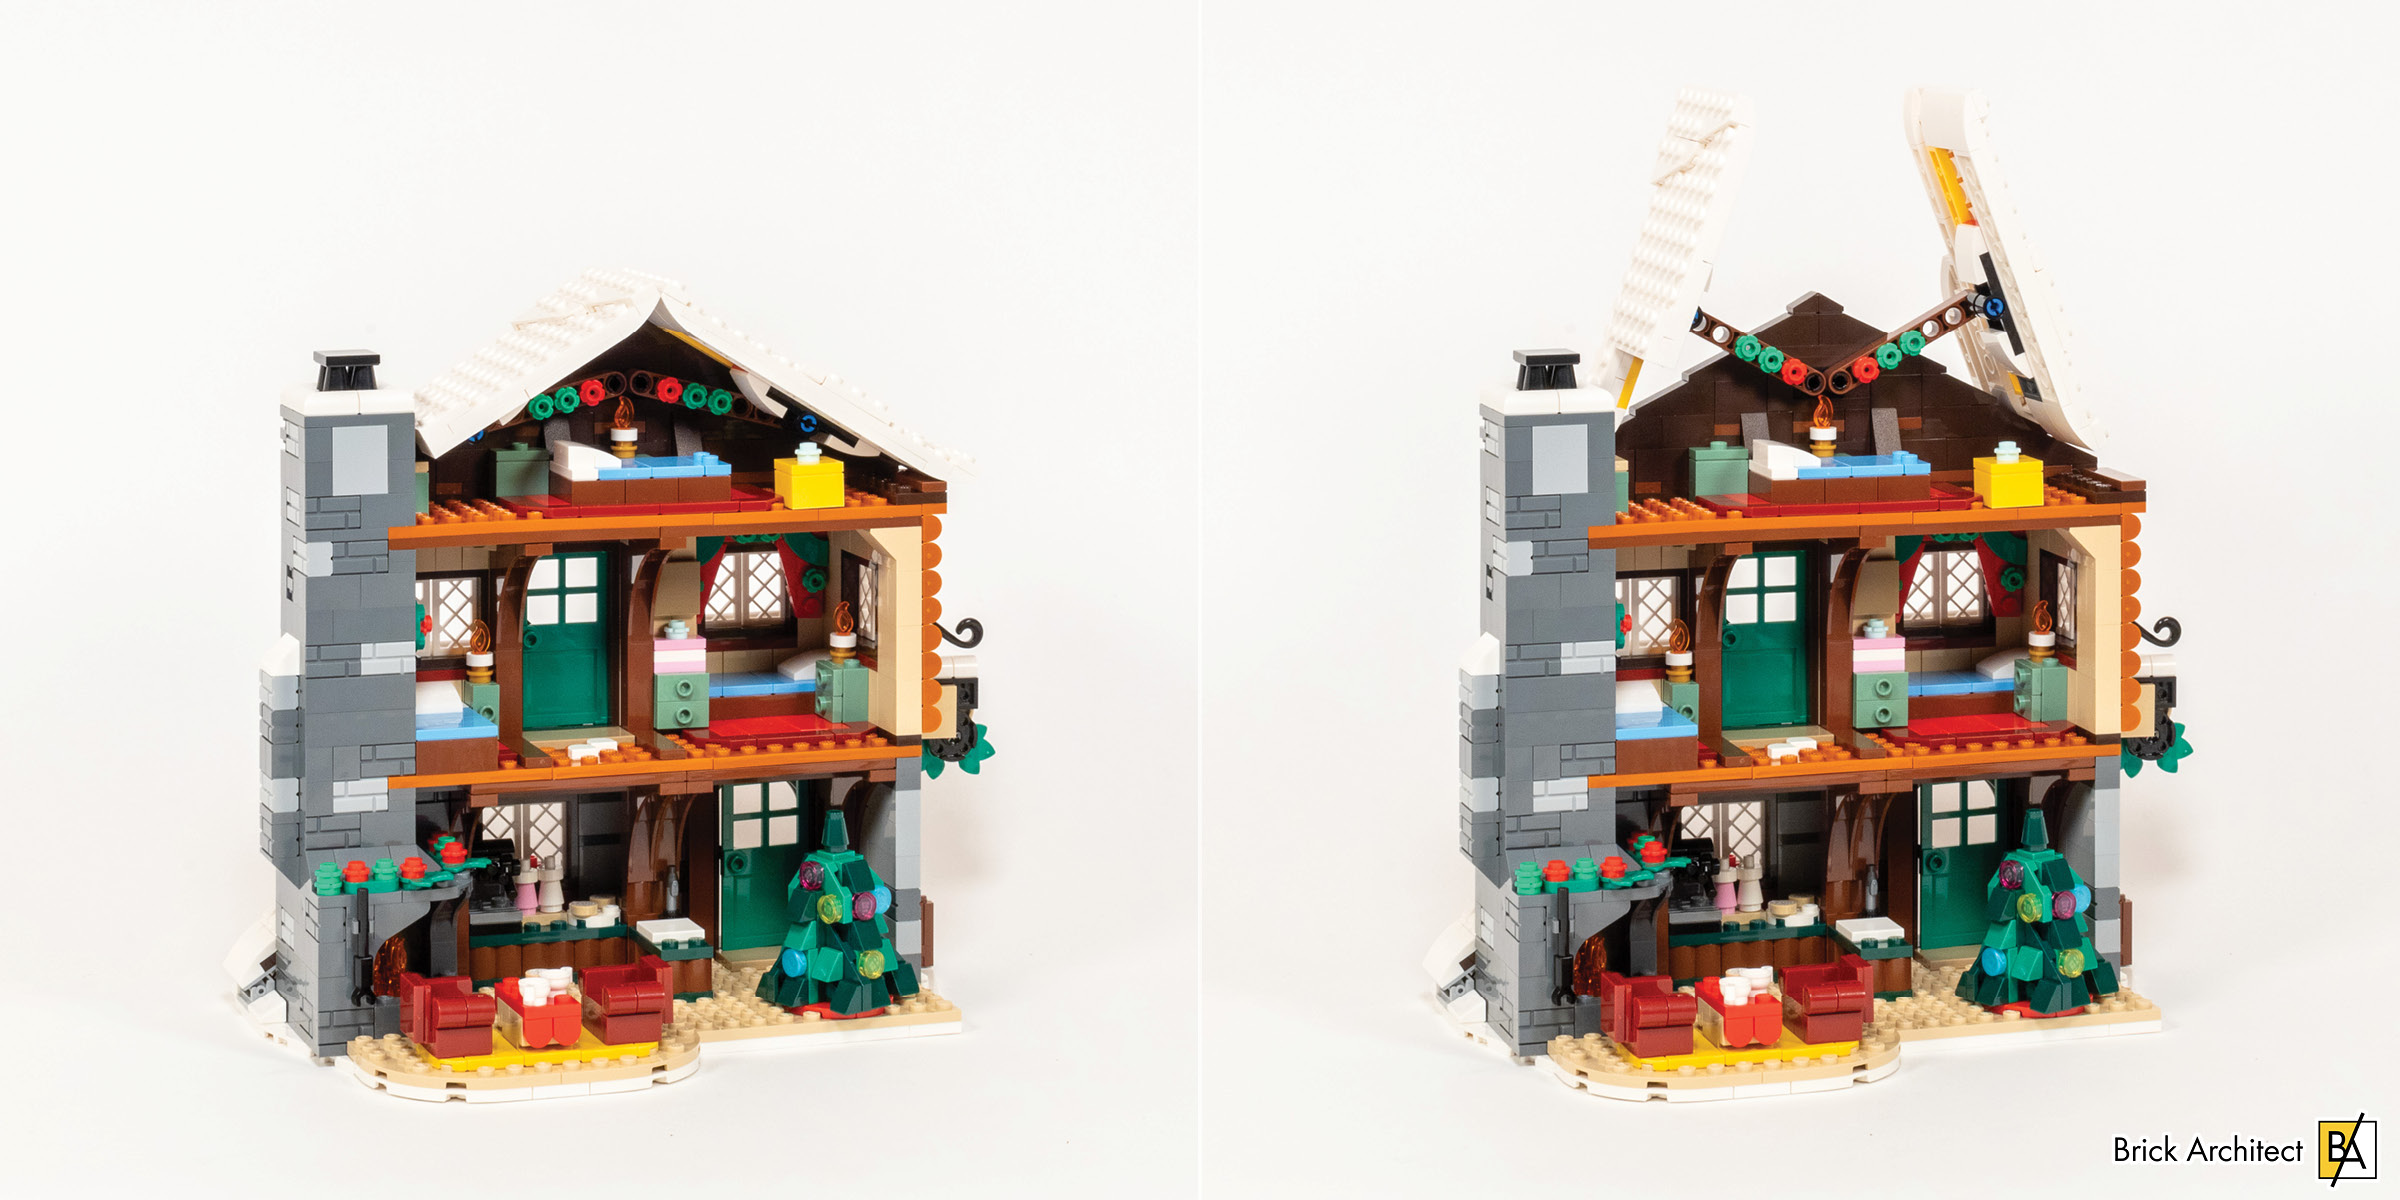
The roof is attached with Technic liftarms, allowing it to be opened easily.
The bag continues by adding the railing to the front porch, and in what feels like an error in the instruction design, we take the tree from Bag 1 and decorate it with translucent round tiles with an opalescent finish before adding the tree to the first floor.
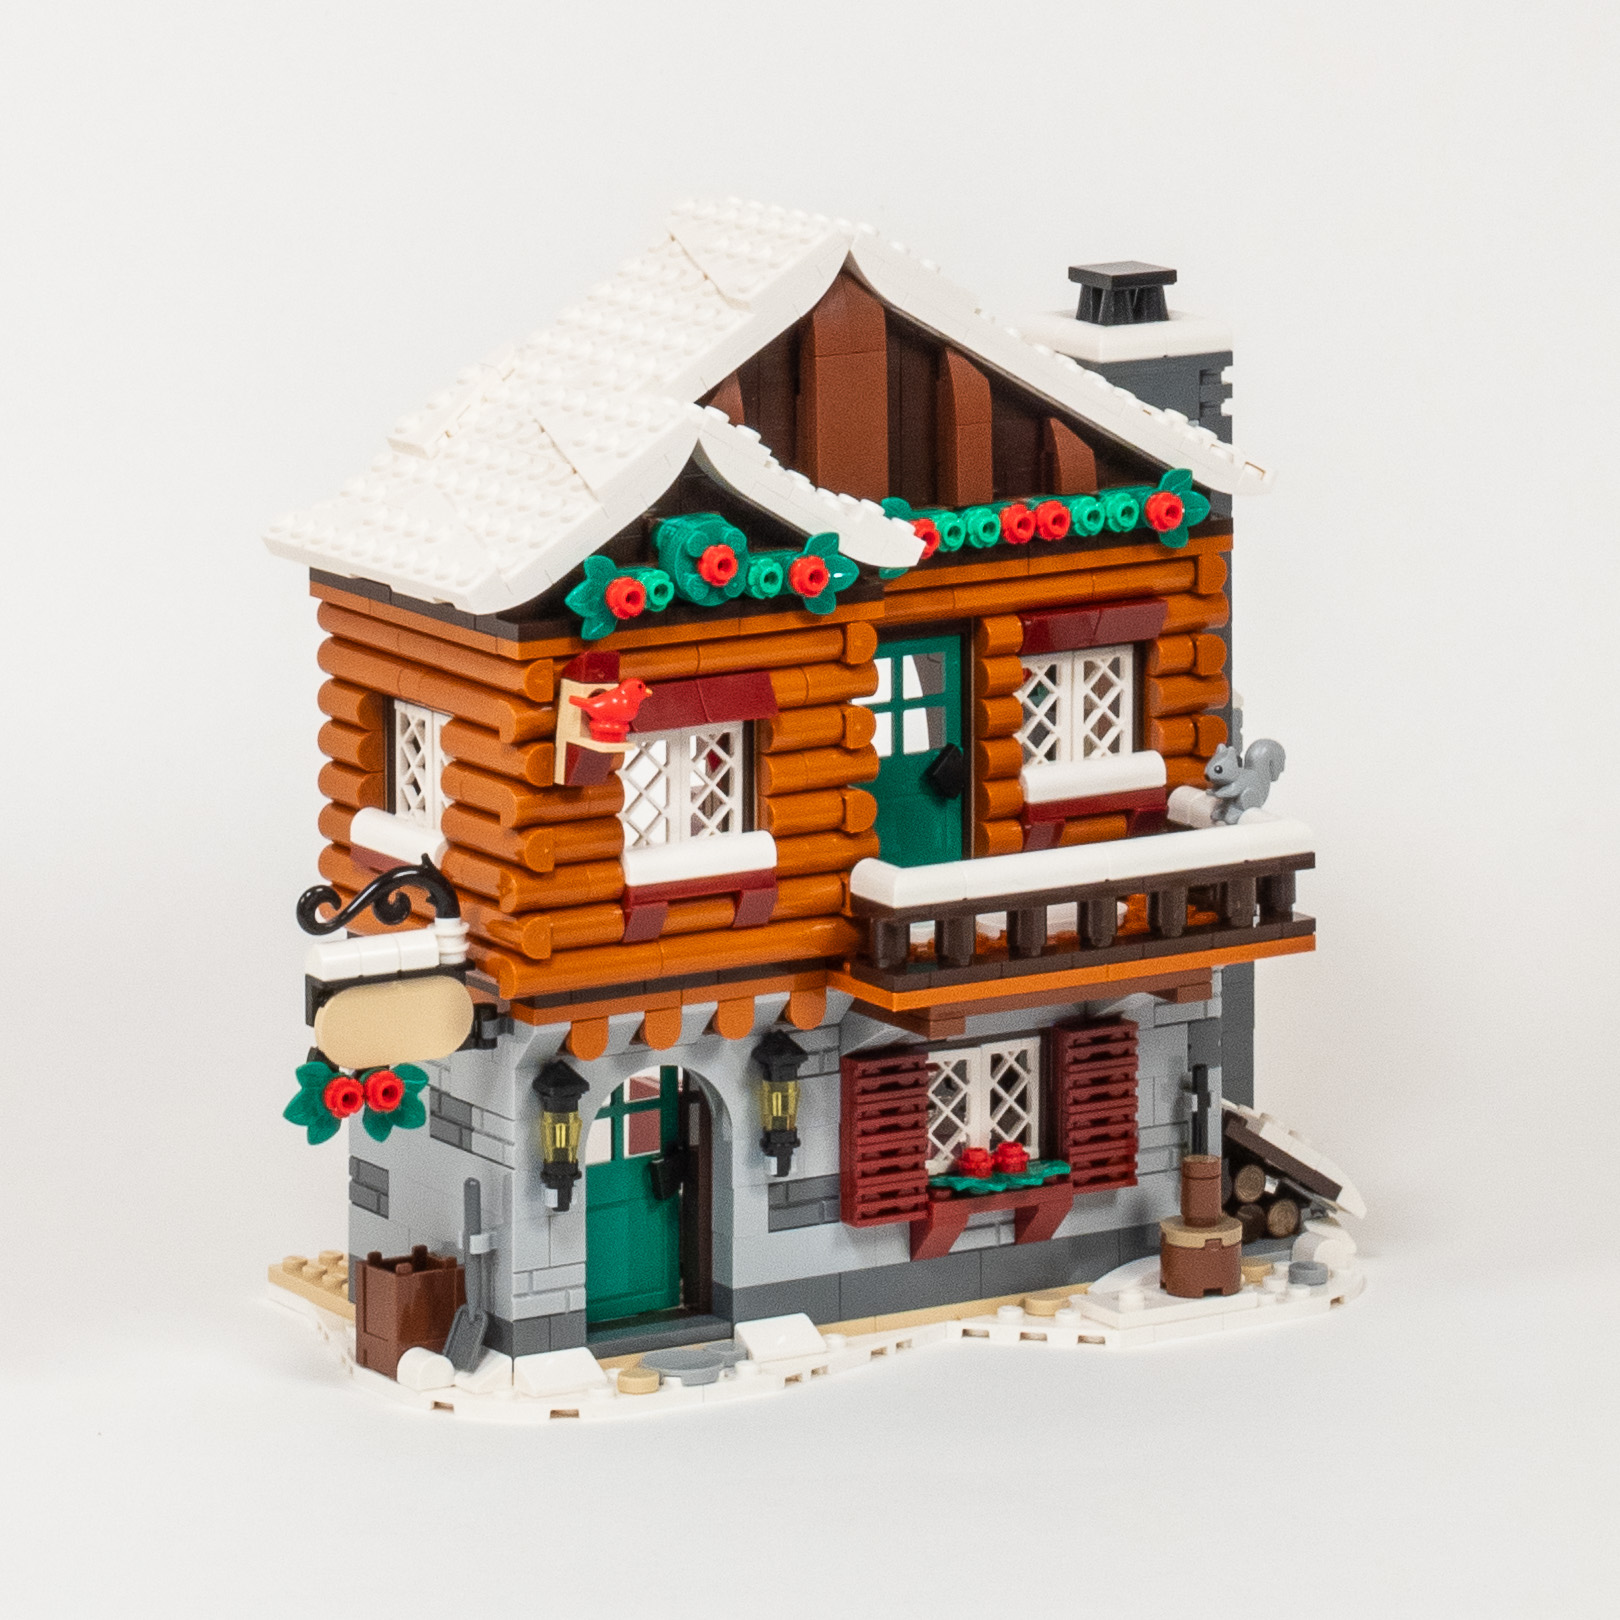
The Lodge is complete and ready to welcome guests!
Build Time: 78 minutes. (Bag 6: 19 minutes, Bag 7: 14 minutes, Bag 8: 14 minutes, Bag 9: 15 minutes, Bag 10: 16 minutes.)
Conclusion
Acknowleding my biases against log cabins that do not begin at ground level, #10325 Alpine Lodge is an excellent set which is worth adding to your collection. In an era of spiraling inflation and inconsistent LEGO set prices, this would have been considered a good value before prices jumped up last year — and it’s an even better value now! I would love to spend a long weekend at the Two Pines Inn featured in this set.
What keeps this set from earning the coveted 5/5 rating is that it lacks focus. With minor changes, the storytelling could be so much stronger! Having watched more episodes of LEGO Masters than I care to admit, the best piece of advice I heard from judges on the various shows is to not only include a clear story, but try to capture a specific moment when something important is happening.
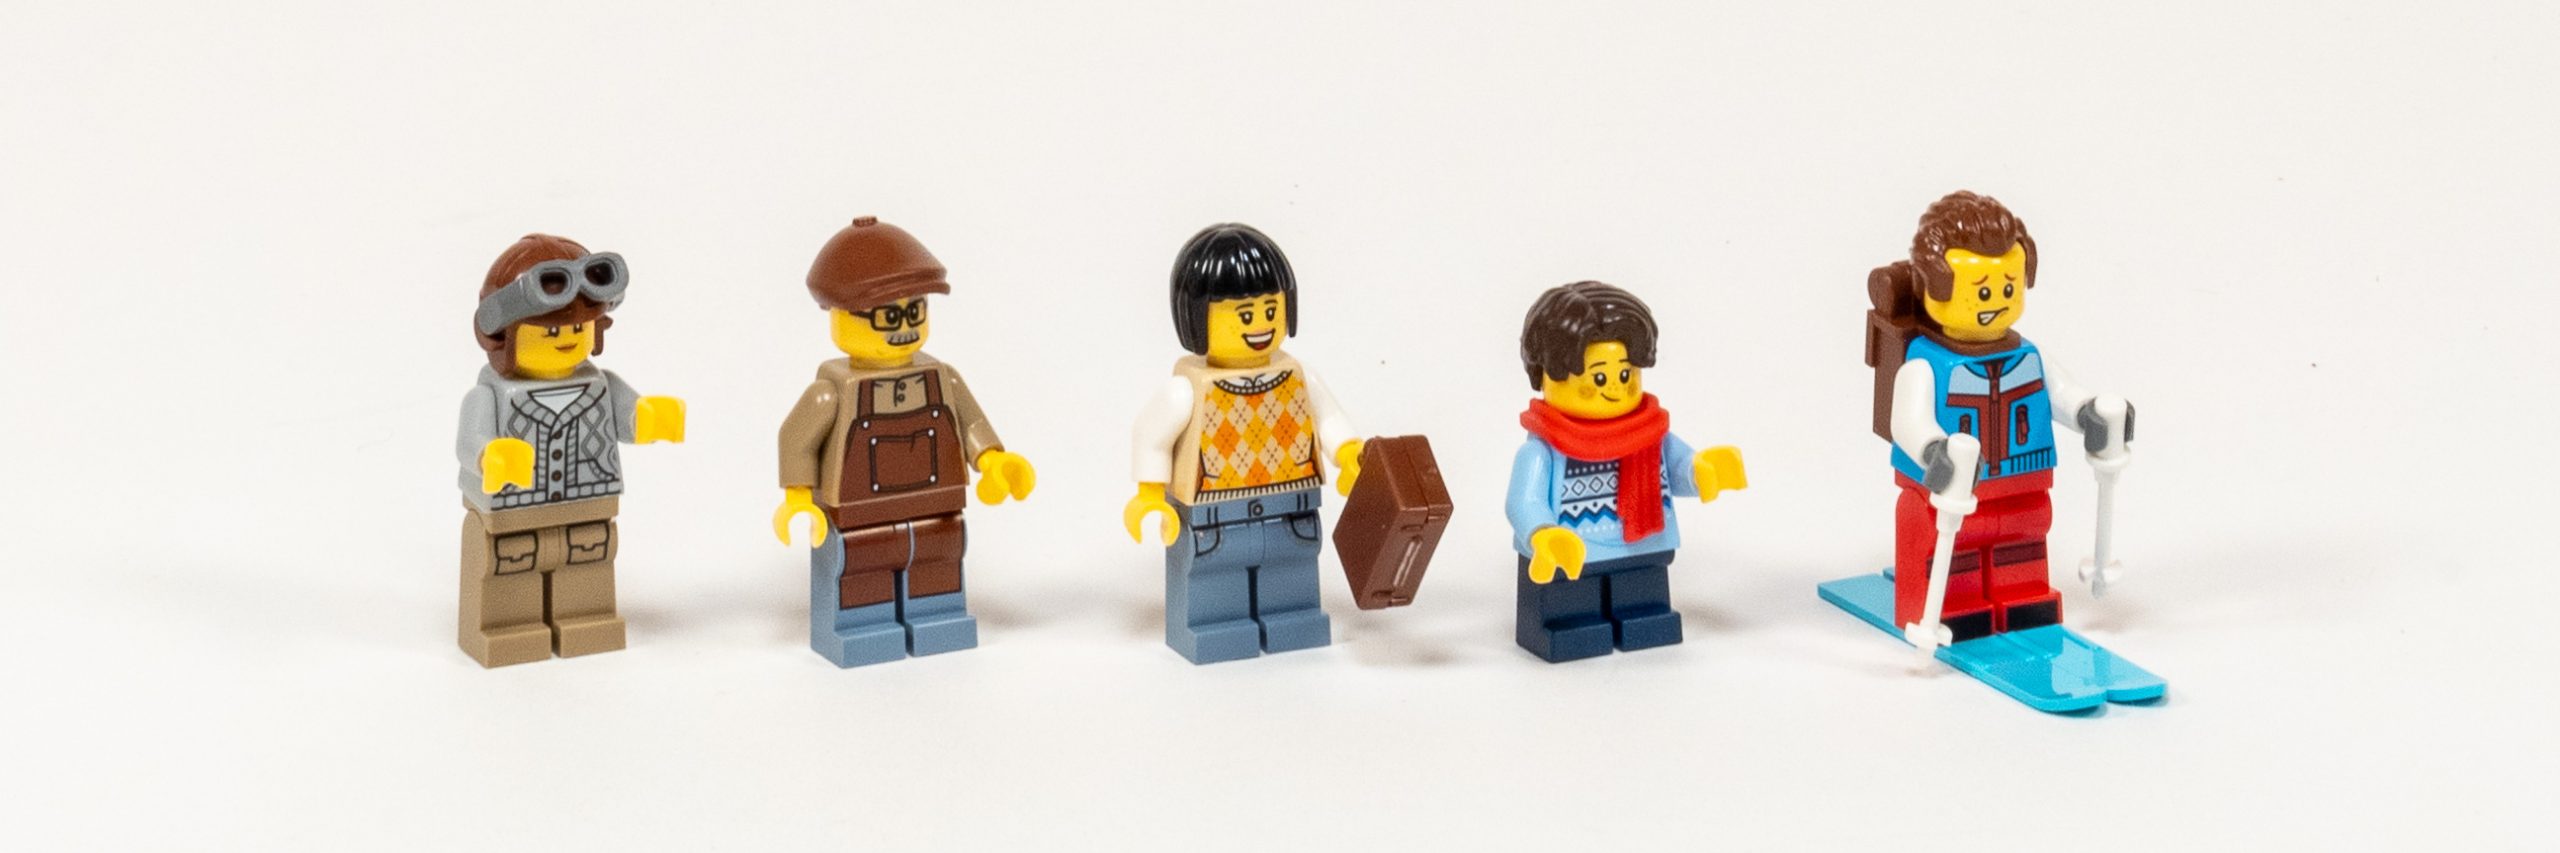
The set includes five minifigures.
This set has no clear moment — it features 5 people that are doing completely different things. With some minor changes, the smaller story about cutting down the Christmas Tree could have captured a real moment if they included a stump where the tree had just been cut down next to the pond, and a handsaw so the minifigures have the tools they needed to get the job done.

Despite a few missed opportunities, #10325 Alpine Lodge is a fantastic LEGO set.
Let’s not kid ourselves, this set easily earns our Recommended (4/5 Star) rating due to the beautiful building techniques and excellent value. The attention to detail on the building’s exterior, as well as the clever technique which allows the light brick to glow on two different floors earned my appreciation. I hope that you find time for your own winter holiday in the Winter Village series.