
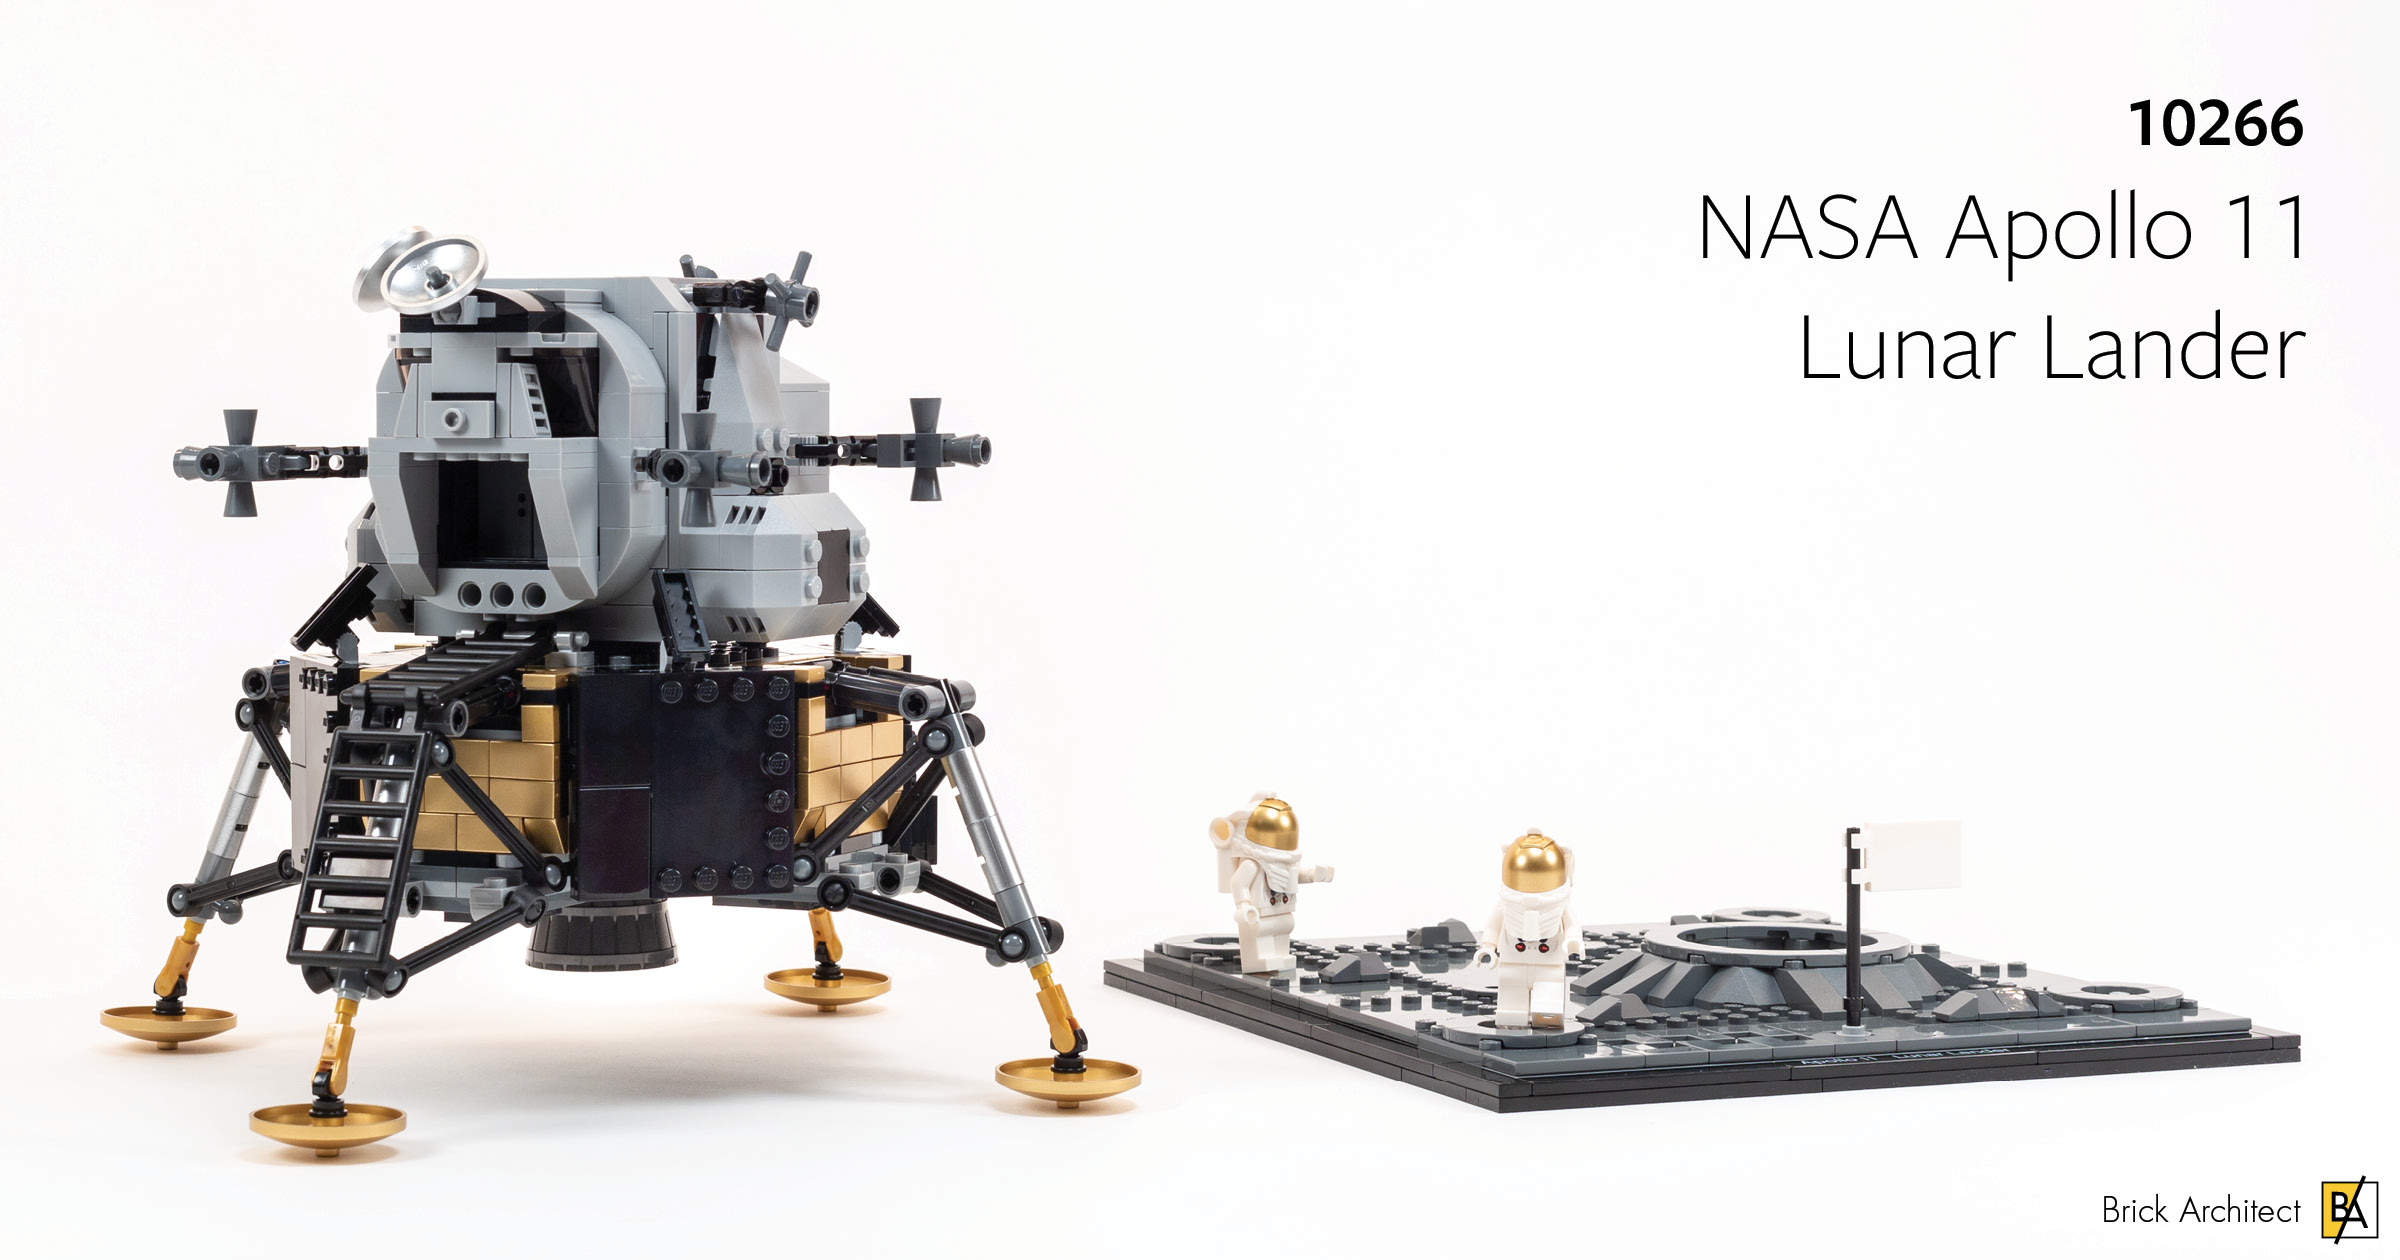
Review: #10266 NASA Apollo 11 Lunar Lander
Land on the moon in style in a shiny new Lunar Lander. You can probably already tell that it’s going to be a great display piece, but let’s find out if it’s also fun to build!
LEGO is no stranger to space exploration; younger builders have enjoyed many Space Shuttles as part of the City theme since 1990’s #1682 Space Shuttle Launch (which I built growing up). Older builders have no shortage of choices either… In fact, the second LEGO Ideas set (called Cuusoo at the time) was the Japanese exclusive set #21101 Hayabusa.
About the Set
#10266 NASA Apollo 11 Lunar Lander costs $99.99 (£84.99, €89.99) for 1087 pieces. That’s just over $0.09 per piece, which is pretty typical these days.
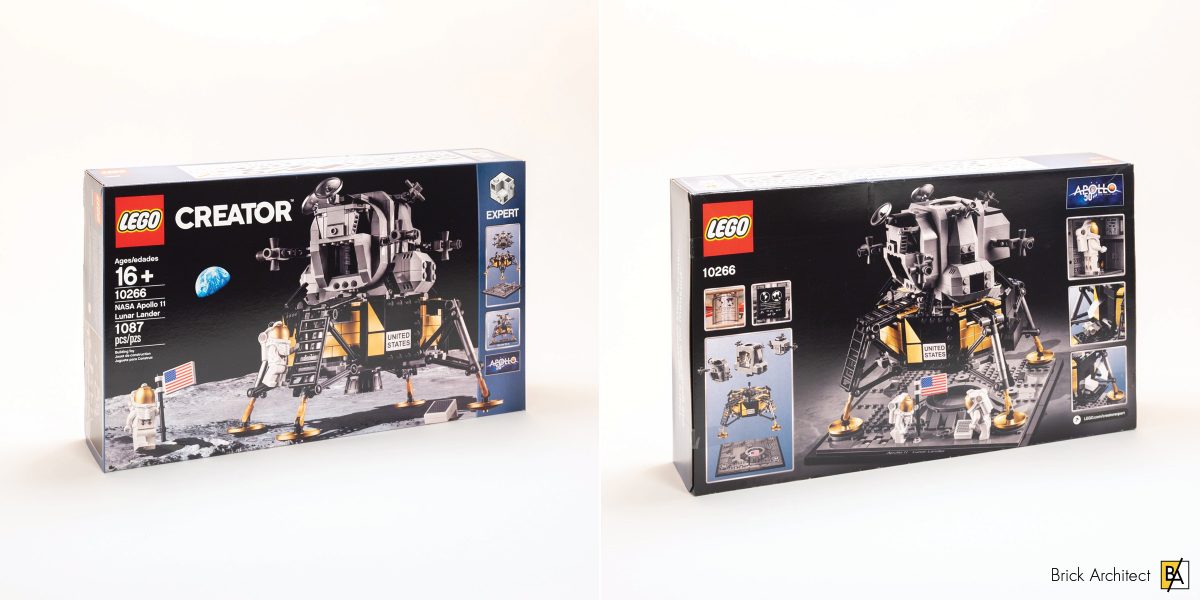
#10266 NASA Apollo 11 Lunar Lander – Box Front and Back.
This particular set is part of the Creator Expert series because it was designed in-house by LEGO employees, although we have also seen several great Space-themed models which were designed by Fans through the LEGO Ideas program.
Related Sets
The most obvious comparison to this set is 2003’s #10029 Lunar Lander which contained only 453 pieces. It’s no surprise that it is quite crude in comparison to the new version due to new parts, new colors like 310Metalized GoldGold, and much more advanced building techniques.

#10029 Lunar Lander
In addition to the previous Lunar Lander, there are two recent LEGO Ideas sets that we should mention, too. The first is 2017’s #21309 NASA Apollo Saturn V, the launch vehicle used to send all six Lunar Landers to the moon between Apollo 11 in 1969 and Apollo 17 in 1972. (The rocket was not reusable; multiple Saturn V rockets were built.)

#21309 Apollo Saturn V
The second related set is the newly released #21321 International Space Station, an impressive LEGO model which highlights the size and scale of this important laboratory in space. (It’s available now at LEGO.com for $69.99, £64.99, €69.99.)

#21321 International Space Station
Build Process
This build takes place across four stages, with corresponding numbered bags. There are two bags for stage 1 (a Large bag with code 228R9, and Medium bag with no code), two bags for stage 2 (A large bag with code 328R9, and a small bag with no code), one large bag for stage 3 (with code 228R9), and three bags for stage 4 (One large bag with code 328R9, and two different small bags with no code.)
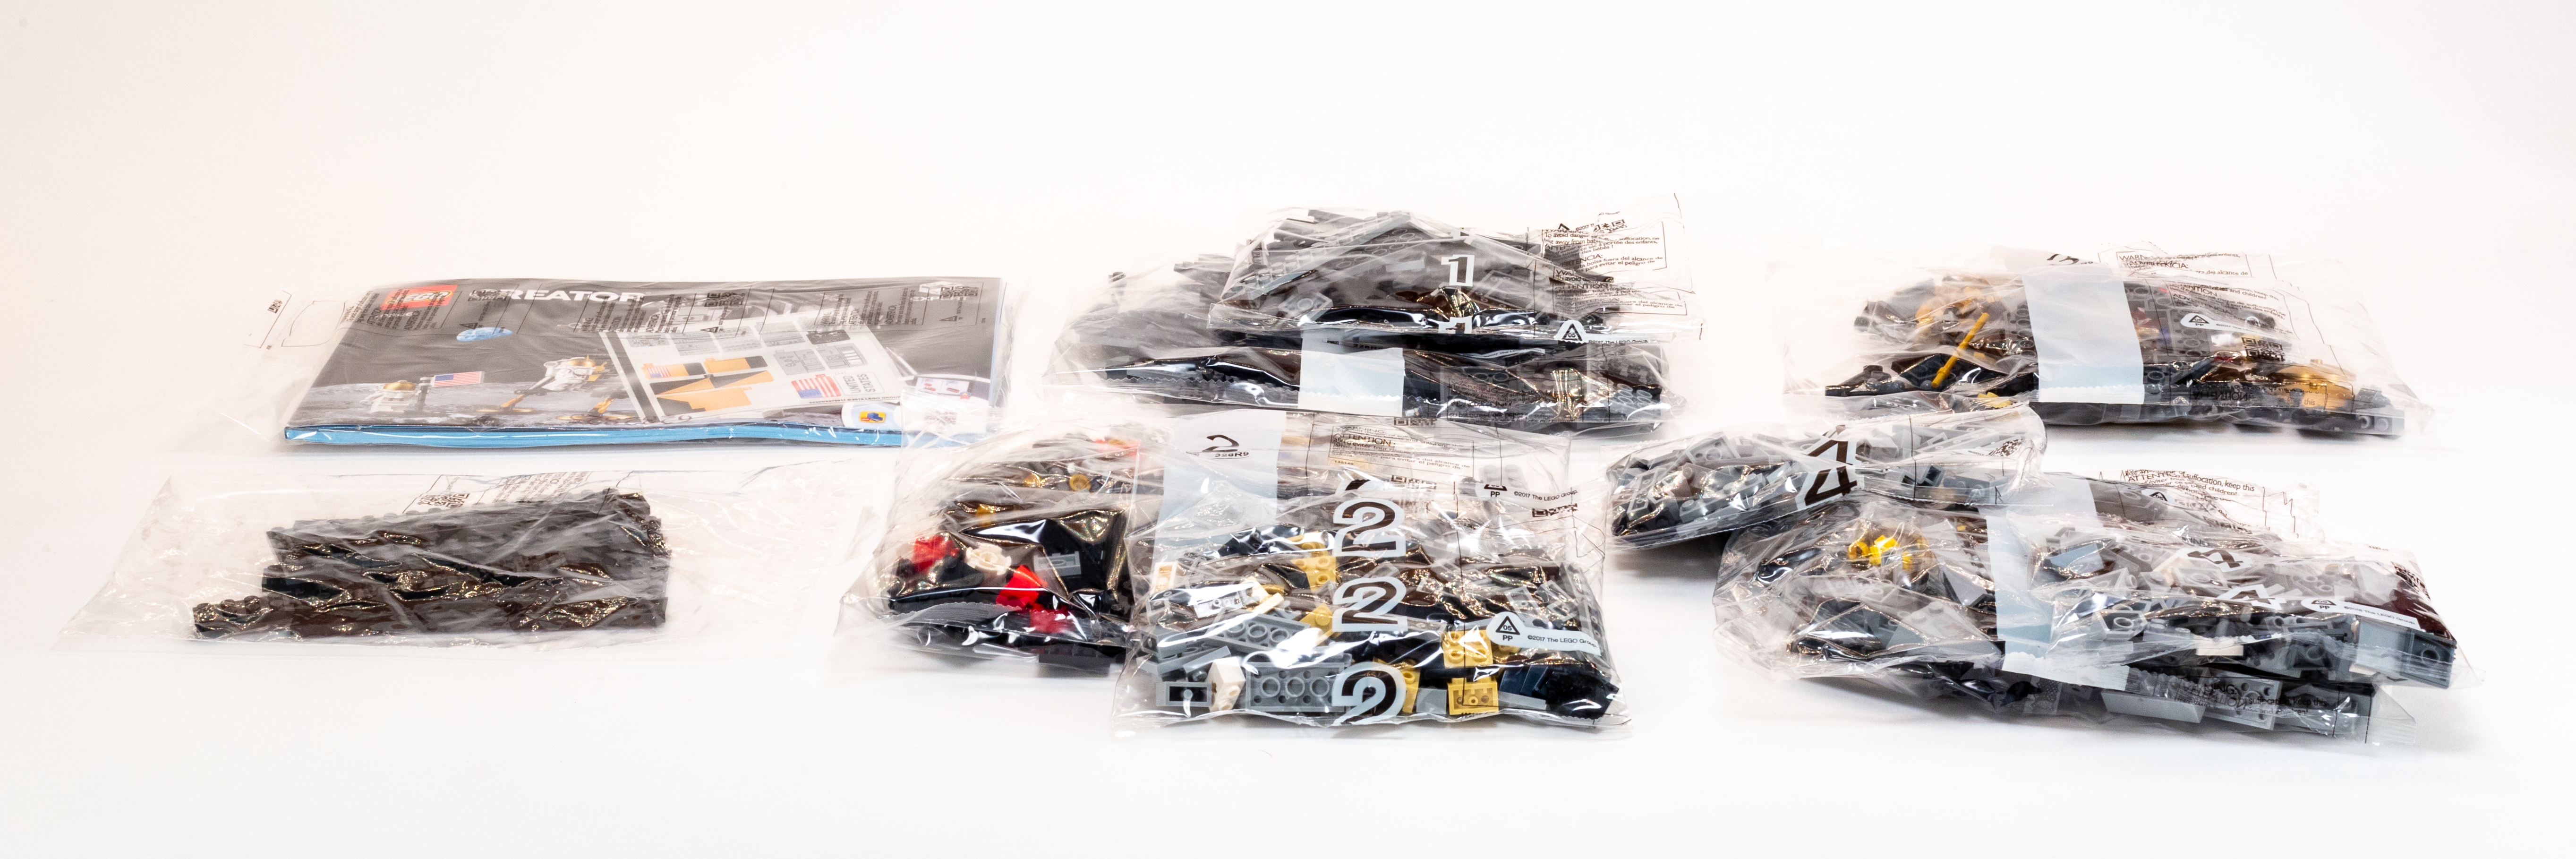
There are numbered bags corresponding to the four stages of the build process.
In addition to the various numbered bags, there is one bag containing the instructions and metallized sticker sheet, and one unnumbered bag containing a few large parts (which are used in stage 1.)
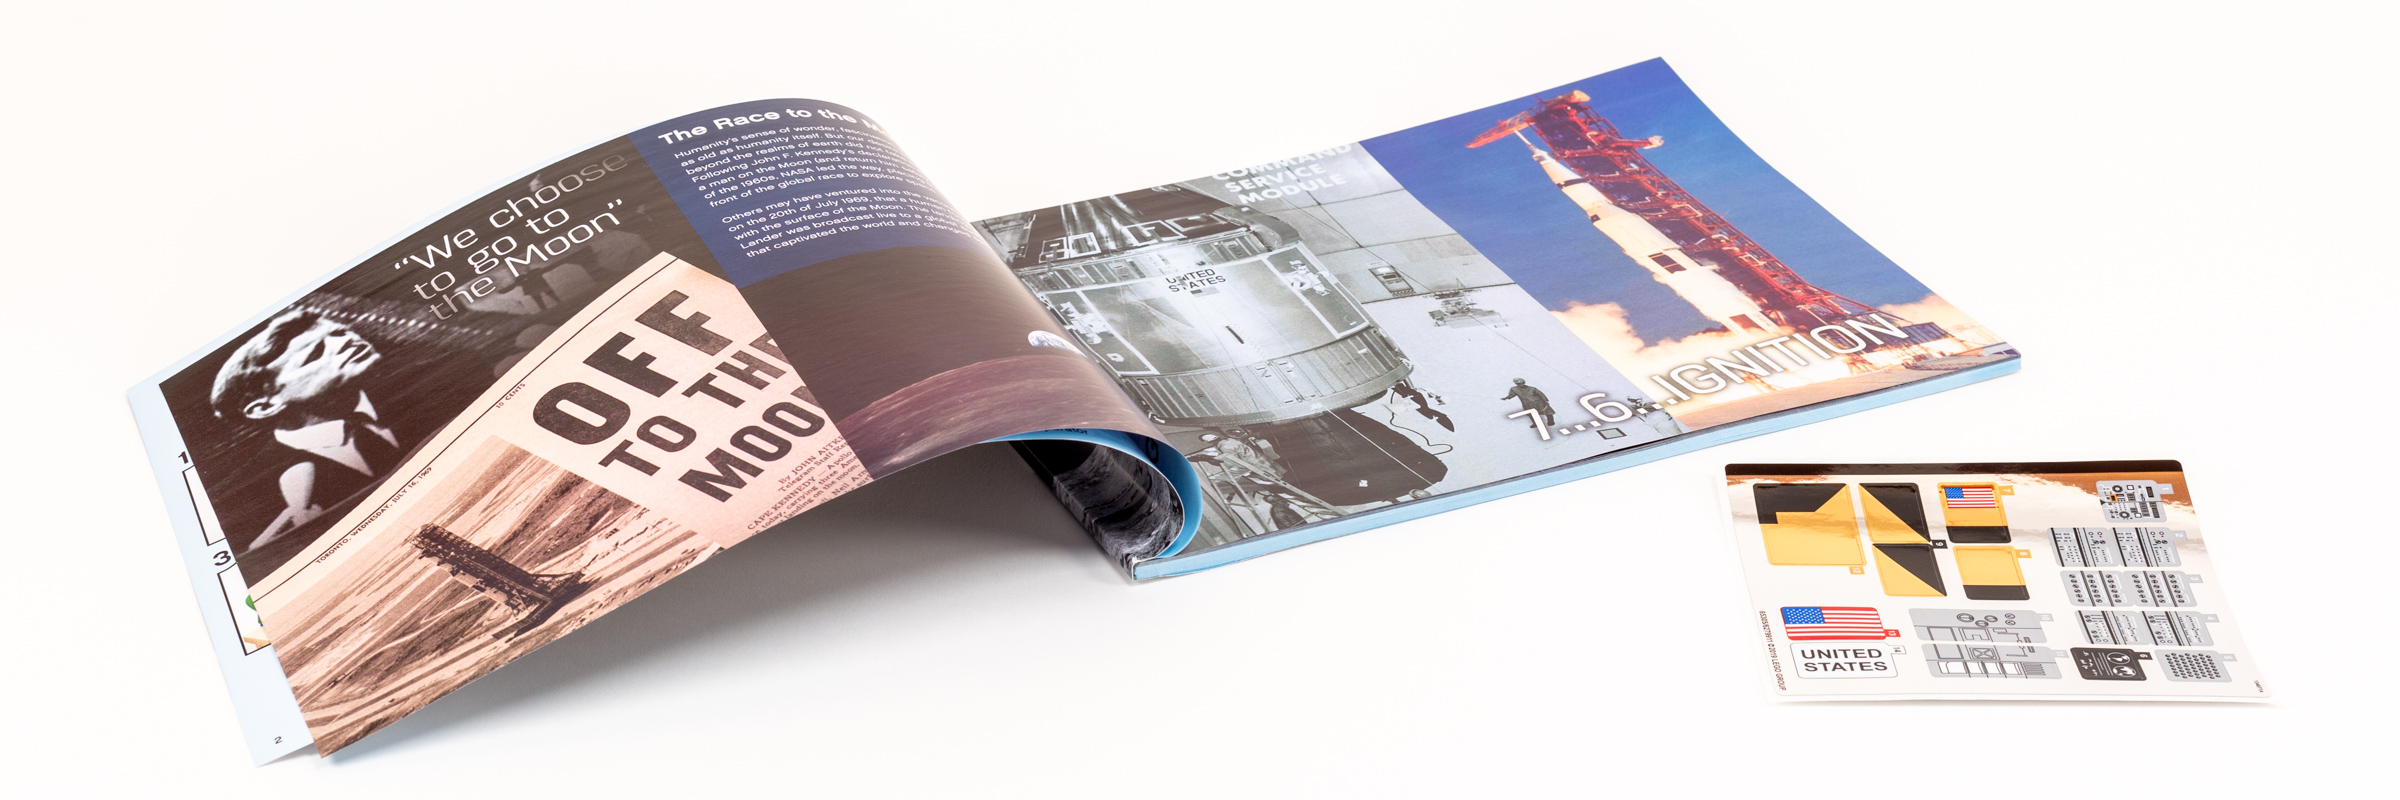
The set includes an instruction booklet with lots of history (and inspirational quotes), plus an above-average metallic sticker sheet.
Bag 1
In the first stage of the build, we assemble a solid base for the Lunar Lander module. This will be especially familiar to anyone who has built sets in the core LEGO Architecture series, as the base is surrounded by the familiar 1-stud black tile border, with a 1×8 printed tile along the front.
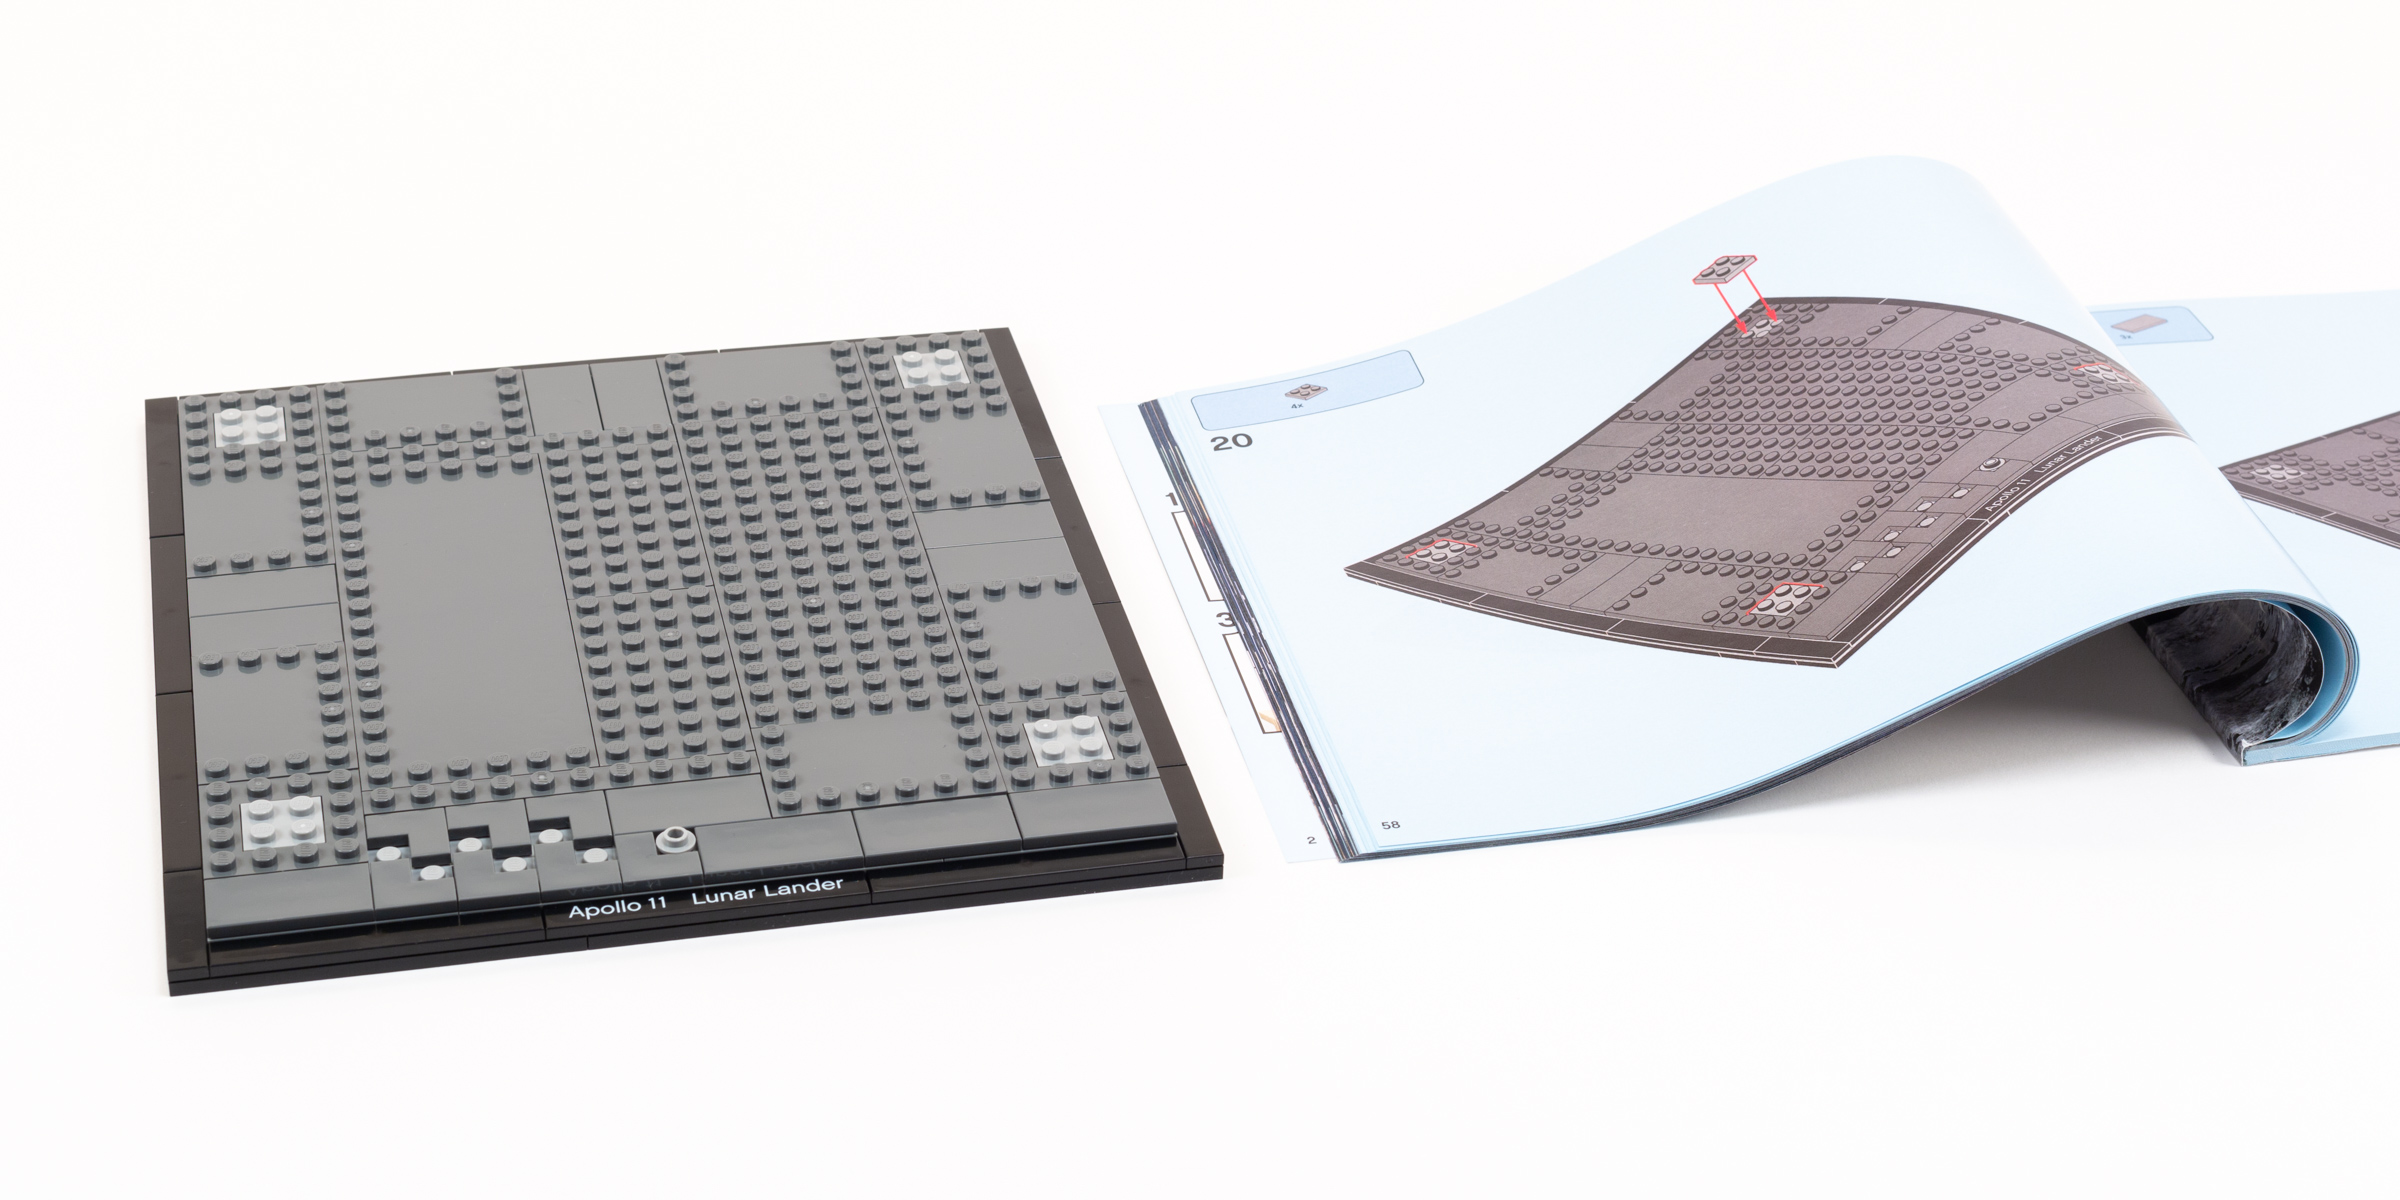
Three layers of plate and tile are used in the base (just like most sets in the Architecture series.)
Like most of the architecture sets, the bottom layer is comprised of a lattice of 2x wide black plates, held together by a second layer of [dark gray] and [light gray] plates. Near the center, we have a small crater. The effect is completed by a mix of dark gray tiles and studded plates, with greebling details using 1×1 cheese.
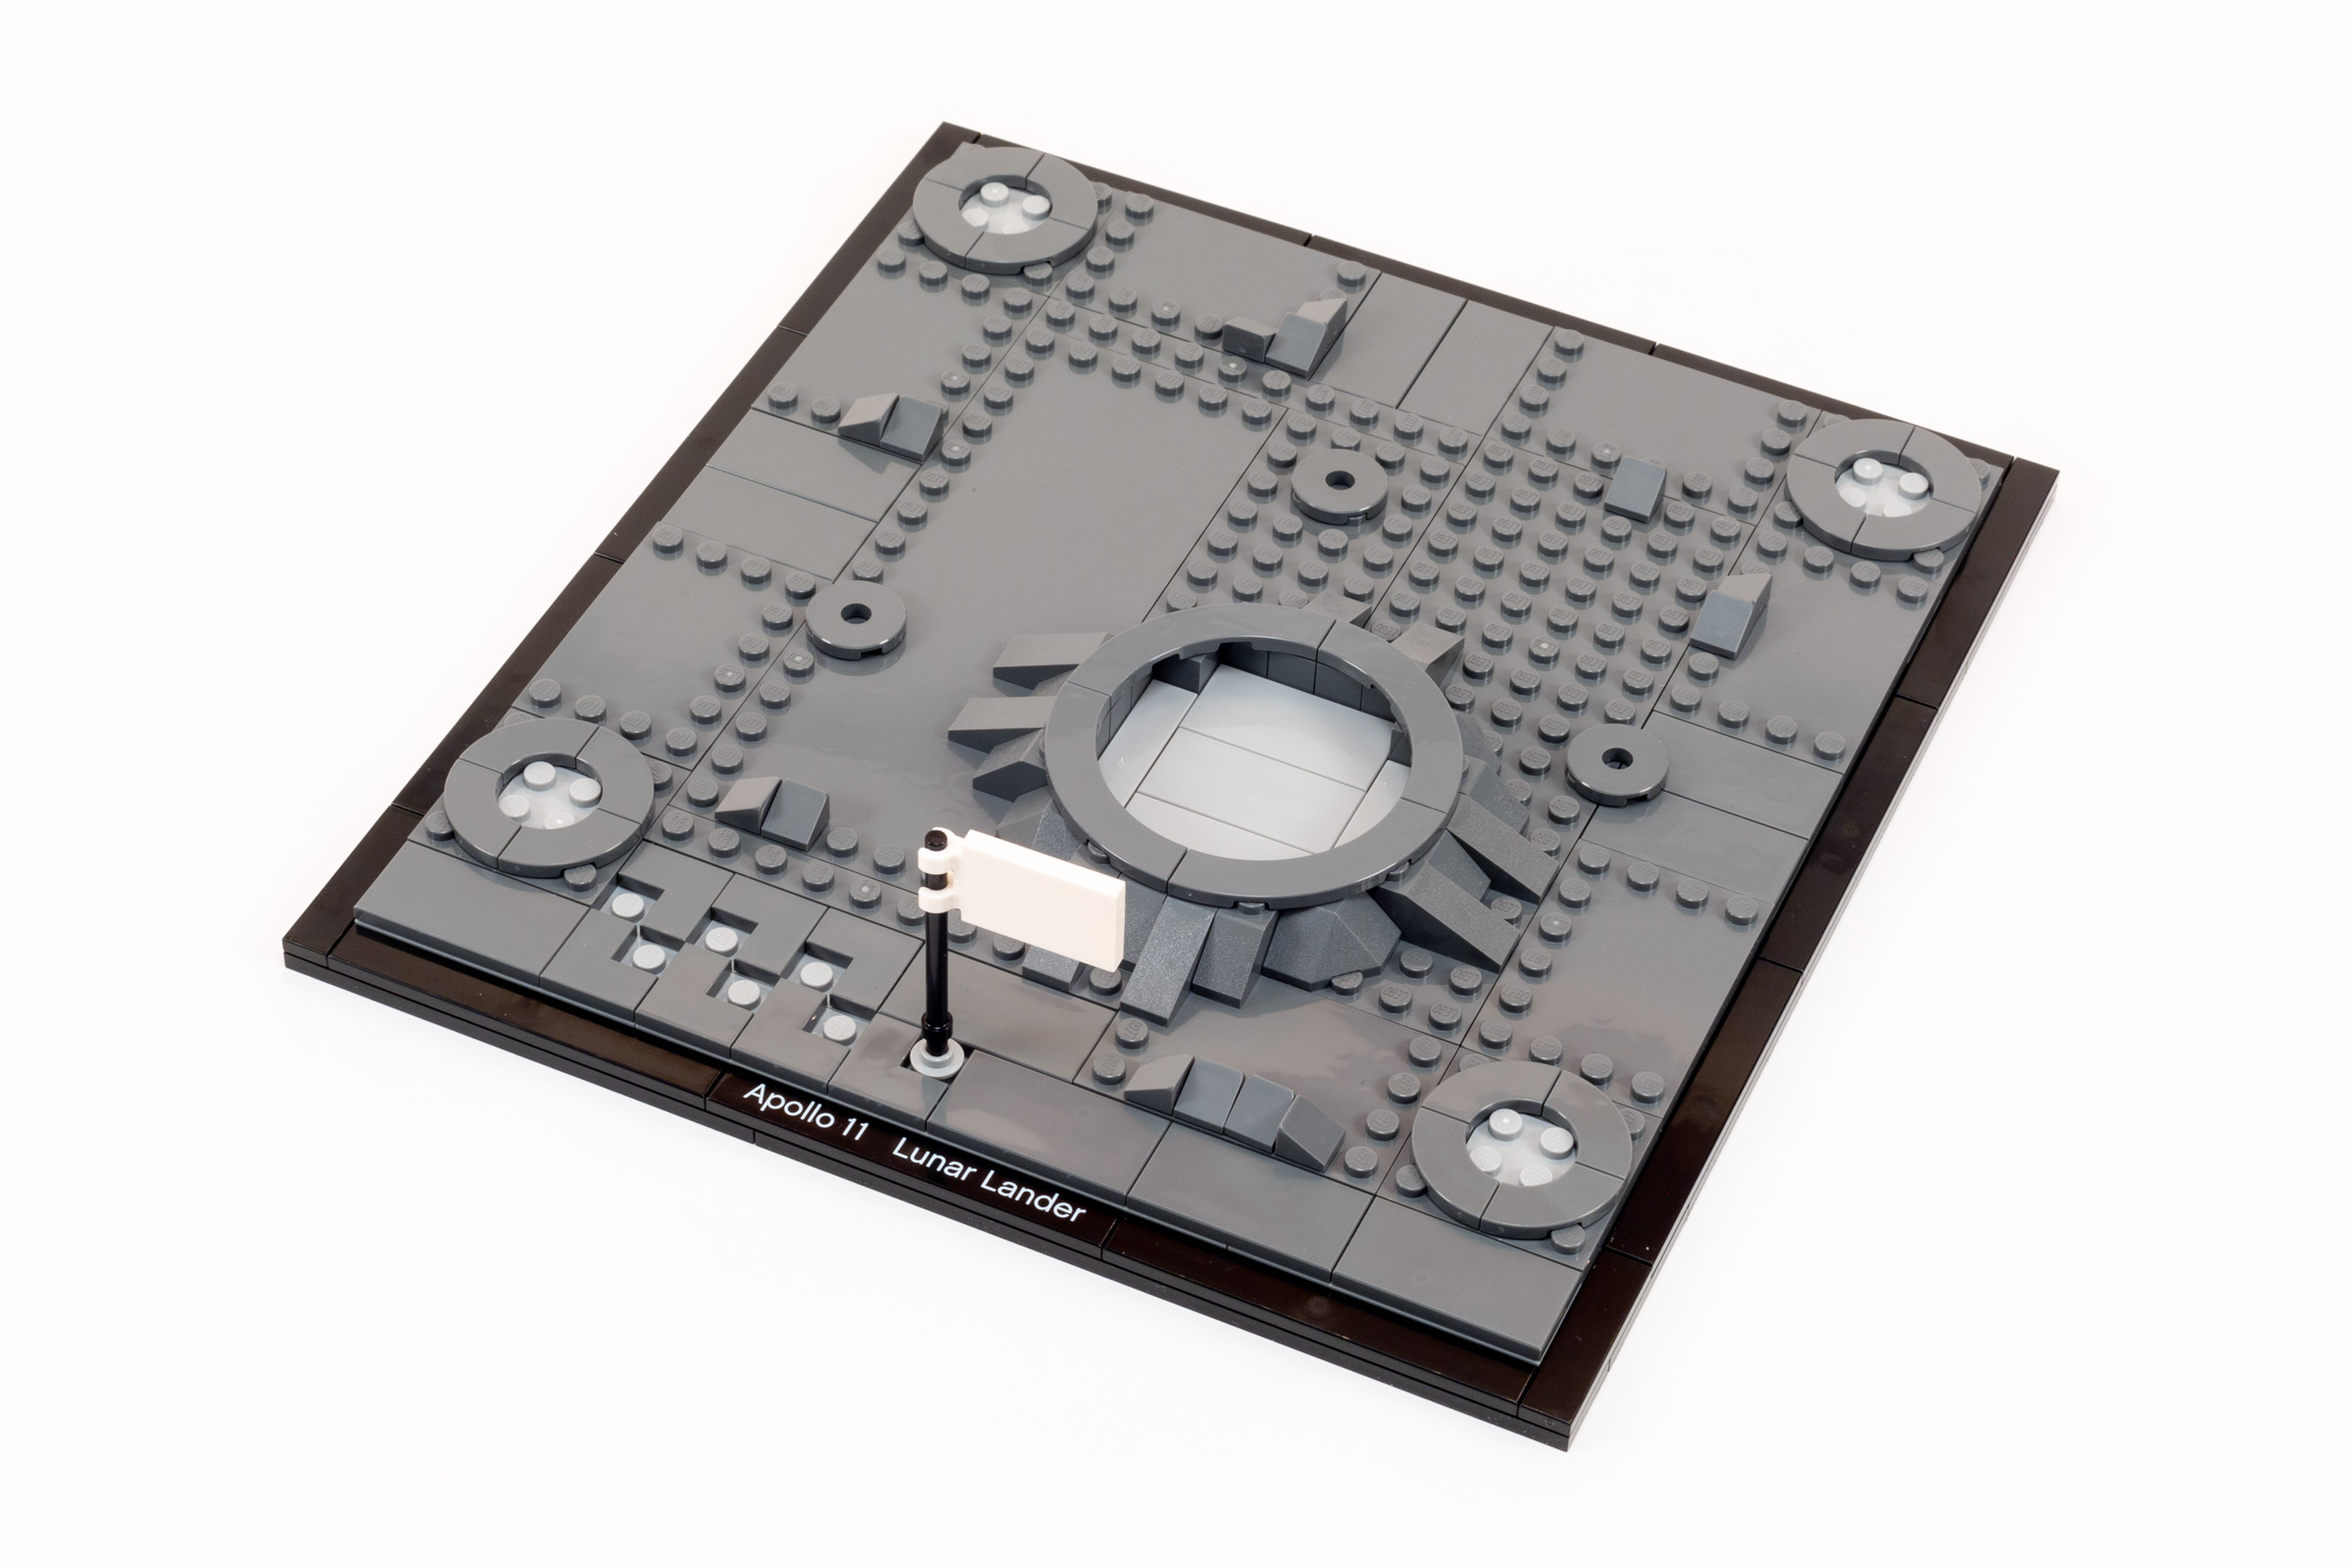
Completed base at the end of Stage 1.
Probably the most clever detail are the zigzag pattern revealing [light gray] plates beneath it, elegantly revealing mankind’s first few “small steps” on the moon, and the flag they left behind. The first bag doesn’t offer any exciting building techniques, but it’s well done.
Bag 1: Build Time, 25 minutes.
Bag 2
In the second bag, we build a large octagonal assembly which will be a major section of the lander itself. It is built around a [dk bluish gray] 10×10 Octagonal Plate w/ Open Center (part 6063), which is a relatively rare 25-year old part that works perfectly in this scenario.
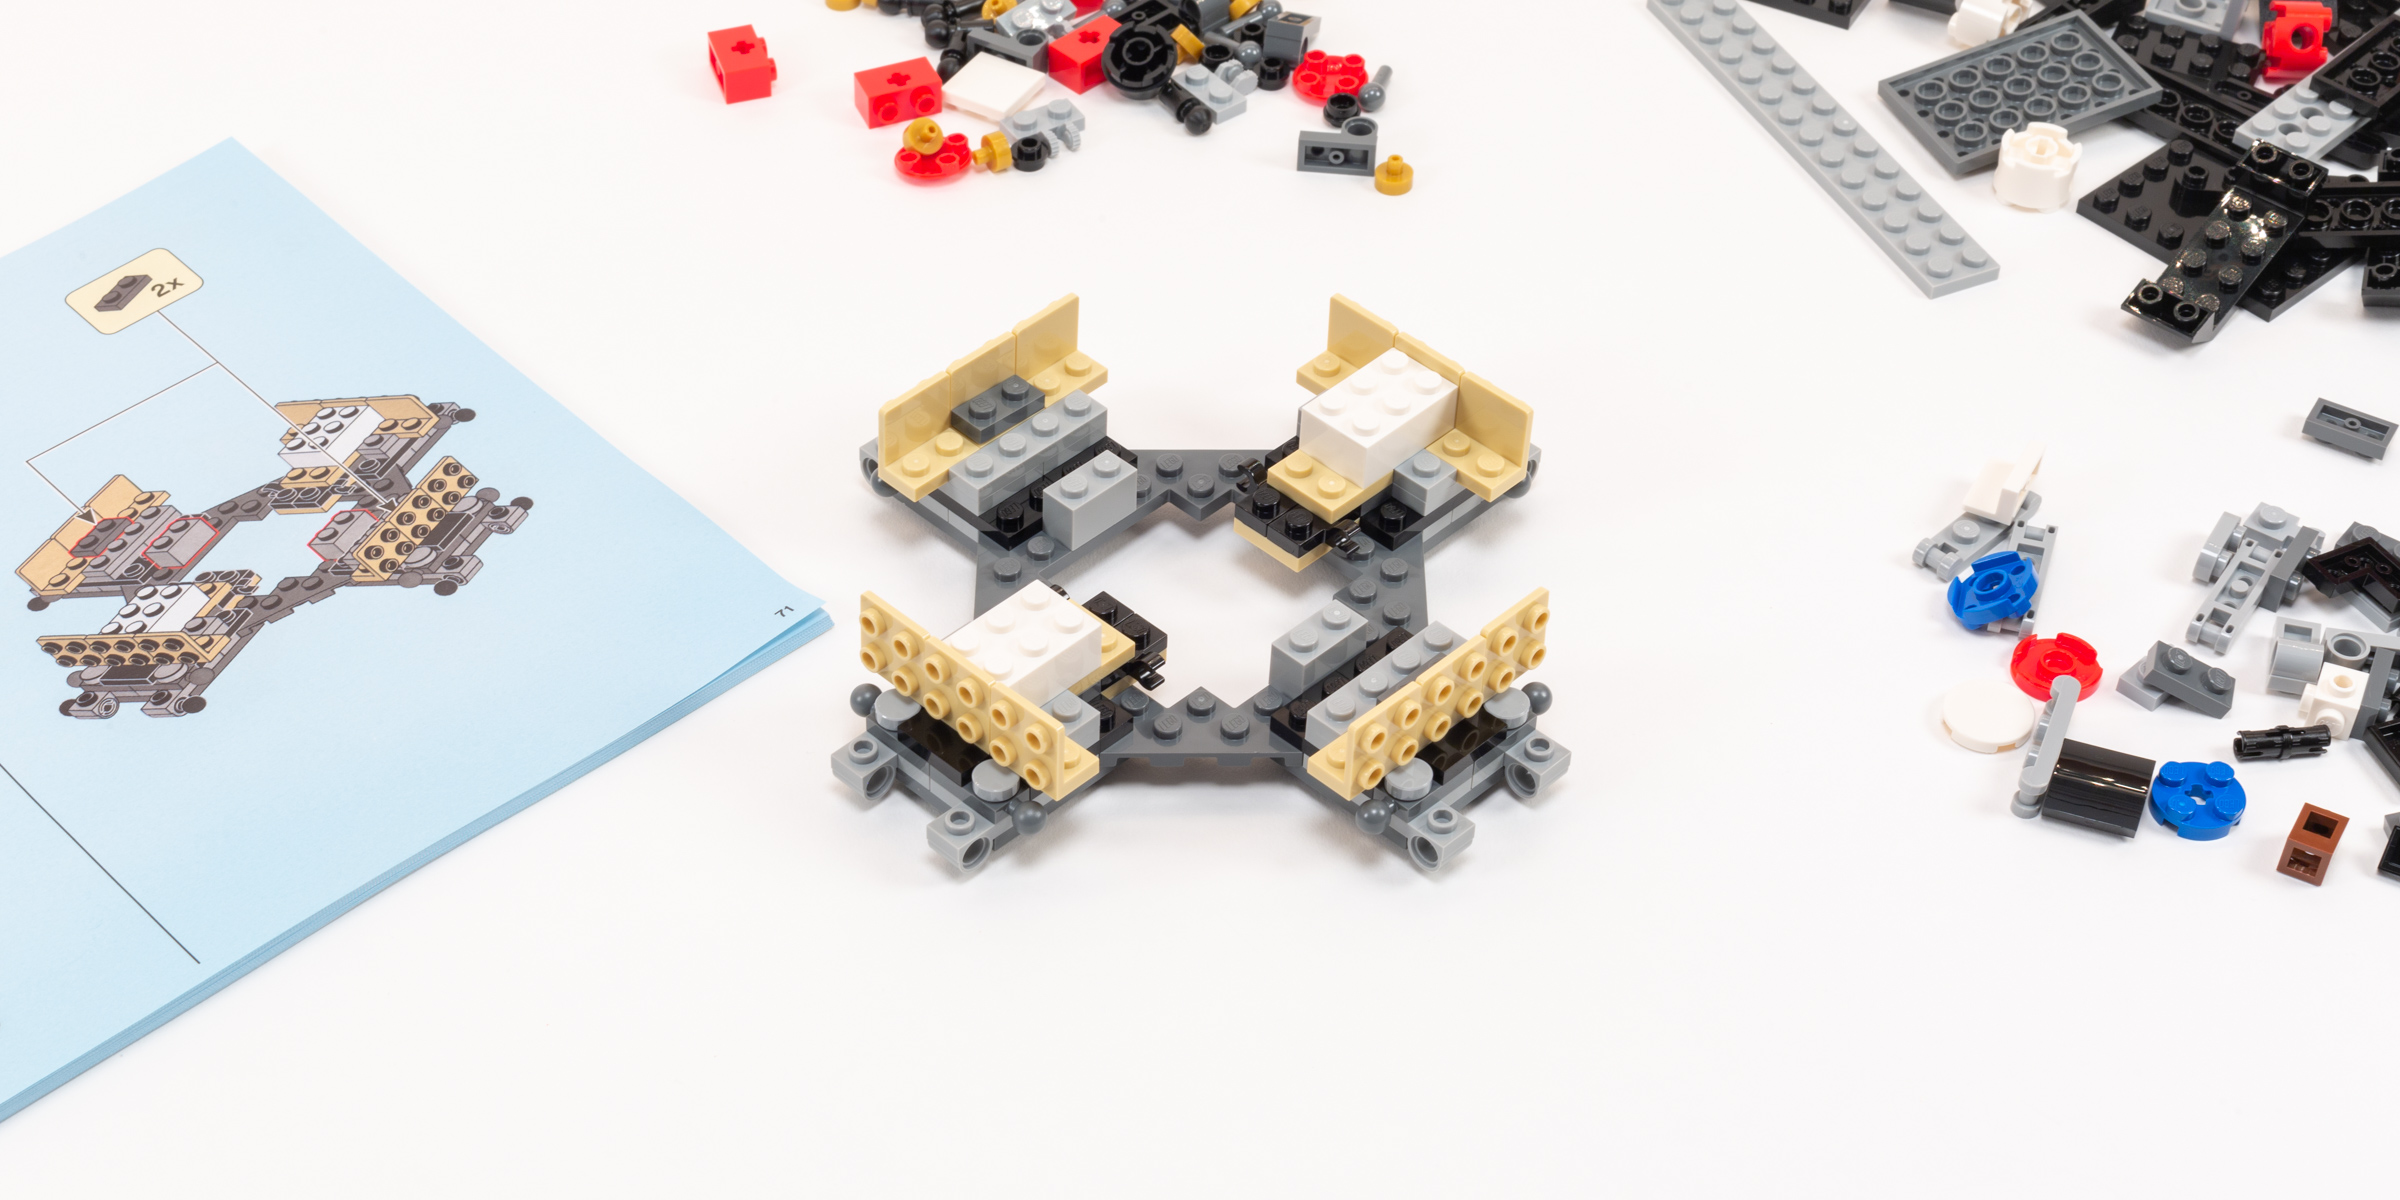
A hexagonal plate forms a sturdy base for the Lunar Lander.
While we do not finish assembling the Descent Module by the end of this stage, the octagonal assembly is quite robust. This is especially impressive, since each of the four black faces of the assembly are attached using just two Towball sockets. I was impressed to see how well this unconventional connection worked.
Lunar Lander at the end of Stage 2.
Note: My copy was missing one ‘1×2 Jumper’ in Black. Instead, there was one ‘1×1 Headlight Brick’ in Reddish Brown (which isn’t used in this set at all!) Thankfully, this is a common part so I grabbed a brand new part from my collection and kept building.
Bag 2: Build Time, 30 minutes.
Bag 3
This bag contains a ton of fairly rare [Metallized gold] parts, which I looked forward to adding to the model as they are an iconic aspect of the lander. The first half of this bag is devoted to carefully adding the many gold tiles to the Lander’s exterior.
I love the small learning moments embedded in sets like this, such as text on page 98 explaining that “The foil on the Lunar Lander was used for thermal and micrometeoroidal protection.”
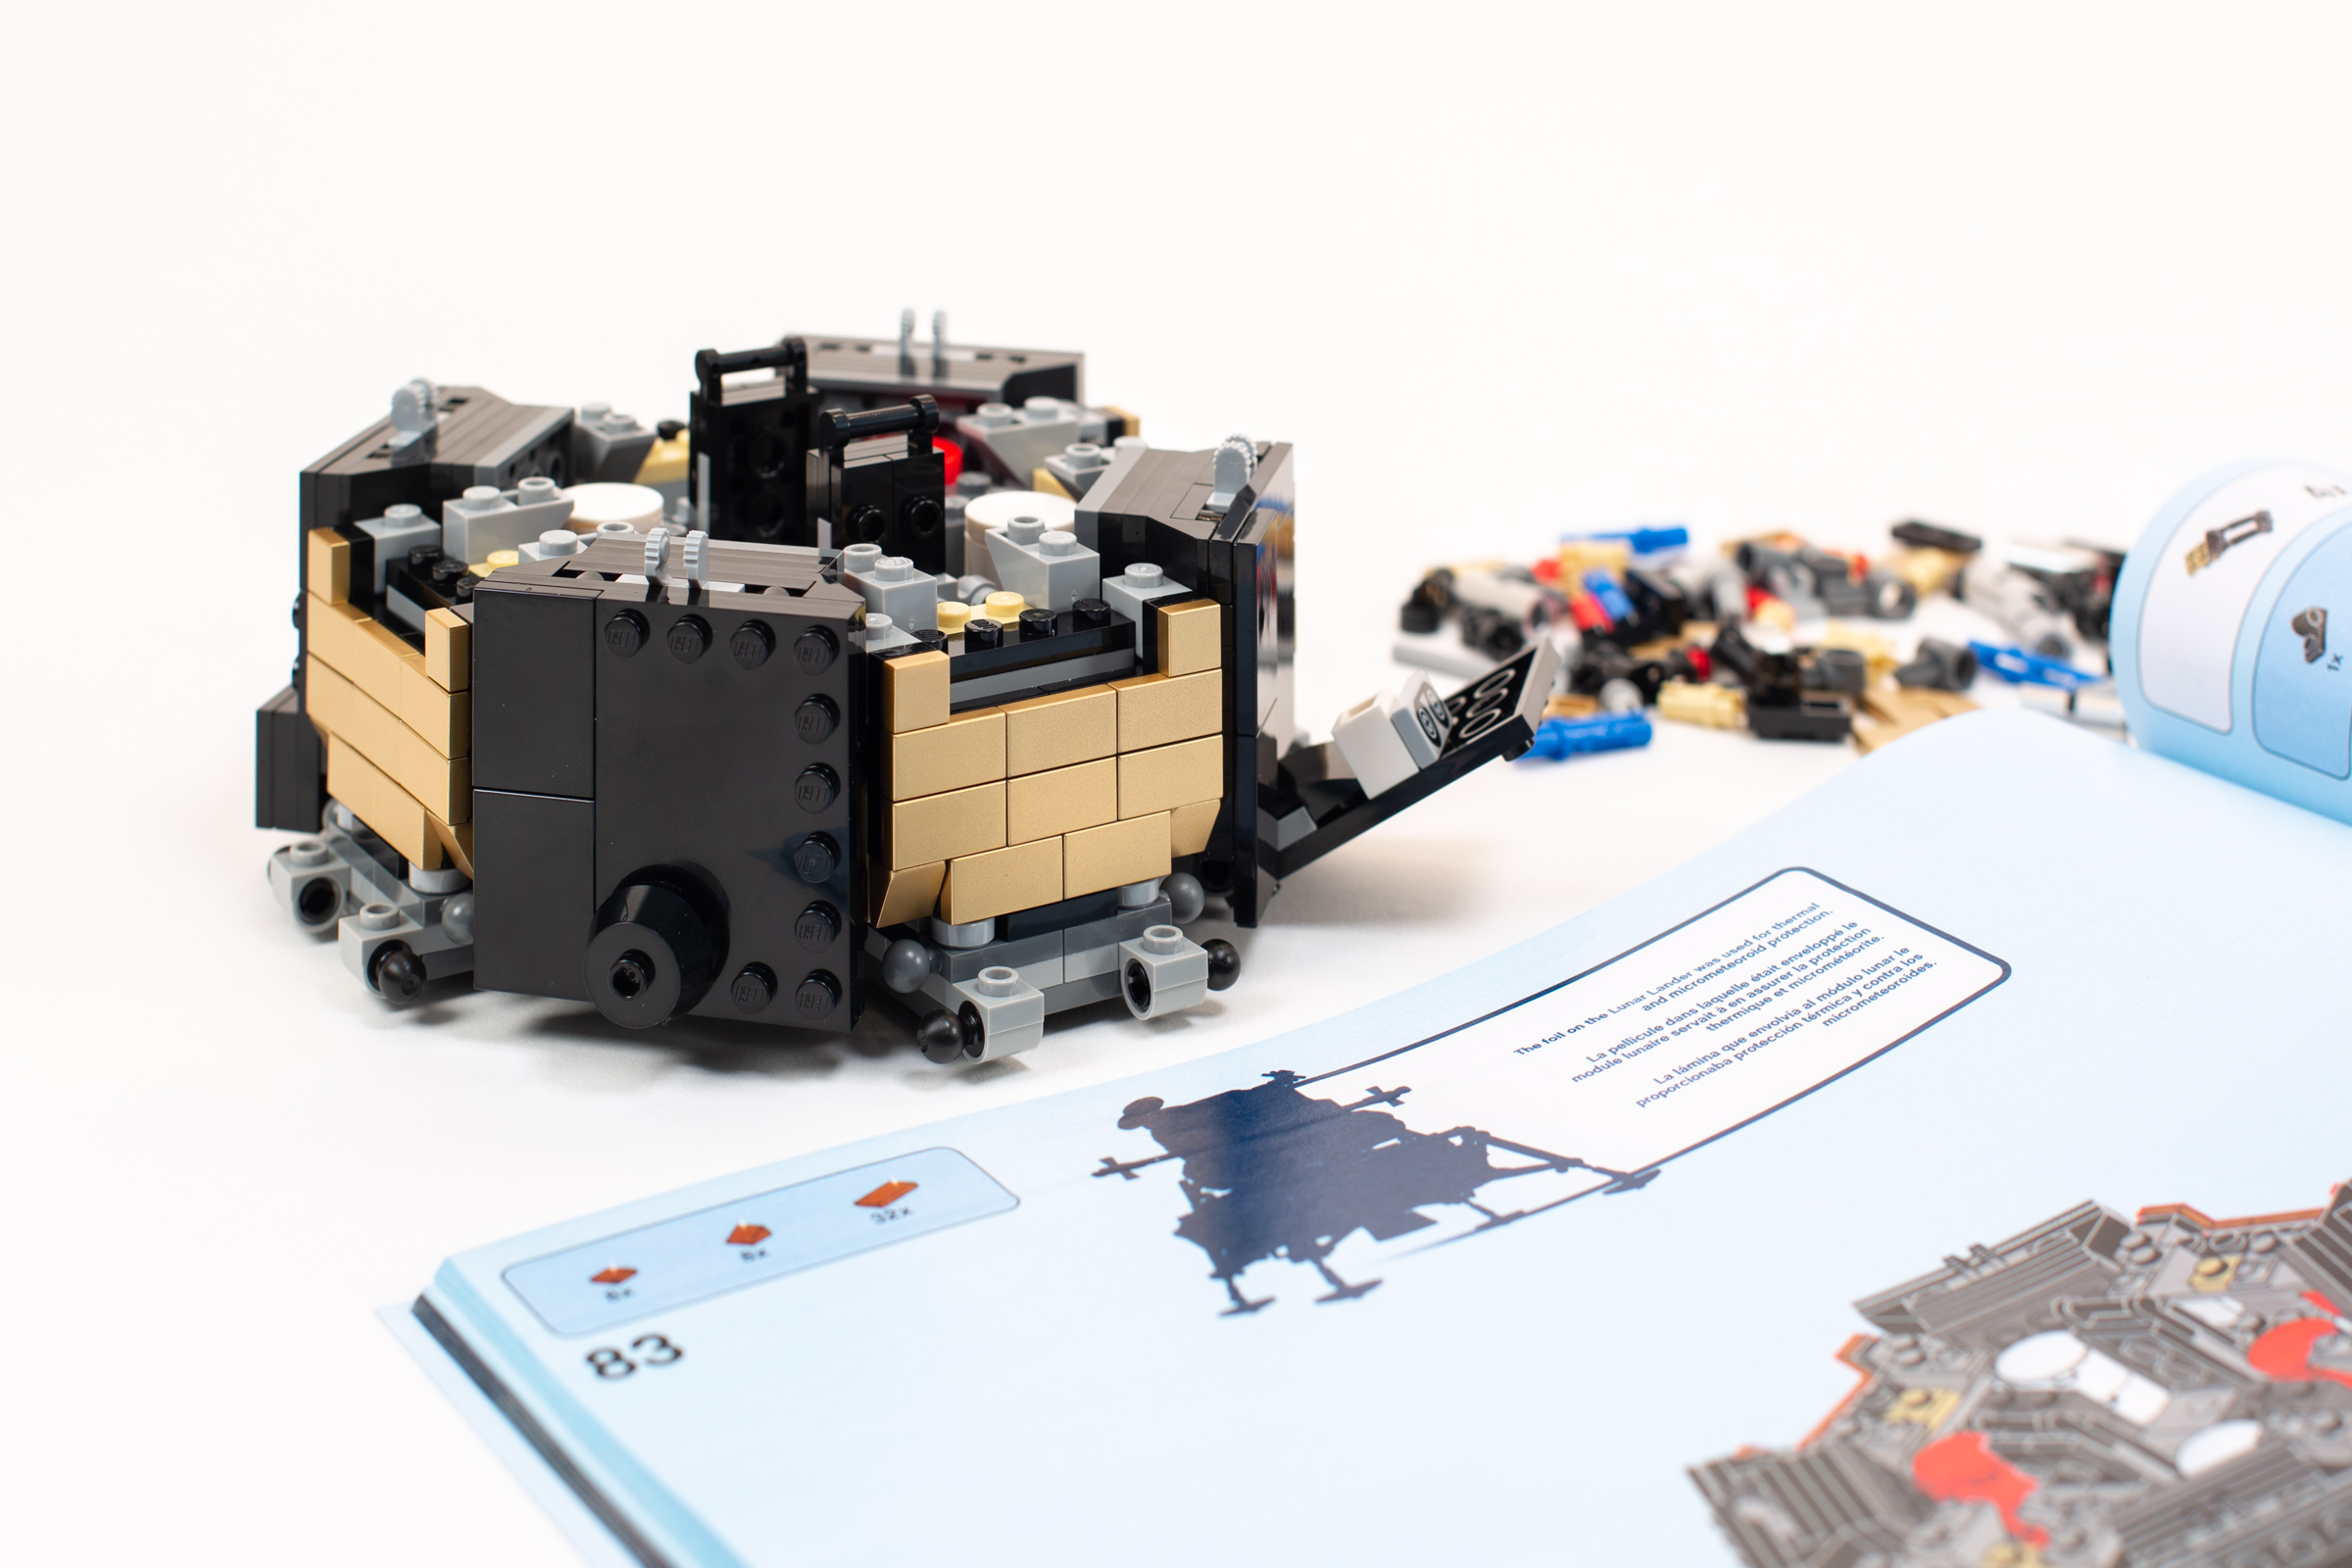
There are a few learning moments in the booklet.
After the exterior work, we get to build some very clever assemblies which result in four very slender but sturdy leg assemblies. It was quite enjoyable to build the leg modules, then attach each leg at the correct angle using four Technic 1×6 Links (part 2739). This is a deeply satisfying construction technique that looks extremely realistic!
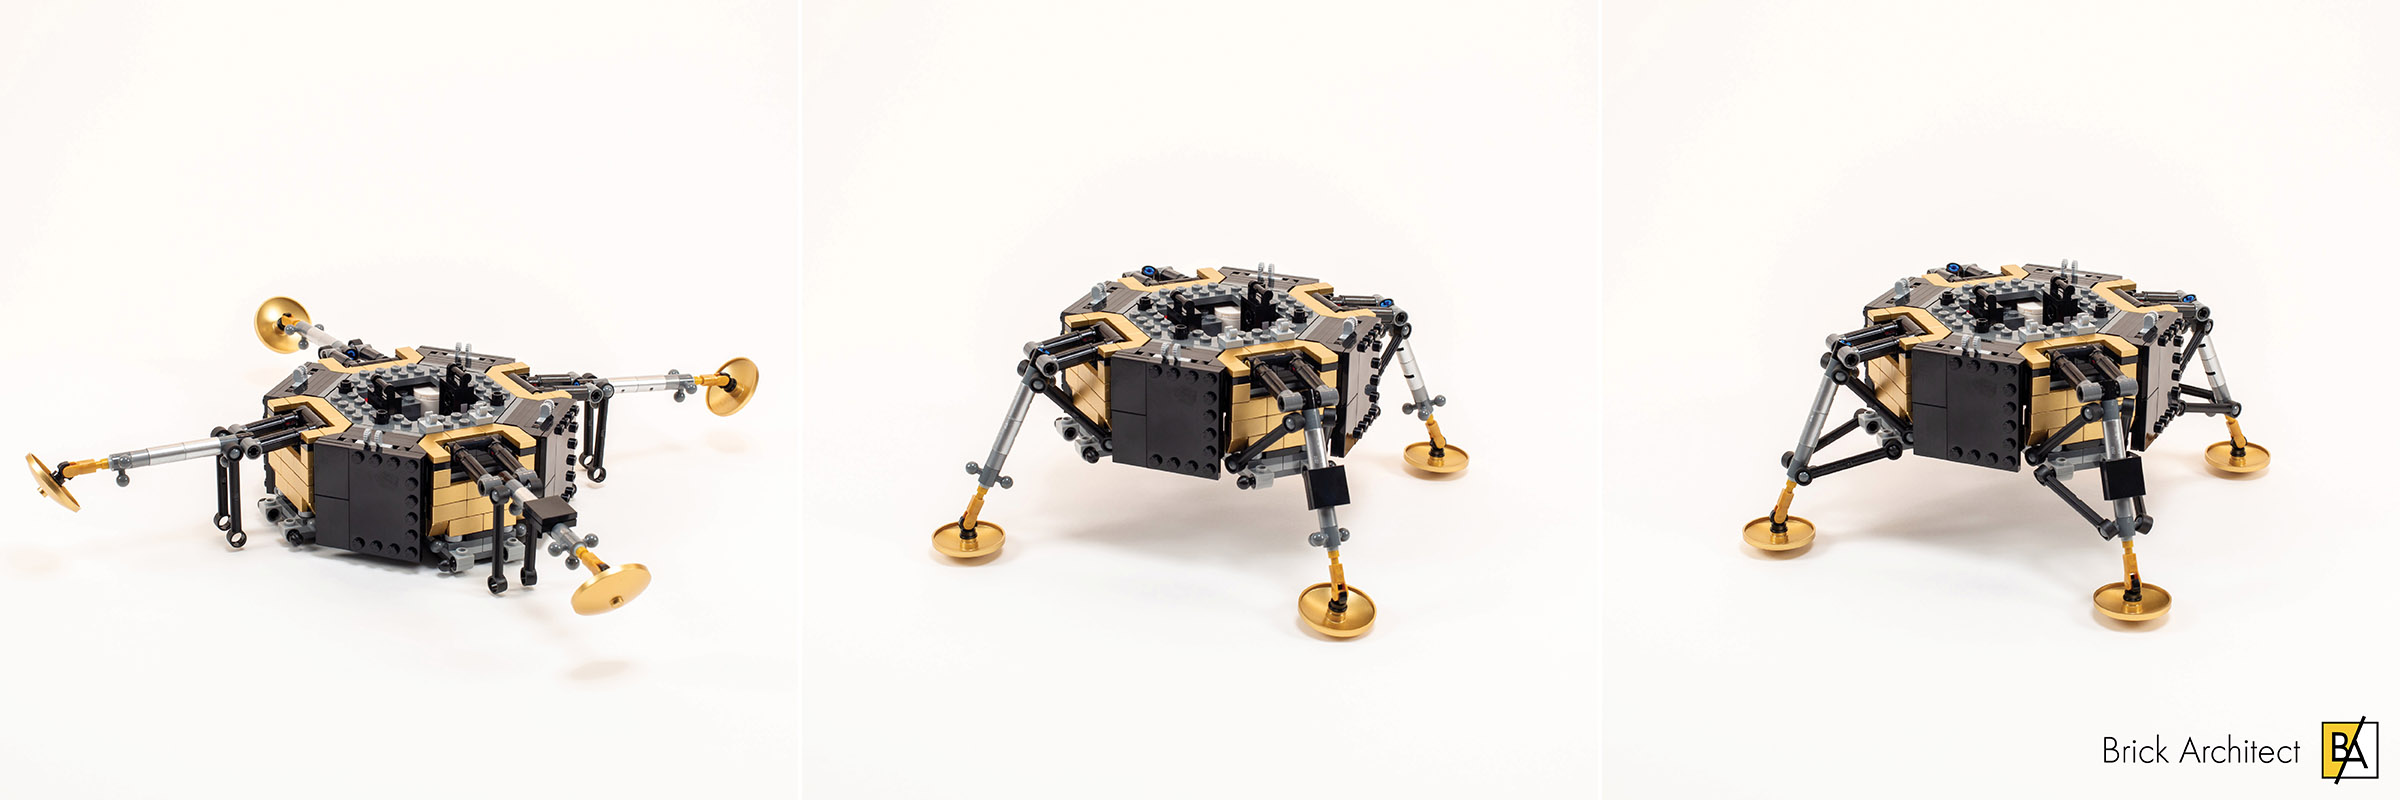
The four legs are held in place using clever building techniques.
Bag 3: Build Time, 30 minutes.
Bag 4
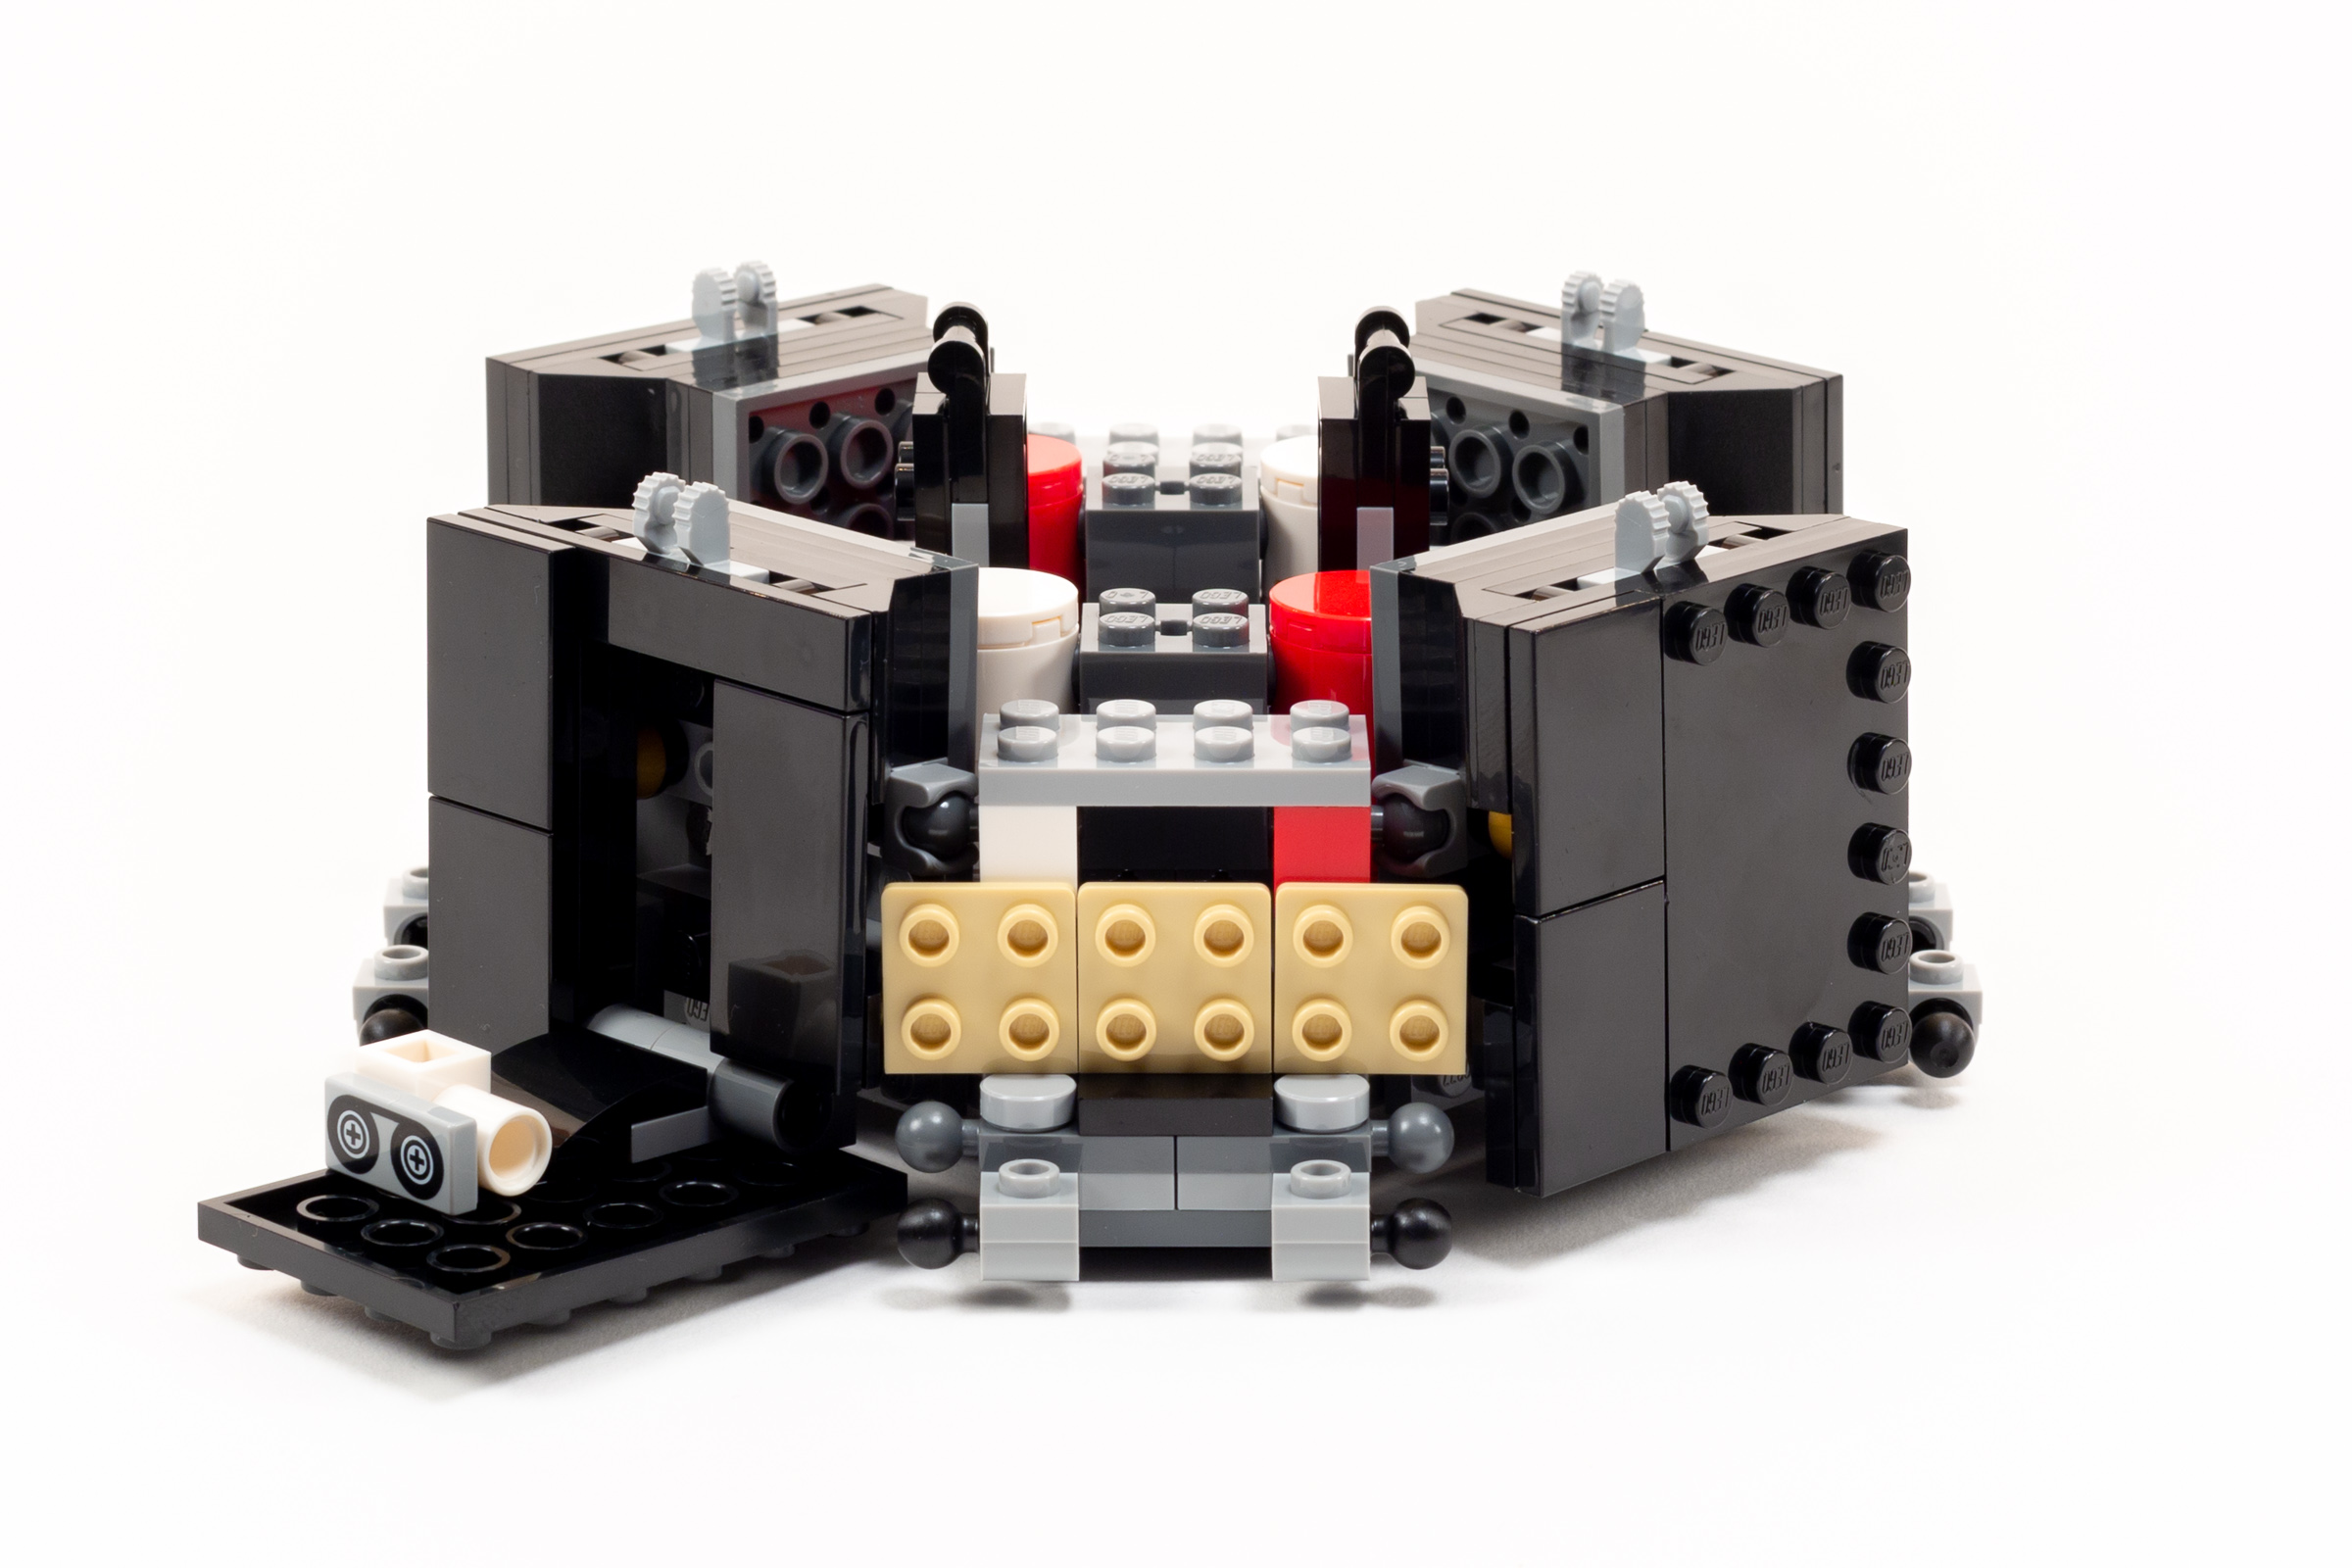
To my satisfaction, the entire fourth bag is dedicated to building the Ascent module which will sit on top of the Descent Stage which we just completed. (I really like it when a single bag builds a complete assembly of a larger mode, since I often take a break between each bag.)

In the fourth bag, we build the Ascent Stage, which is comprised of three modules which you can disassemble to see inside.
Unforunately, compared to the previous two bags, the last module is fairly repetitive and does not include any particularly impressive building techniques. It is well designed, with three smaller modules that you can separate to access the interior. There are a few exposed studs so your astronauts can sit inside. (They do fit inside, I checked.)
Bag 4: Build Time, 35 minutes.
About the Parts
Since the set has been out for some time, I am not going to offer a complete breakdfown of new parts and existing parts available for the first time in new colors. I do want to revisit the topic of price-per-piece, as it frequently comes up in set reviews.
In the USA, this set has a price of $0.09 per piece. The prevailing attitude is that anything under 0.10 per piece is a good value, but I think that approach has become meaningless since so many recent sets contain tons of tiny 1×1 pieces, and relatively few larger pieces. As for this particular set, I think $0.09 per piece is pretty good, since the set contains a fairly typical distribution of larger and smaller parts, not to mention some interesting parts and rare colors.
Speaking of rare colors, this set contains a whopping 72 parts in 310Metalized GoldGold:
- 36x – 1×2 Tile w/ Groove (part 3069b)
- 16x – 1×1 Tile w/ Groove (part 3070b)
- 8x – 1×1 Cheese Slope (part 54200)
- 8x – 2×2 Corner Tile (part 27263)
- 4x – 4×4 Dish (part 3960)
Conclusion
This is an excellent set, which looks particularly striking due to the large number of 310Metalized GoldGold parts, iconic shape, and the lunar landscape that it’s sitting on. It is a fantastic display piece, which will look great in your home or displayed proudly on your desk at work.
My biggest gripe with the set was the fact that they included stickers instead of printed parts. As you can see from my photos, the stickers aren’t necessary—the model looks great without them. Including a printed American Flag and maybe one or two printed side panels would have been sufficient; the printed parts inside the Ascent module really weren’t necessary. (To be fair, it is a really nice sticker sheet with a metallized finish.)
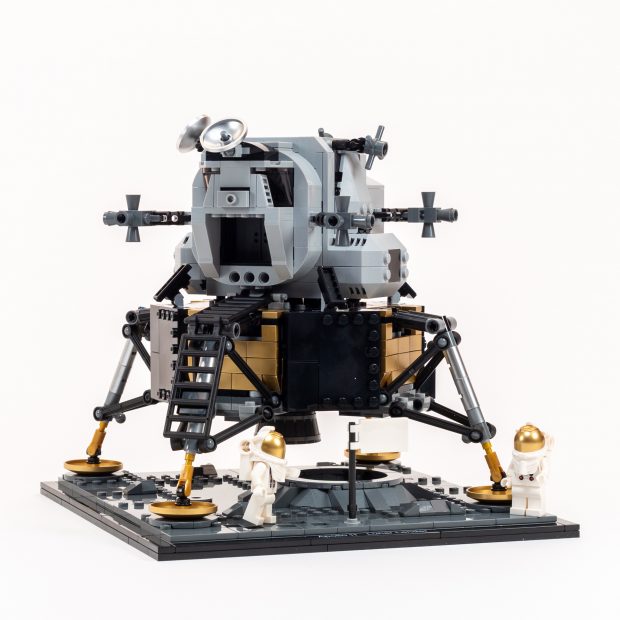
#10266 NASA Apollo 11 Lunar Lander looks fantastic on its lunar scene.
Not to worry, my disdain for stickers is not enough to lower my impressions of this set… It is a beautiful re-creation of a historic moment, which I can recommend wholeheartedly to anyone who loves space exploration, and almost any current (or aspiring) Adult/Teen Fan of LEGO. This is a great set, and I’m happy to give this set our Recommended (4/5 star) rating.
I look forward to building my copy once it arrives (bought secondhand).
Great review (as per usual)