

Review: LEGO Technic #42145 Airbus H175 Rescue Helicopter
It’s an impressive looking helicopter with a vibrant color scheme, but the complex Technic mechanisms buried deep inside steal the show…
While Technic components have made their way into almost every LEGO theme to add movement and play functions, there are only a few new Technics sets every year. In fact, after excluding motors and battery boxes, there are only 36 LEGO Technic sets currently listed at LEGO.com (nine of which are out-of-stock or coming soon).
That current selection is dominated by cars — 19 in total; more than half of all Technic sets! That’s why I was excited that the two new sets released in August include this set and #42144 Material Handler (see our recent review). I’m hopeful that this will offer intricate mechanical functions in a model that’s more affordable than the $449 #42131 App-Controlled Cat D11 Bulldozer or either of the three 400 Technic supercars (such as the #42083 Bugatti Chiron).
I enjoy learning mechanical engineering concepts by building large Technic sets, but I’m not much of a ‘car guy’. This could be a good fit for my interests in a Technic set!

#42145 Airbus H175 Rescue Helicopter – Box front and back.
#42145 Airbus H175 Rescue Helicopter will be released worldwide on August 1. It costs $209.99 (209.99€ / £179.99 / 269.99 CAD / 329.99 AUD) for 2001 pieces, ages 11+.
At that price, the set comes to $0.105 per piece in the USA, which is slightly higher than we typically see in the LEGO Technic line, but reasonable enough given that the set has some interesting new parts and power functions. (Also note that widespread price increases have been made, so this set may appear to be an even better value as we adjust to the new pricing.)
First Impressions
The obvious comparison amongst long-time members of the AFOL community is with the 2020 set that was cancelled soon after a few copies were sold — #42113 Bell-Boeing V-22 Osprey. That set also featured a battery box and single motor, but with a lower part count of 1636 pieces, and a much lower (planned) retail price of $149.99 ($0.092 per piece).

#42113 Bell Boeing V-22 Osprey Helicopter (Photo: The LEGO Group)
That set was cancelled before widespread release due to uproar that the V-22 Osprey is a miliary vehicle (even though the configuration portrayed in the LEGO set was in a rescue context, which is one of the scenarios that it was designed to support). The LEGO Group is clearly banking on the fact that the Airbus H175 was not designed with combat scenarios in mind to keep angry parents at bay.
.jpg)
Airbus H175 Rescue Helicopter (Photo by Tom Andreas Østrem , CC BY 2.0)
To be clear, these sets represent two vastly different helicopters, with this Airbus design following they typical single rotor design, whereas the Osprey features two upward-facing rotors. Given the large size, I immediately noticed a new blade piece featuring yellow safety tips, which appear to be dual-moulded with a softer material – hoping to reduce risk of damage to humans and your home when motorized. I personally find the Osprey design more interesting due to the unique dual propeller design, but the H175 has the advantage of a larger fuselage which will (hopefully) allow for more play features.
Contents
The box feels pretty substantial. It seems like one of the ways that The LEGO Group is trying to meet it’s commitment to reducing carbon is to use slightly smaller boxes when possible.
- Box Size: 57.8 x 37.4 x 9.8 cm (22 3/4” × 14 3/4” × 3 7/8”)
- Box Weight: 2679 grams (5.91 lbs)
- Box Density: 2679 grams / 21.18 Liters = 126 g/L.
126 g/L is higher than usual, making this a heavier box than many similarly sized boxes.
The build process takes place over five numbered stages.
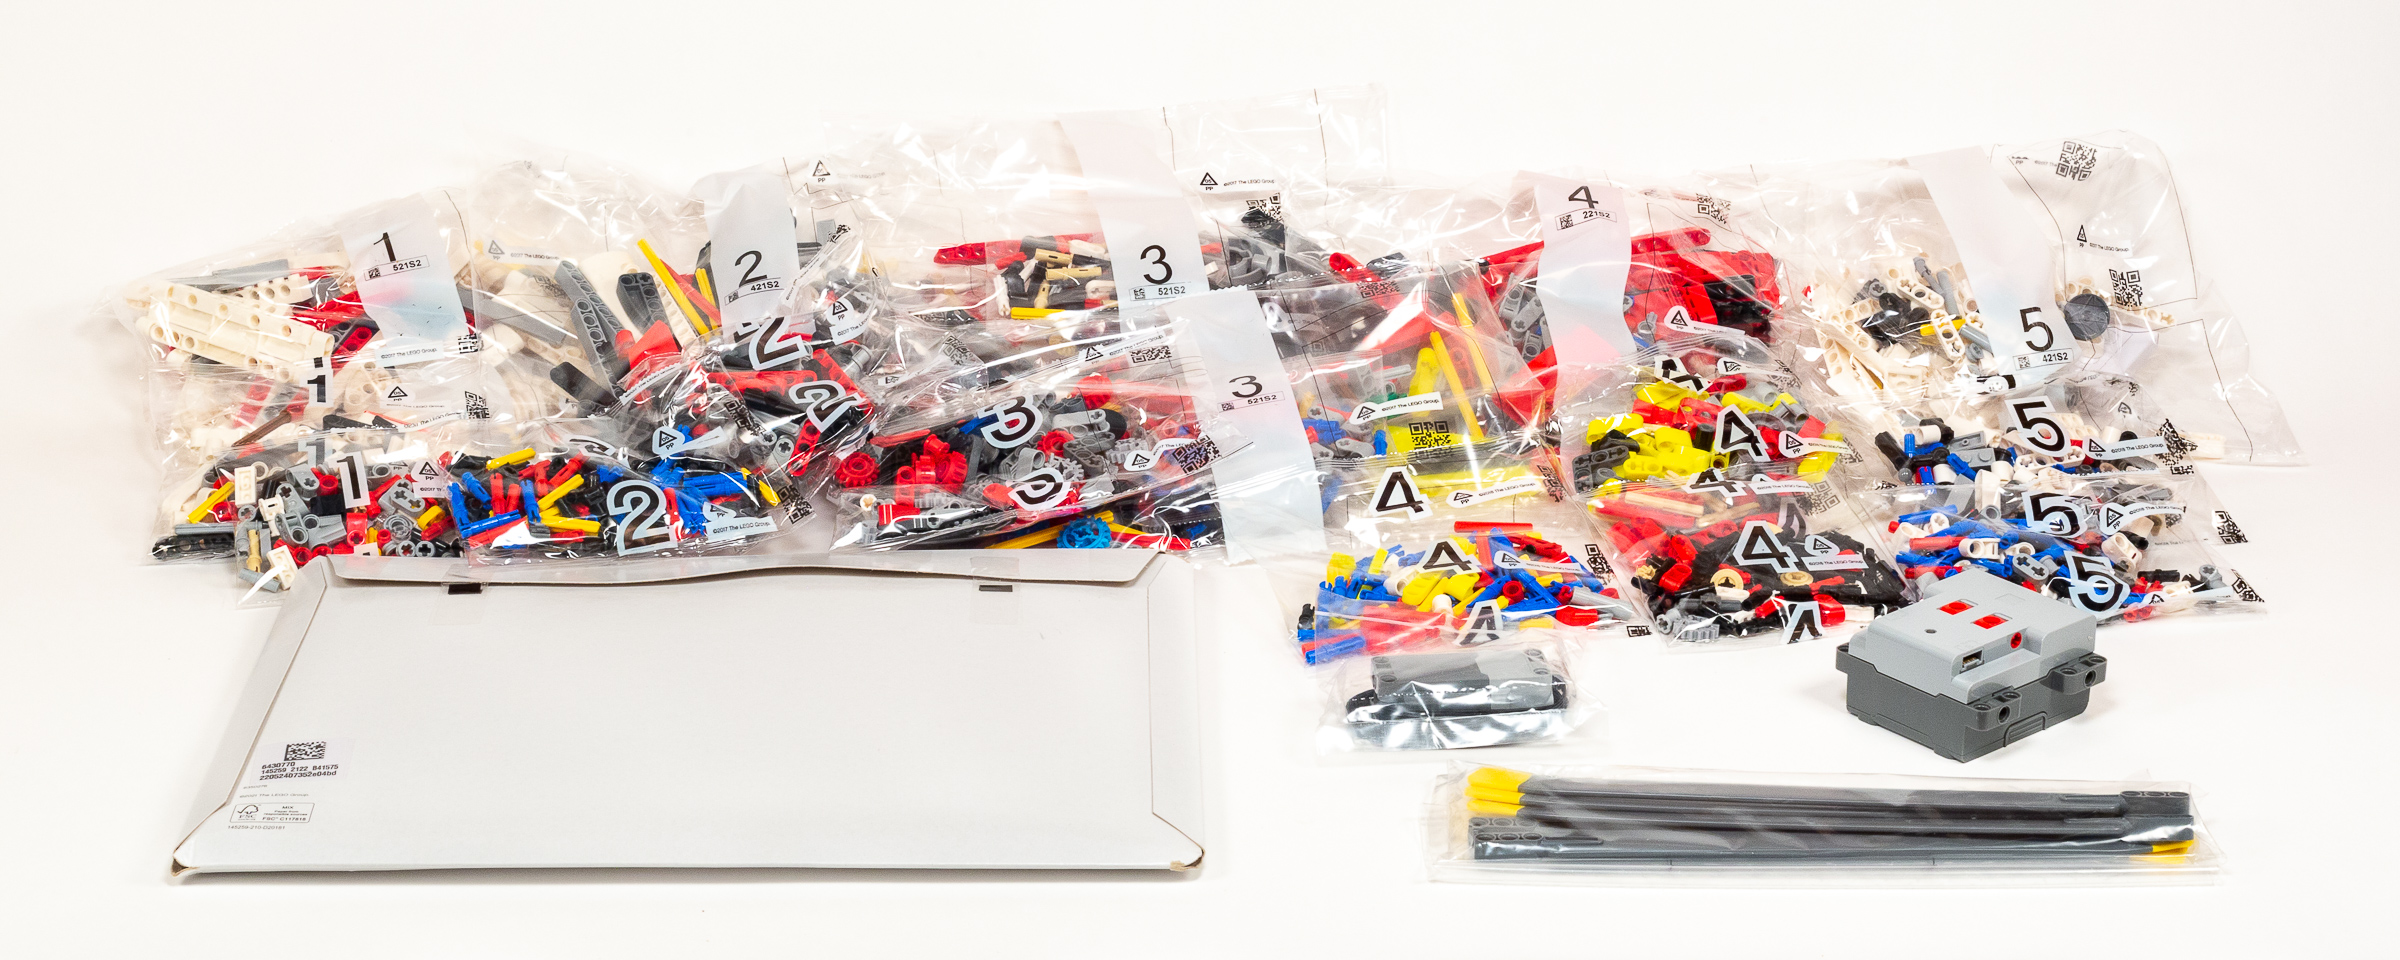
Box Contents:
- Stage 1: 1x extra-large bag (marked 521S2), 1x medium unmarked bag, 1x small unmarked bag.
- Stage 2: 1x extra-large bag (marked 421S2), 1x medium unmarked bag, 1x small unmarked bag.
- Stage 3: 1x extra-large bag (marked 521S2), 1x large bag (marked 521S2), 1x medium unmarked bag.
- Stage 4: 1x extra-large bag (marked 221S2), 2x small unmarked bags (they are different), 1x extra-small unmarked bag.
- Stage 5: 1x large bag (marked 421S2), 2x small unmarked bags (they are different).
- 1x small unmarked bag containing 3×4×8 Technic Large Powered Up Motor (part 22169 / bb0959c01).
- 1x cardboard box (marked 6380609) Powered Up Battery Box (part 22167 / bb1165c01).
- 1x large unmarked bag containing 5x Rotor Blades.
- 1x cardboard pouch (marked 6430770) containing: 400-page instruction booklet 27 x 19.2 cm (10 5/8 x 7 1/2”) and sticker sheet (marked 22637, 10102495/6431135).
Build Process
With just 5 numbered bags despite the high part count and hefty weight, I am expecting each step will take a while…
Stage 1 – Fuselage base
The first bag is all about the bottom section of the fuselage, which is built as two assemblies that are married together near the end of the stage. There is a pretty complex linkage between the front and back half which is hard to understand what it will do until near the end
Marrying front and back sections and connecting the linkage.
It turns out that the linkage connects the front and rear wheel assemblies, which can pop out for landing and retract while flying. It’s a funky mechanism where the elbows overextend to lock the wheels in place… I think once it is complete you will be able to extend or retract all four wheels with one action.
Progress at the end of stage 1.
Build time: 52 minutes.
Stage 2 – Cabin
The second stage starts with a somewhat unstable assembly that was a bit hard to wrap my head around. Eventually, it becomes clear that we are creating multiple steering sticks, which are positioned in front of two seats. The mechanism doesn’t work very well because the part which isn’t meant to move isn’t very rigid yet.

Joining the chair and steering assembly to the base from the previous stage.
We continue by attaching the module to the assembly we built in stage 1. This stiffens the assembly, which makes it possible to push on the levers above the seat to cause the steering yoke to move to the left and right. We finalize this stage by rounding off the front of the helicopter, resulting in a very recognizable front, complete with a curved bar across the front, and doors on both sides.
Progress at the end of Stage 2.
Build time 75 minutes.
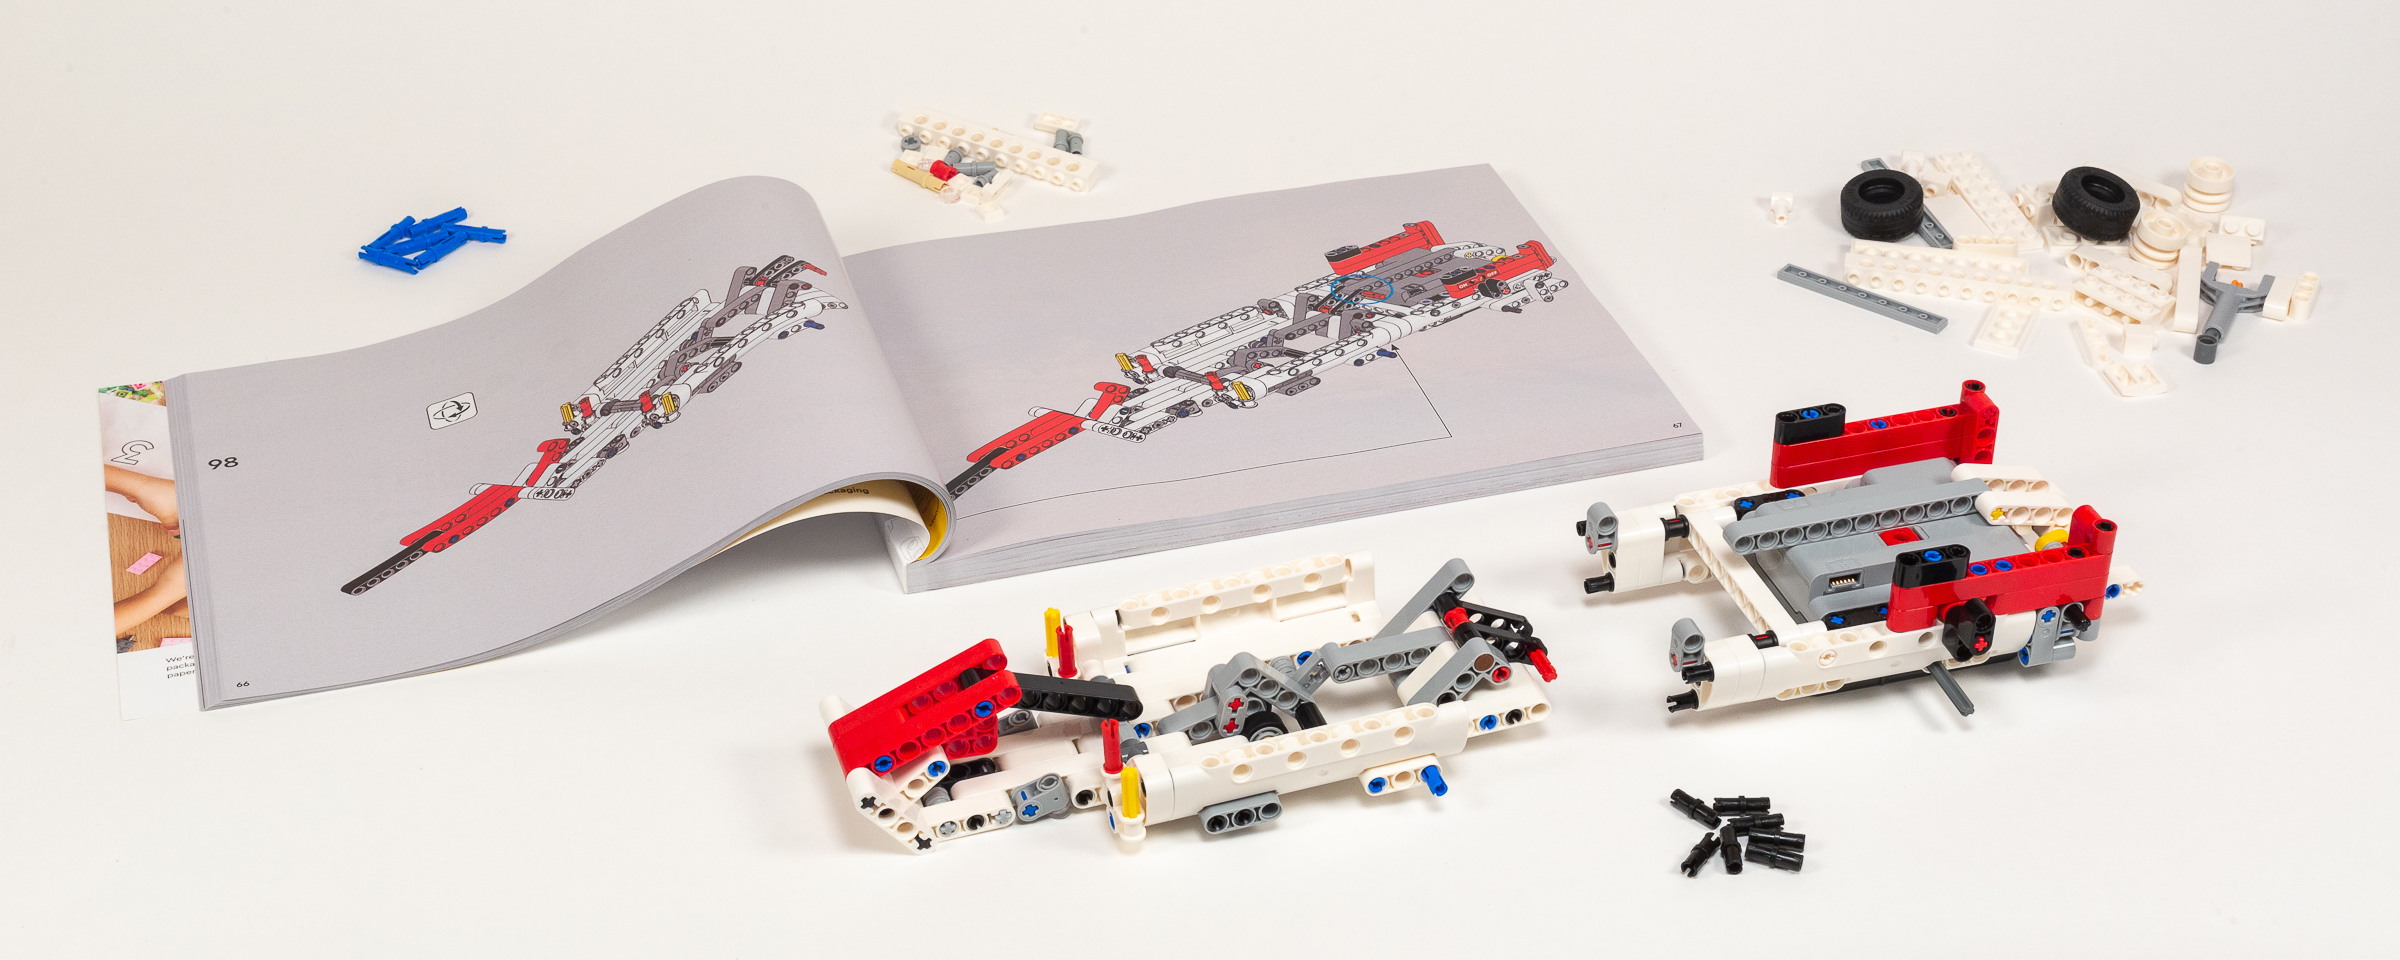
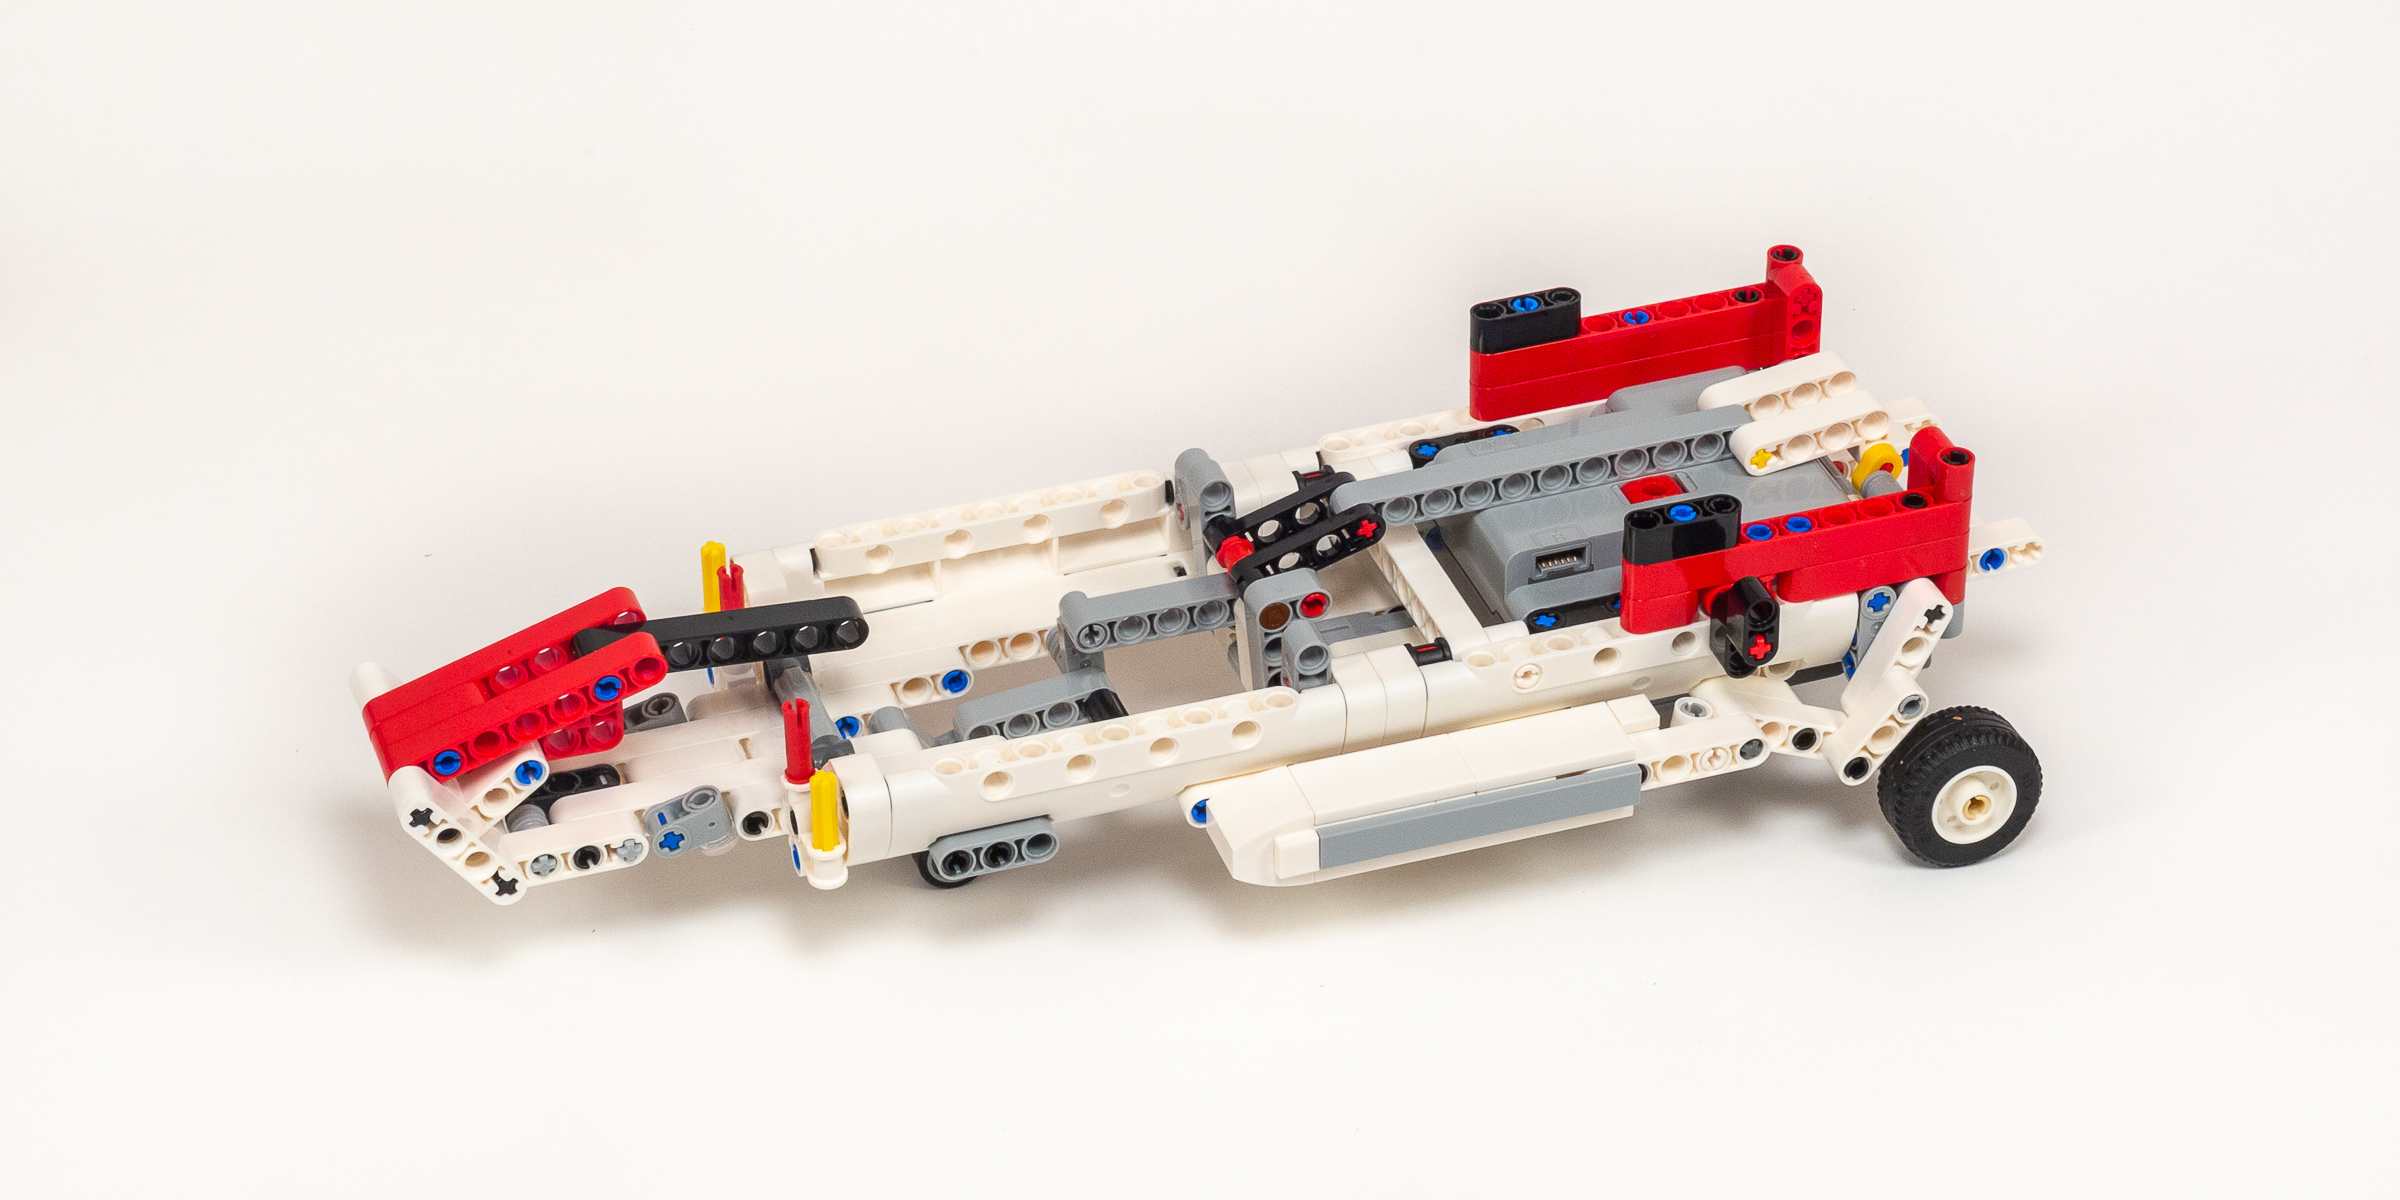
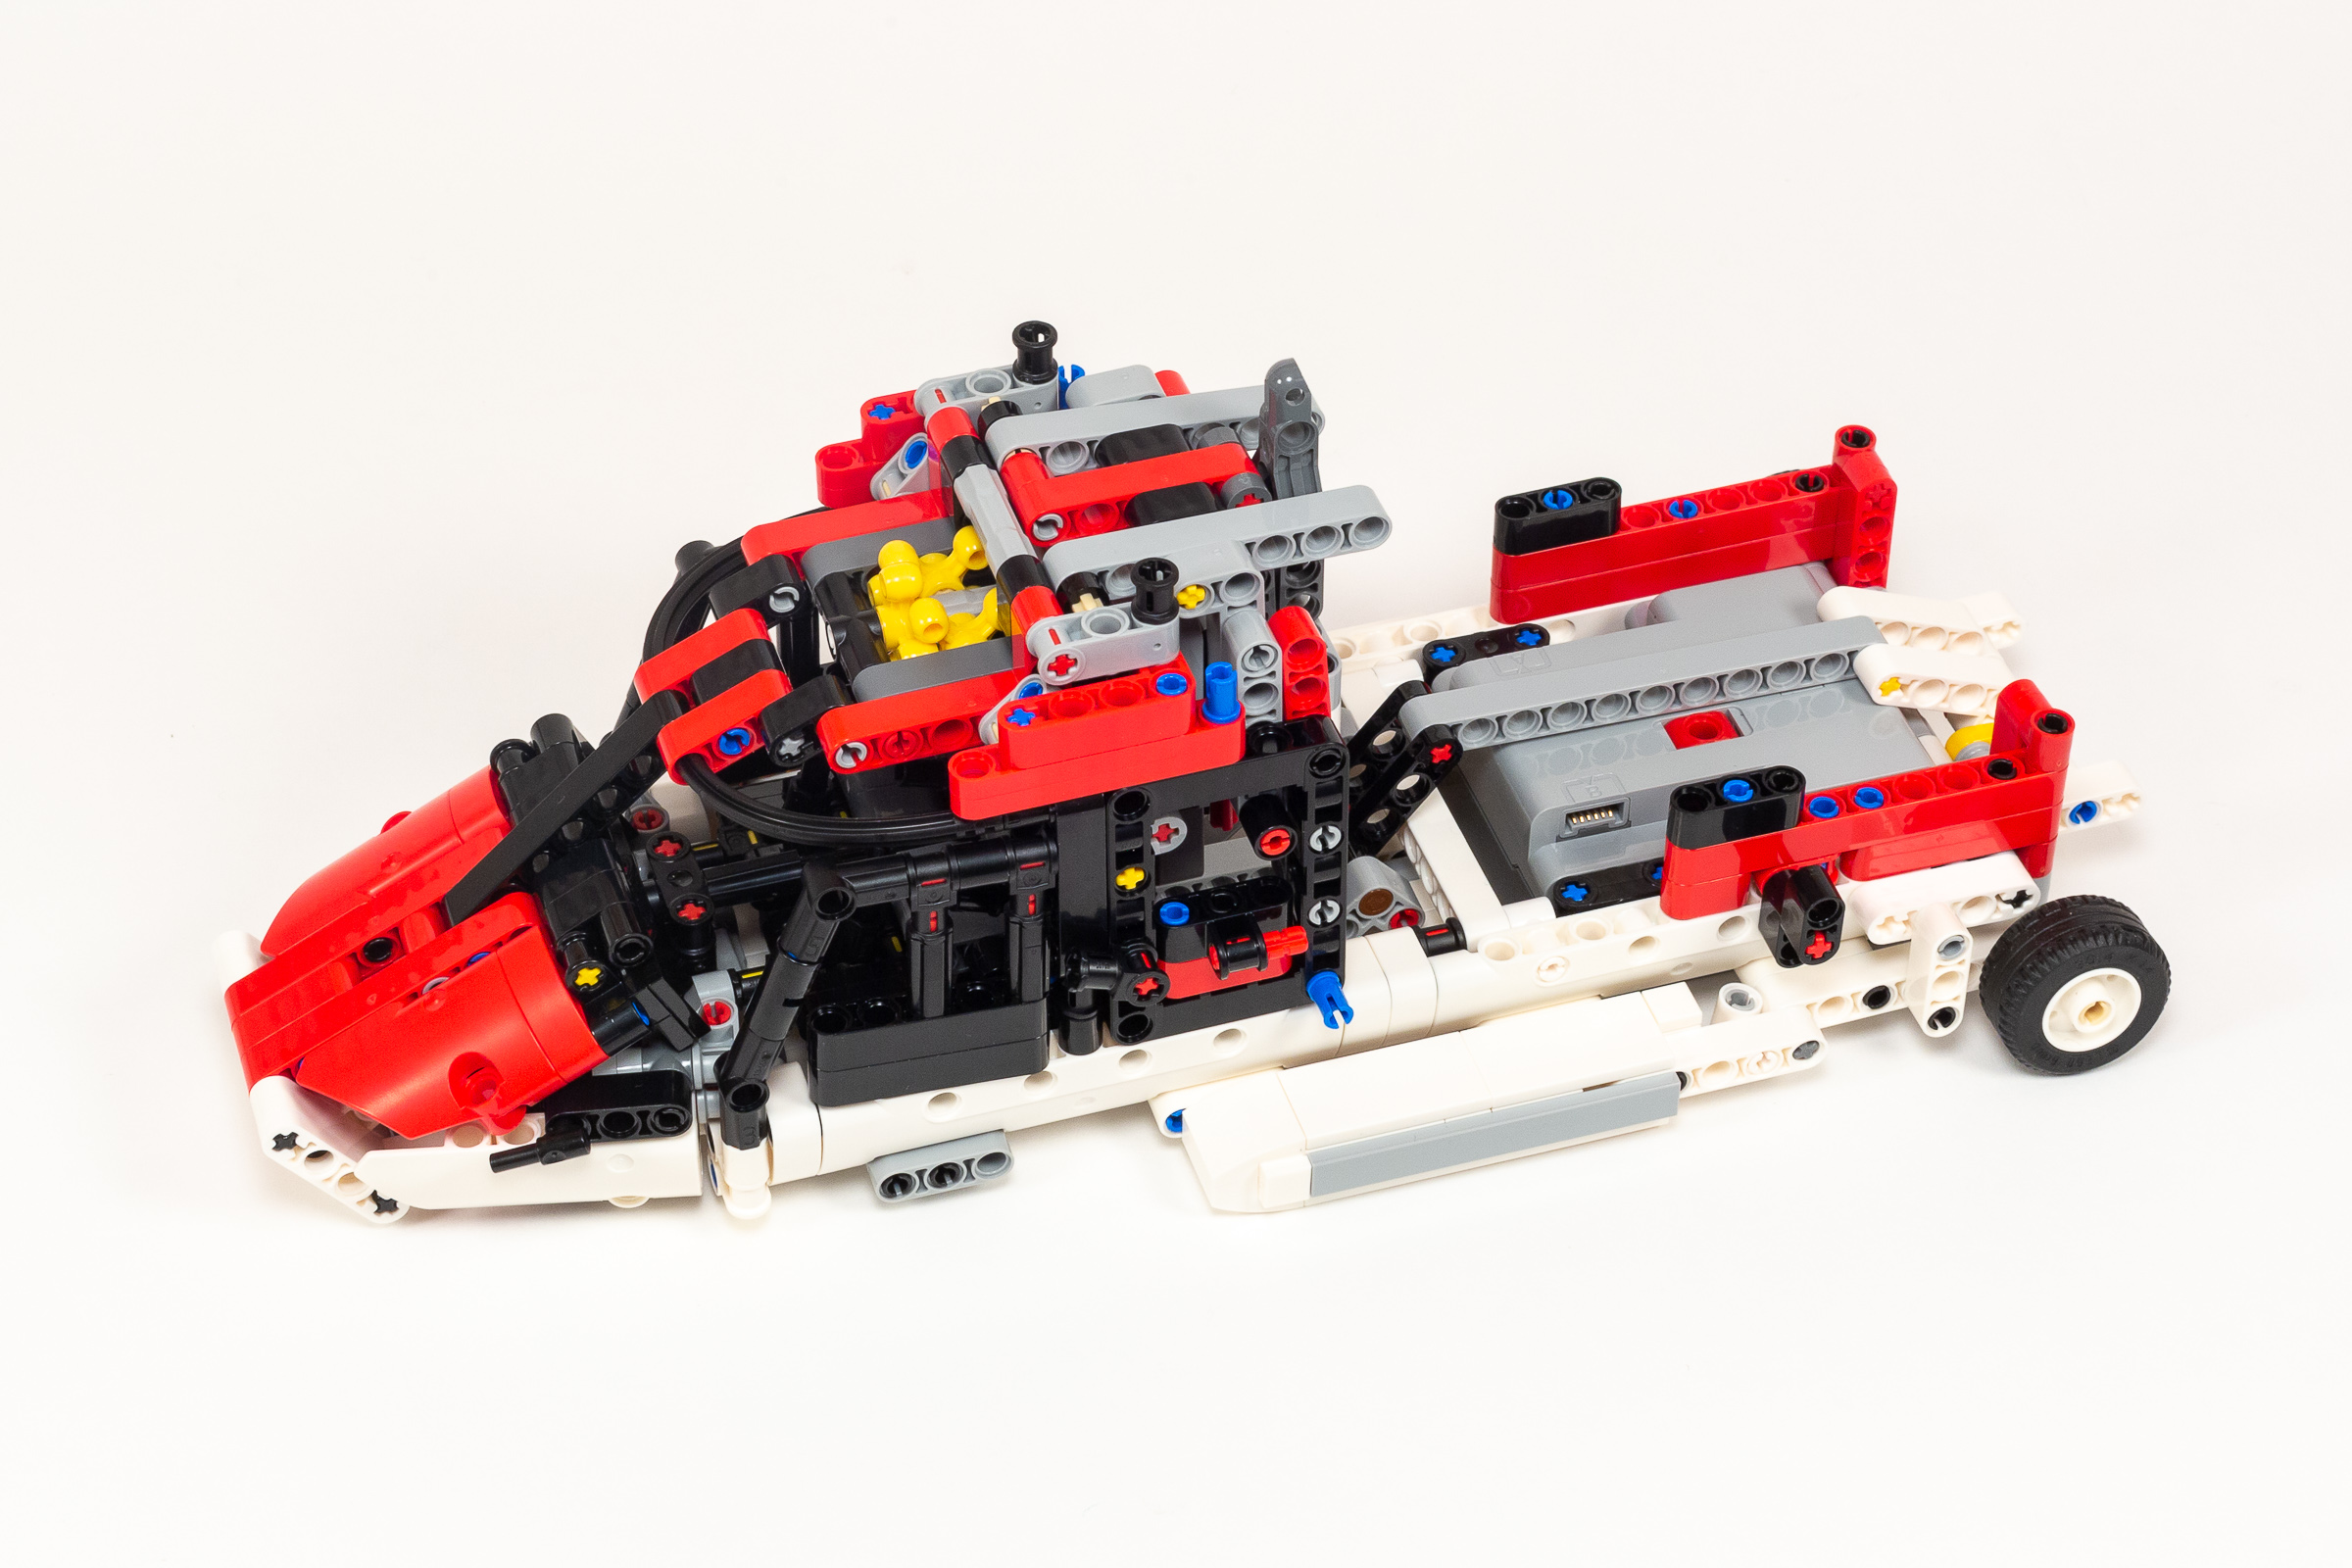
Stage 3 – Gearbox
Stage three focuses on building a large and complex gearbox. The core mechanism looks like it will allow multiple functions to operate at the same time, with the ability to turn it off in the center position, and forward or reverse with to the left or right. I also noticed that one of these gearings is attached to a clutch mechanism, which is most likely included as a safety mechanism for the large helicopter blades.

About forty minutes into building this complex gearbox.
Eventually, we add some facing to both sides of the gearbox as we prepare to add it to the chassis. Of particular note is the small stripe of the newly introduced 368Vibrant YellowNeon Yellow that we see for the first time in this model. I honestly thought from the box photos that this was 24Bright YellowYellow because the printing on the box completely fails to reproduce the neon color.

Gearbox almost ready to install into the chassis.
Finally, we add the gearbox to the chassis, resulting in an impressively large central body with a motor sticking out the back. (I’m sure we will cover that up soon.)
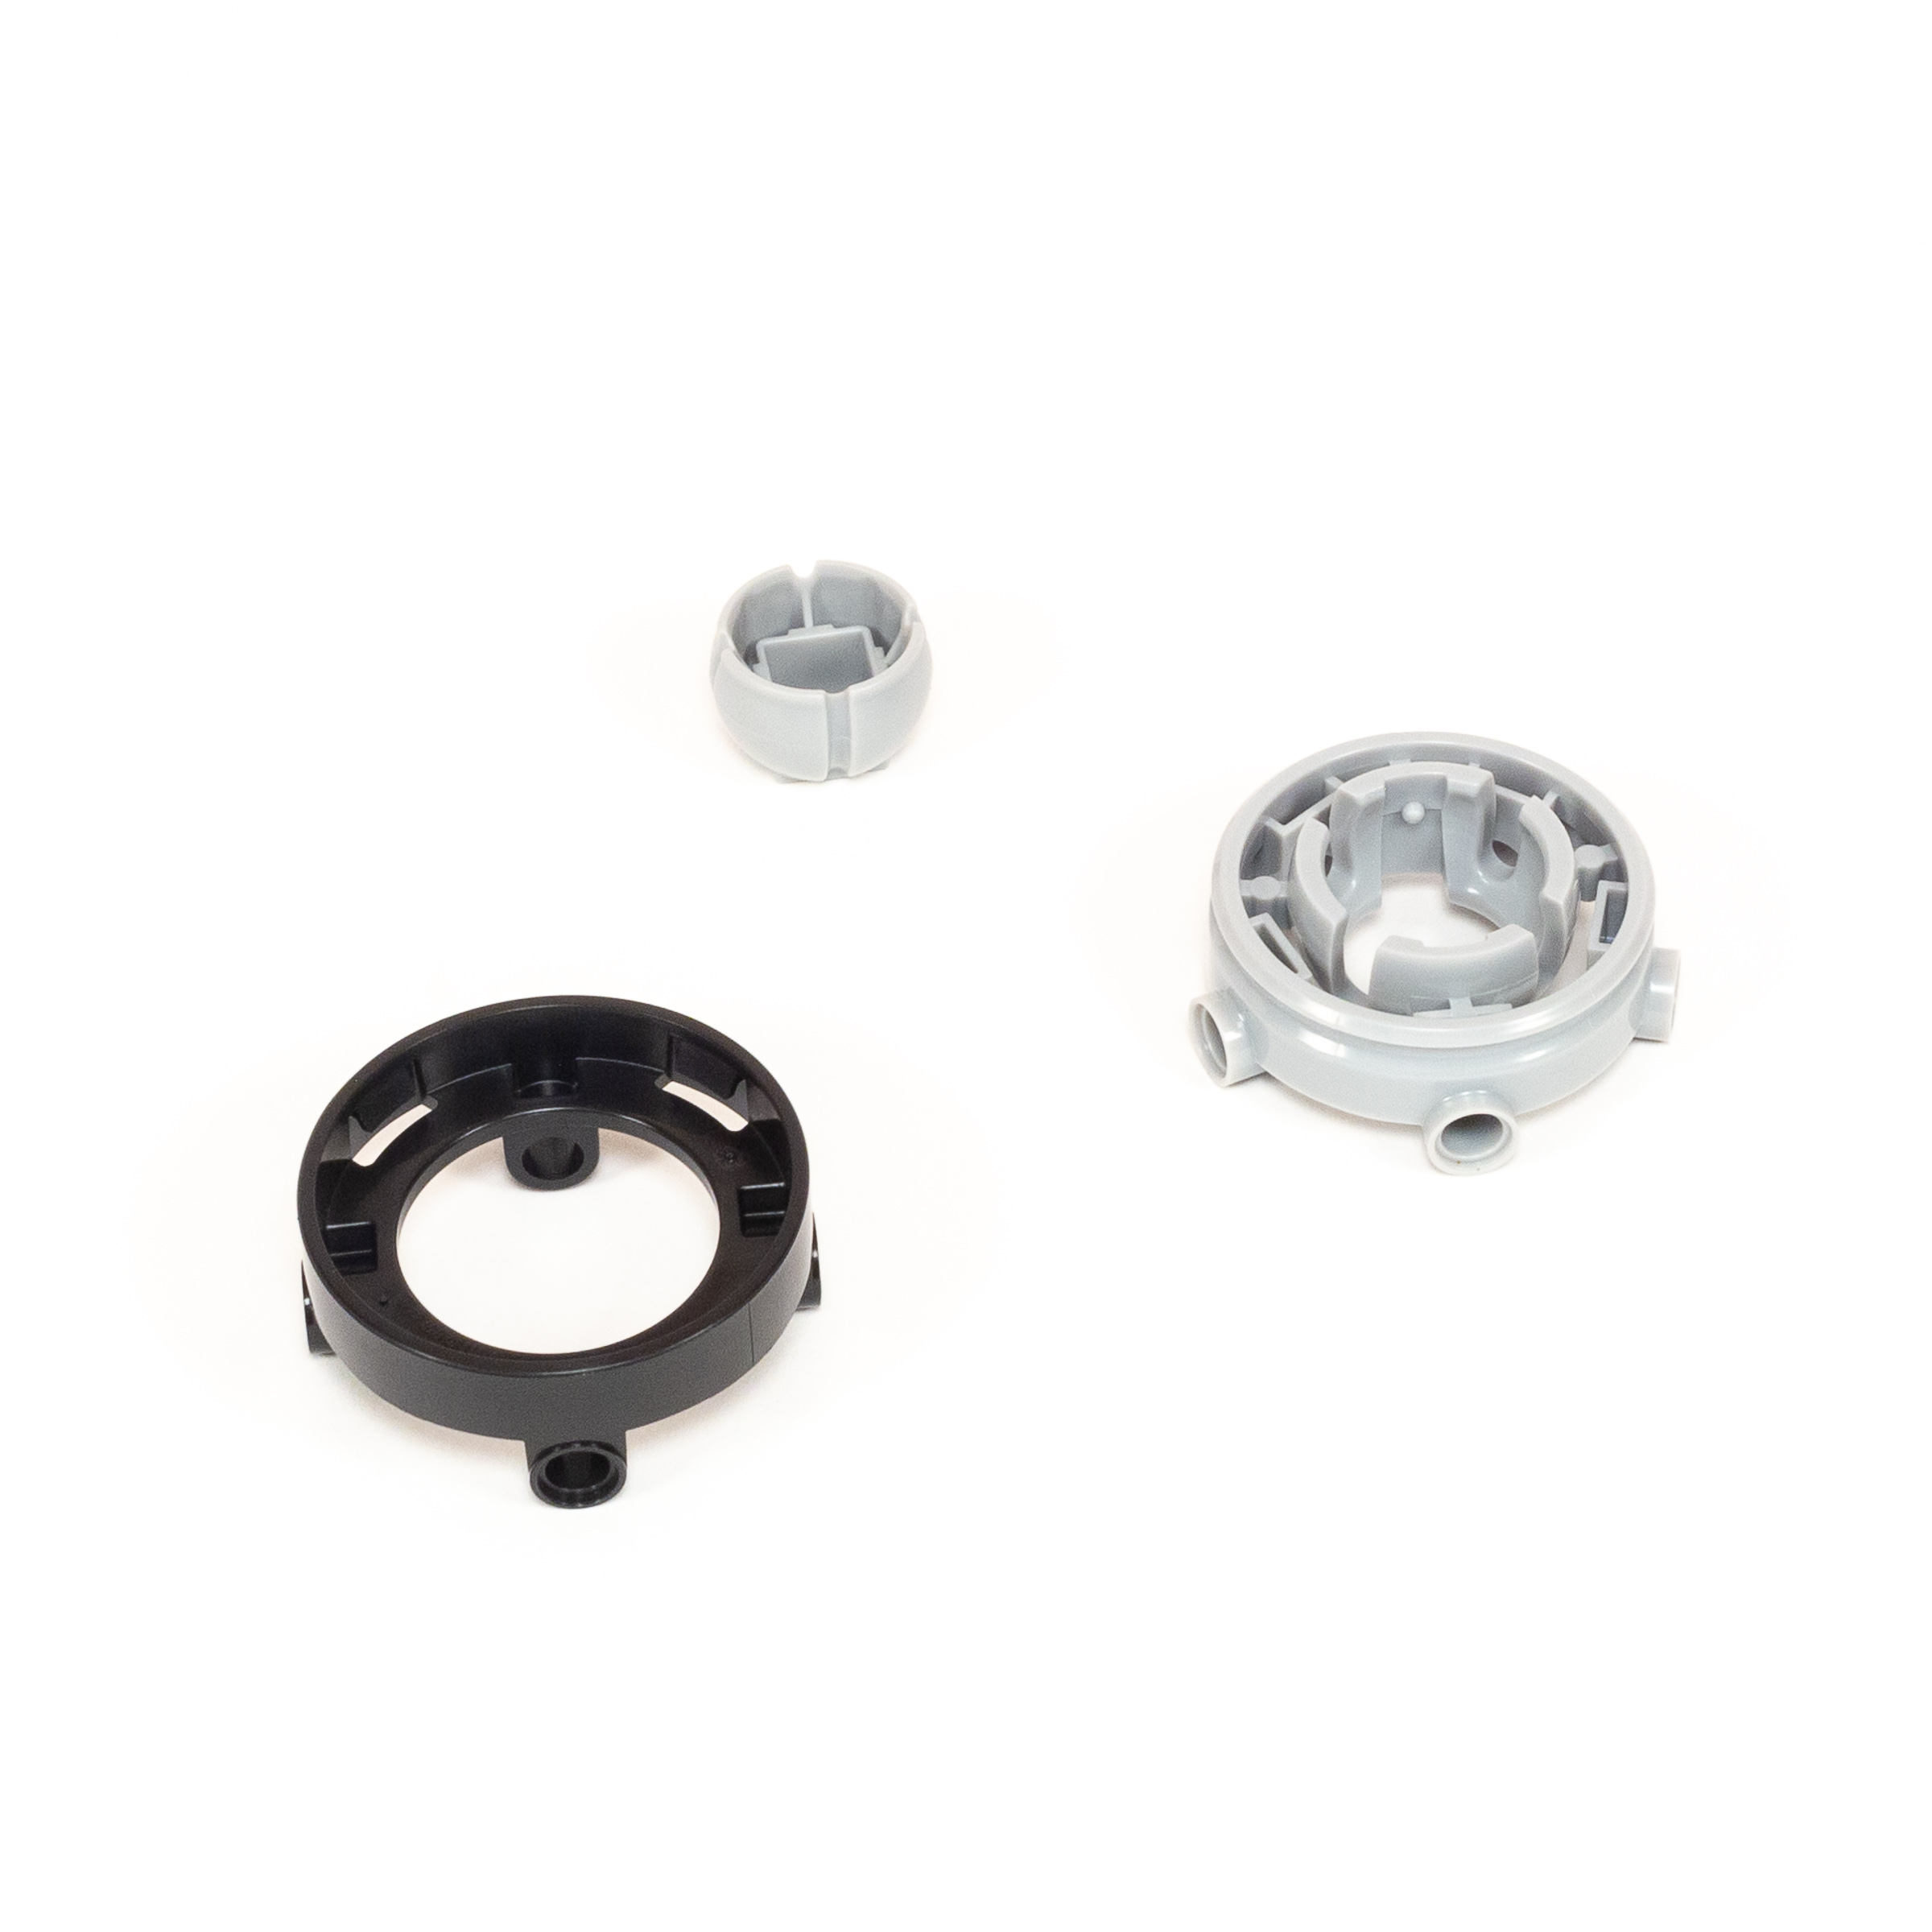
New parts allow the angle of blades to change throughout rotation.
I also enjoyed exploring the new parts that are used to allow five helicopter blades to attach and rotate, while still allowing a degree of front-to-back and left-to-right tilt. This is a very complex but interesting mechanism!
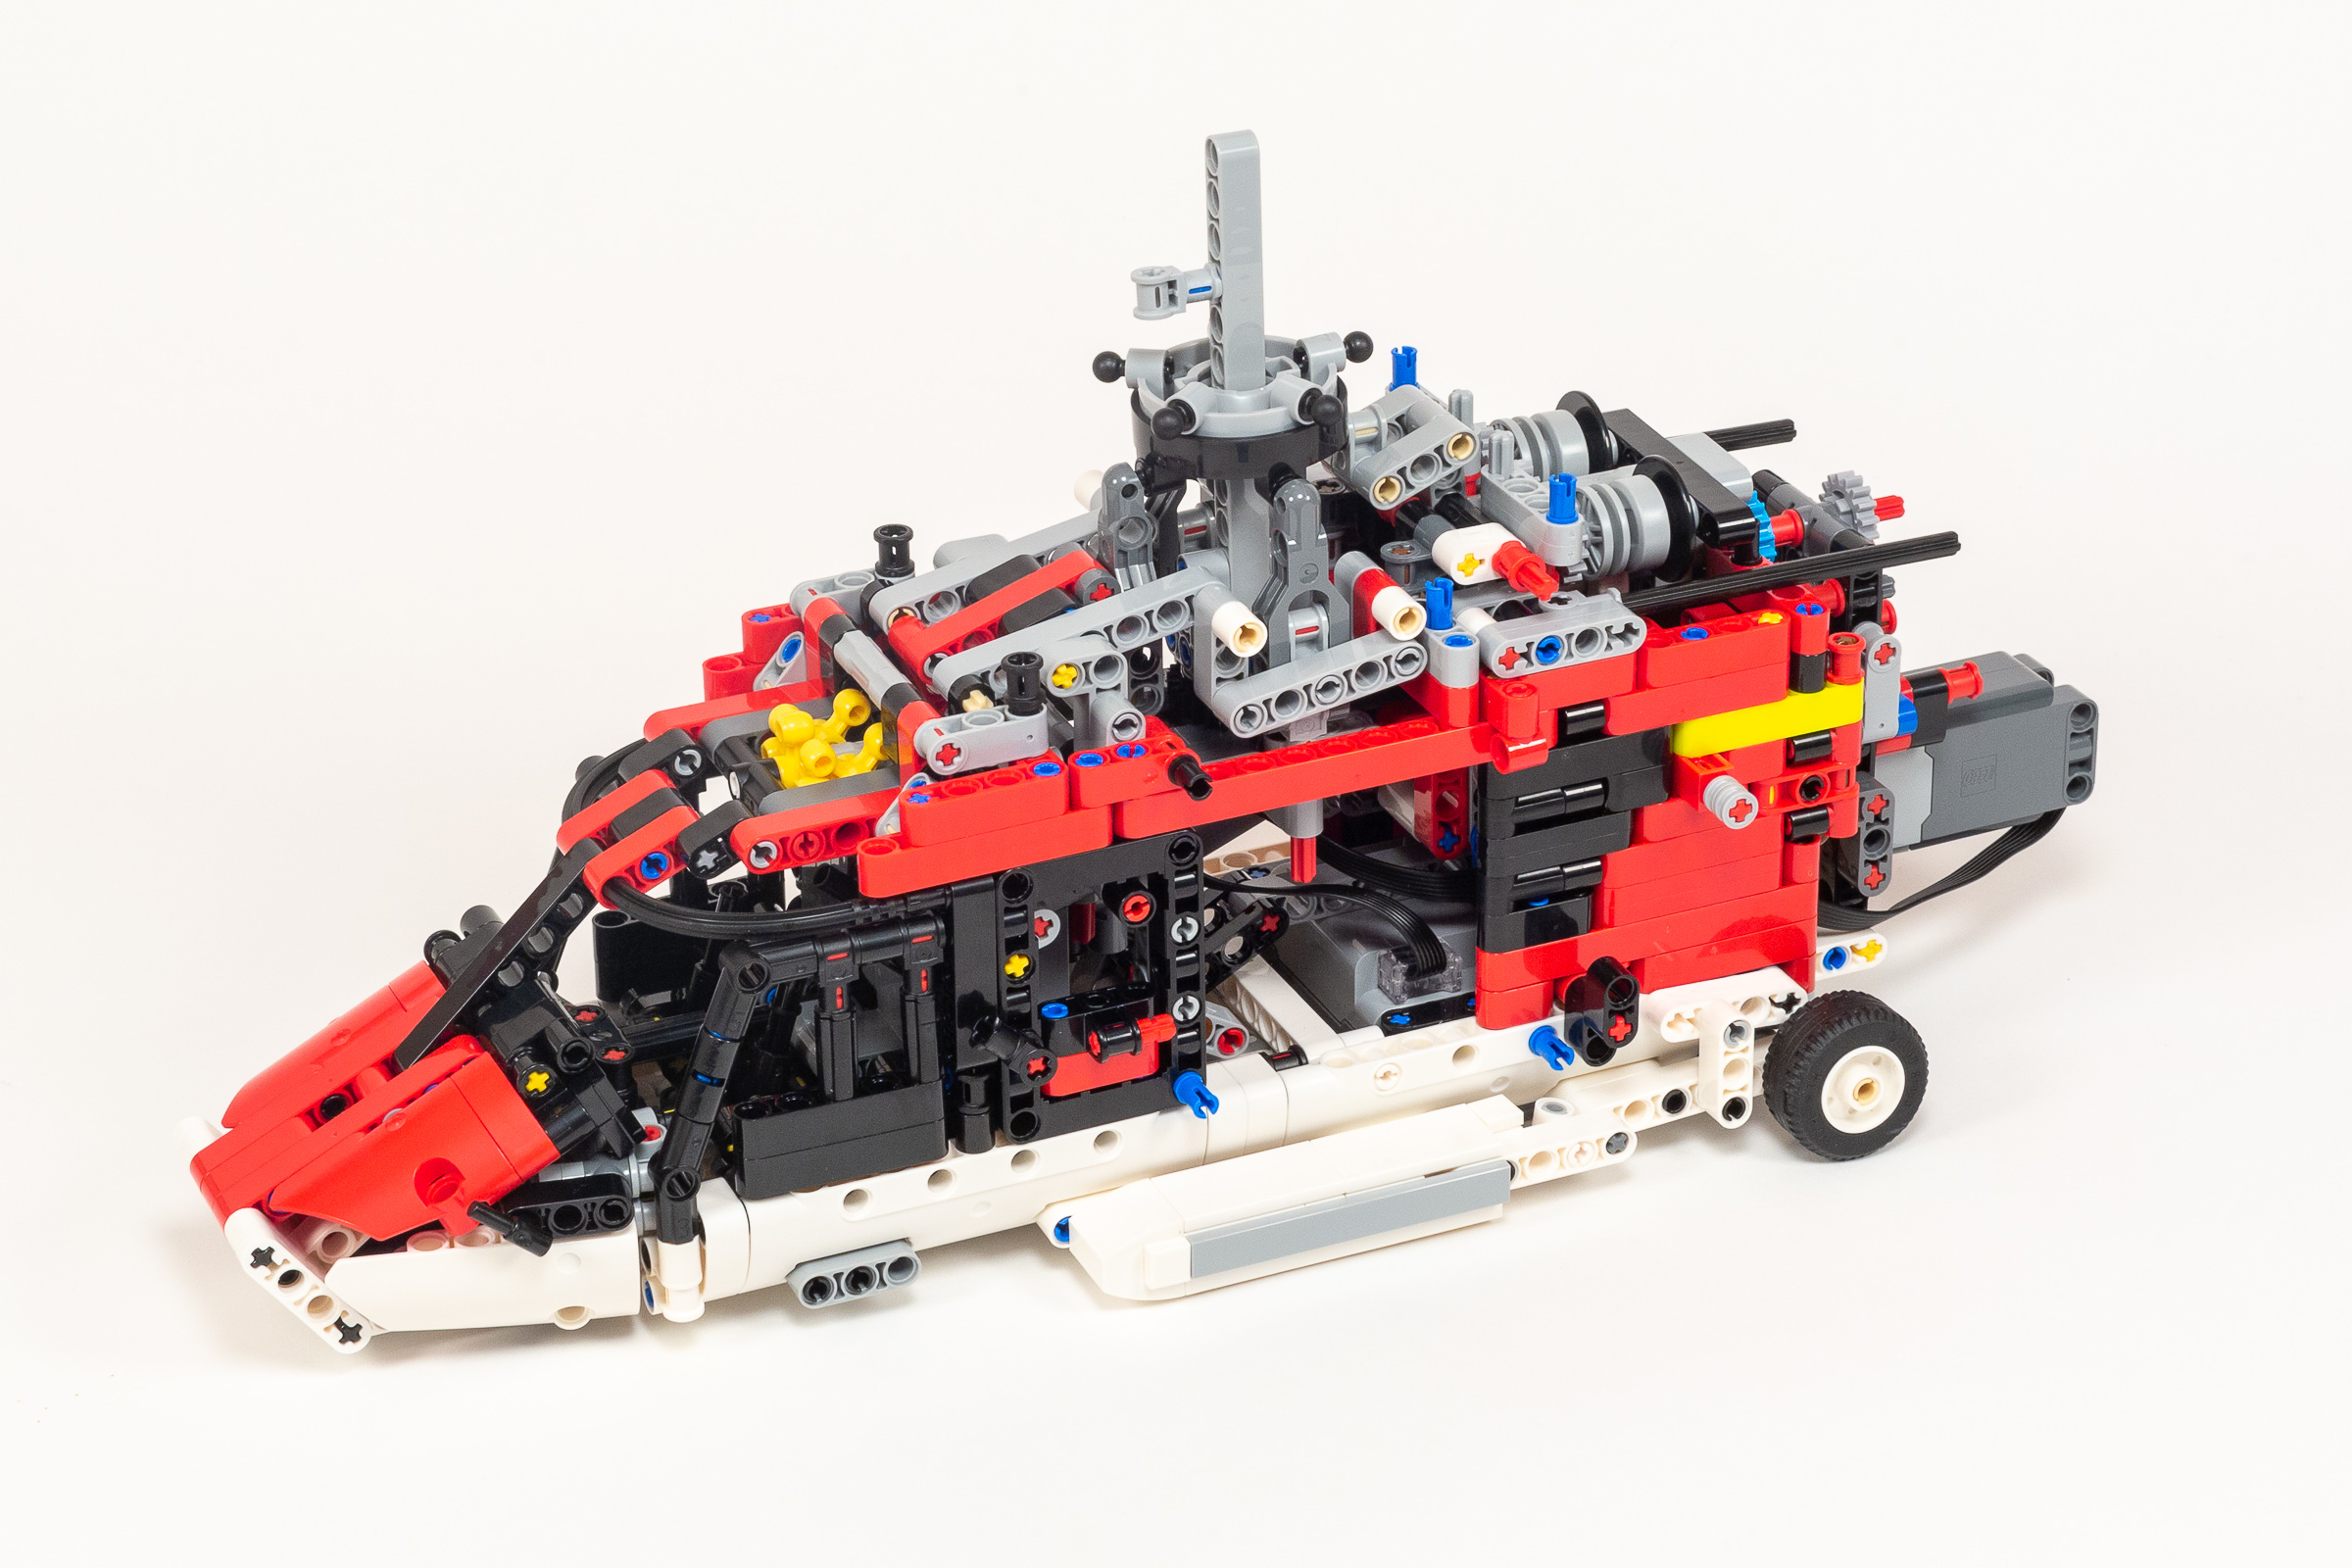
Progress at the end of stage 3.
Build time 95 minutes.
Stage 4 – Tail Assembly
The tail assembly is built as a separate module, consuming most of the build time and parts in Stage 4. Compared to the intricate arrangement of gears we built in the previous stage, this is fairly straightforward. That said, it does feature some interesting techniques to sculpt using Technic parts to achieve the required angle for the tail fin.
Joining the tail sub-assembly to the chassis.
After attaching the tail, we spend some time strengthening the connection and adding some more parts to finish the exterior detailing. We also add the tail fin, which connects to the single motor in the chassis through a linkage hidden in the tail assembly. Lastly, we build a second pentagonal assembly which is connected with linkages to the lower one. I’m pretty blown away by the mechanism in play here – the angle of the helicopter blades is controlled by the throttle mechanism- such that each blade is at a different angle throughout the rotation.
Build time 80 minutes.
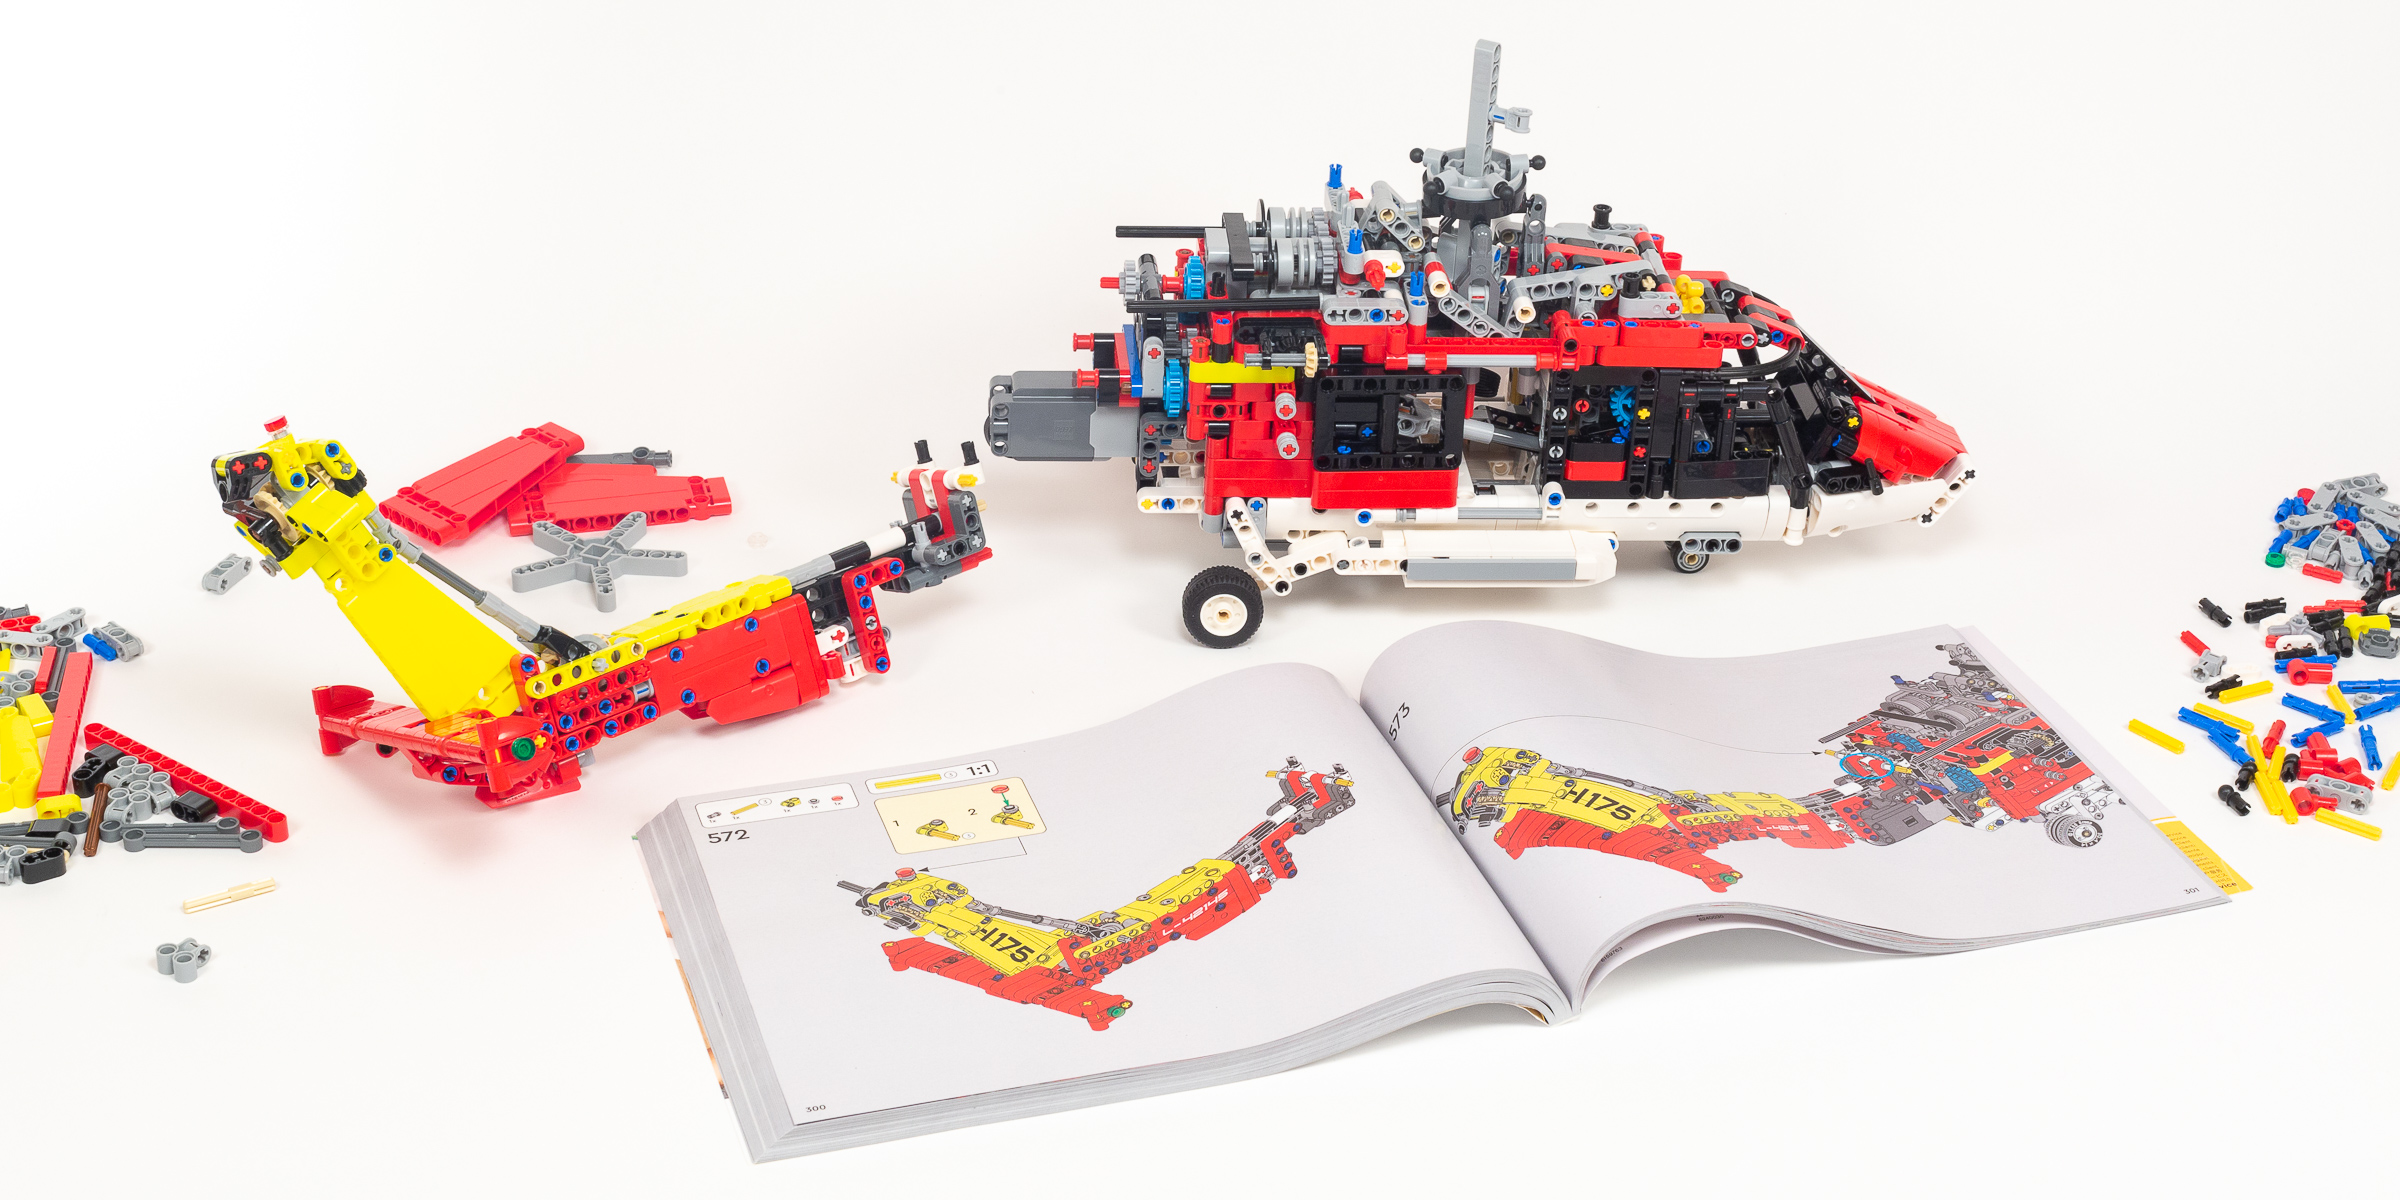
Stage 5 – Roof Detailing & Blades
With a nearly complete Helicopter (save for the 5 blades on top), it’s no surprise that the final stage only includes three modest bags of parts. Let’s get it done!
Detail showing top of the helicopter (with blades attached).
The focus is on finishing the white roof which extends 6 studs above the red roofline from the previous stage. This covers up a lot of mechanical details that we described in the previous stage, leaving only the upper pentagonal ring visible.

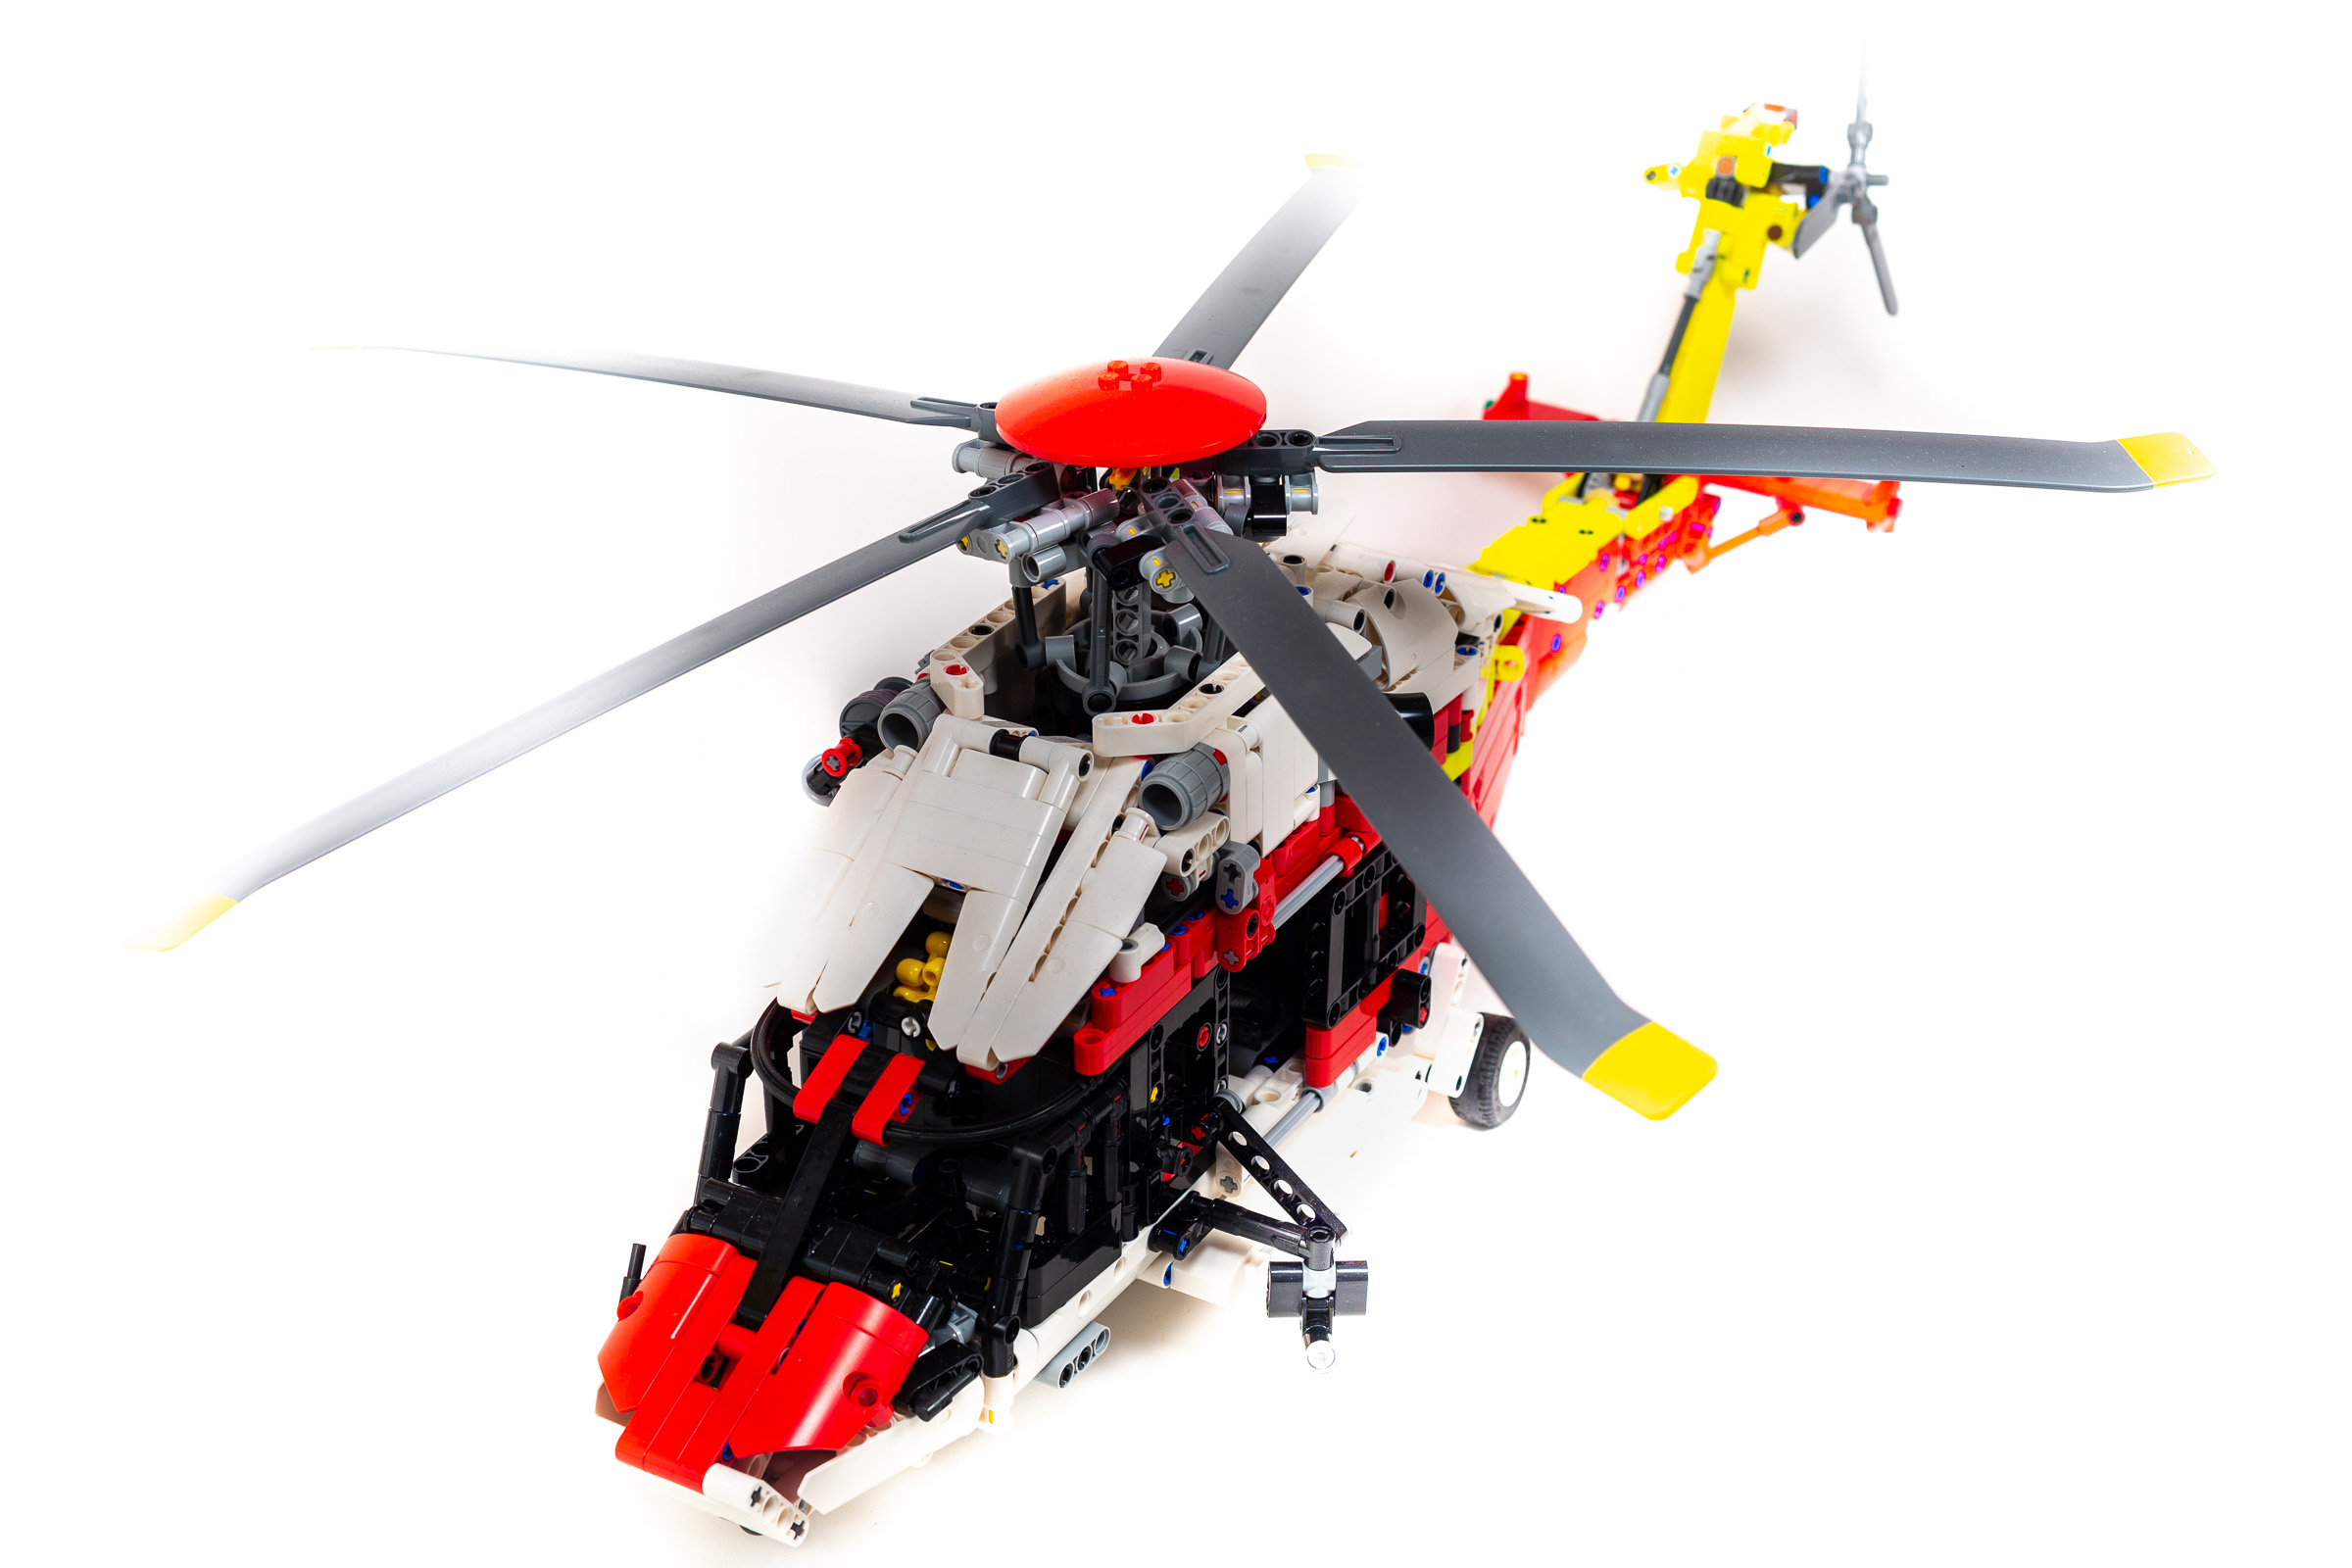
#42145 Airbus H175 Rescue Helicopter – Completed Model
Finally, we add the blades in the very last step. It’s a satisfying way to complete a large and impressive model.
Build time 55 minutes.
Conclusion
This is a challenging build! With just 5 numbered stages and 2001 pieces, I had expected a build time of around 3 hours, but it took nearly 6 hours to complete. The reason it takes so long is that you need to take your time in every stage, but for different reasons.

#42145 Airbus H175 Rescue Helicopter – Completed Model (other side).
The exterior detailing includes a lot of advanced techniques which need to be assembled carefully. Notably, Stage 3 requires extreme care to assemble a very complex gearbox correctly (since I suspect that a single error here would be hard to repair later). With mechanical details inside and intricate detailing on the exterior, there are lots of opportunities to make a mistake!
When I completed the model, I was able to enjoy seeing how the gearbox works in practice to control the landing gear, rescue pulley, and rotating blades. That said, it was much less obvious how it would work while building it — it feels like they made it a bit too compact, making the functions hard to understand while building. I think some explanation of how the functions will work in the margins of the instruction booklet would go a long way in making this section of the build more engaging.
For me, the real pleasure wasn’t the gearbox at all, but seeing how over several stages, the joysticks in the cockpit actually control the helicopter blades themselves. For the longest time, I had expected that the entire assembly containing the blades would lean forward/back and left/right, and was truly impressed when we discover in the last stage that the mechanism controls the angle of each blade independently — controlling the direction of travel while keeping the blades spinning on a single plane. (This is best explained in this YouTube video by RacingBrick.

#42145 Airbus H175 Rescue Helicopter
Between the truly impressive mechanisms, the aesthetically pleasing finished model, the fair (but not fantastic) price, and the largely engaging build process, I am happy to report that #42145 Airbus H175 Rescue Helicopter is a real winner. That’s why it earns our Recommended (4/5 Star) rating.
The only things keeping it from getting top marks is a higher price than I would prefer and the nagging worry that the complexity of some of the inner mechanisms will result in errors and tremendous frustration for some builders. (I made one error in Stage 3, but was lucky that I could fix it without too much disassembly using needle-nosed pliers. Even if you are trying to be careful, it’s easy to make mistakes!)
I thought I had made a mistake in the transmission because I had a large red gear wheel leftover at the end and could not get the rotor to work. . So I tore it down and rebuilt everything. Then I realized that the thing has a clutch which must be engaged. Worked fine, nothing to do with the red gear, which is still left over and a mystery to me.
I have the set that i built together with my girlfriend. Then i have a problem with the gearbox clutch for the main motor. It works fine at first, in slow either in fast speed. But i don’t what happened after i assembly the gear part for the hook, the main rotor doesn’t work at fast config, it barely moving. At slow config the main rotor works fine but the tail rotor not working properly, like it moves for a few spins and stuck then move very slowly rather than the first spin. Should i lubricate the gears? or is there something i do wrong with it? can you help me. Thank You
I did not need to add lubricant for it to work. I suspect you made a mistake earlier in the build process which is causing these issues to arise. Good luck debugging the issue!